Plywood is one of the most commonly used materials in the shop. We use it for everything from cabinet boxes, drawer making, and simple shop furniture. Think of any project and I'm sure someone has made it from plywood or MDF. But it's a challenge to make strong and aesthetically pleasing joints in sheet goods. That's because the plywood layers and the glue that holds them together do not hold up well when milled into small details, and if you are working in MDF just forget about it. The Infinity Tools Lapped Miter router bit set combines strong profiles with plenty of glue surface making it the perfect joint for sheet goods.
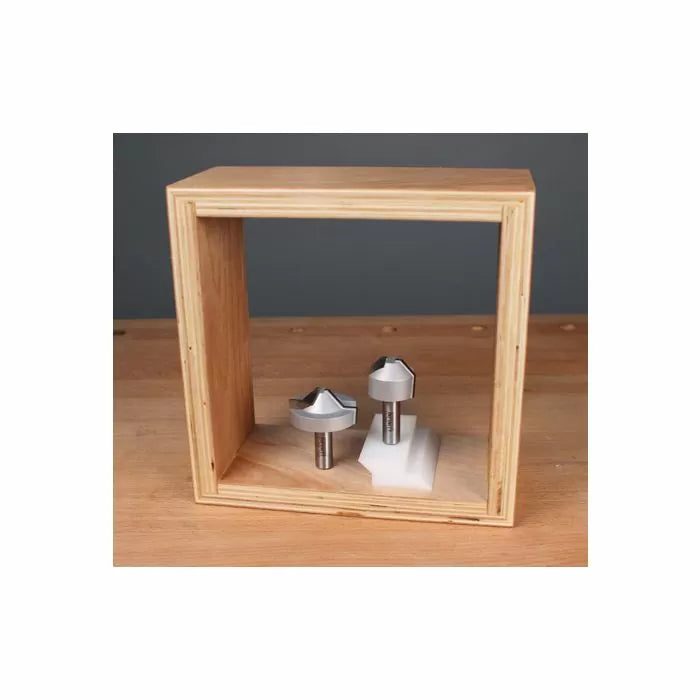
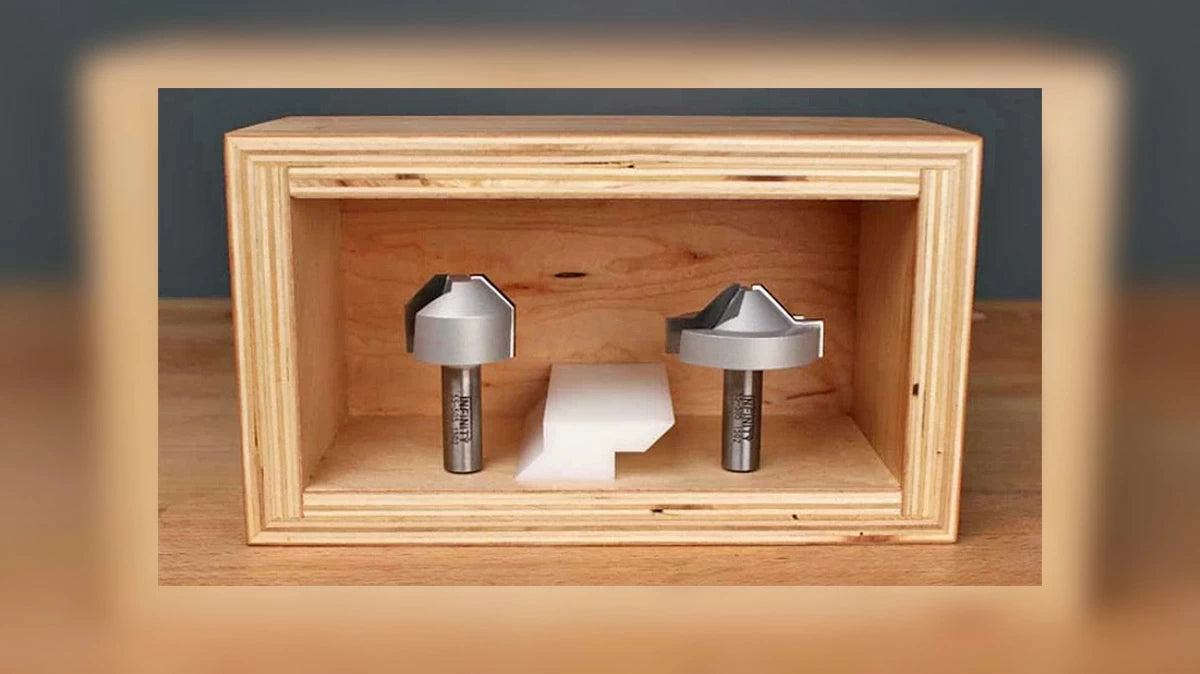
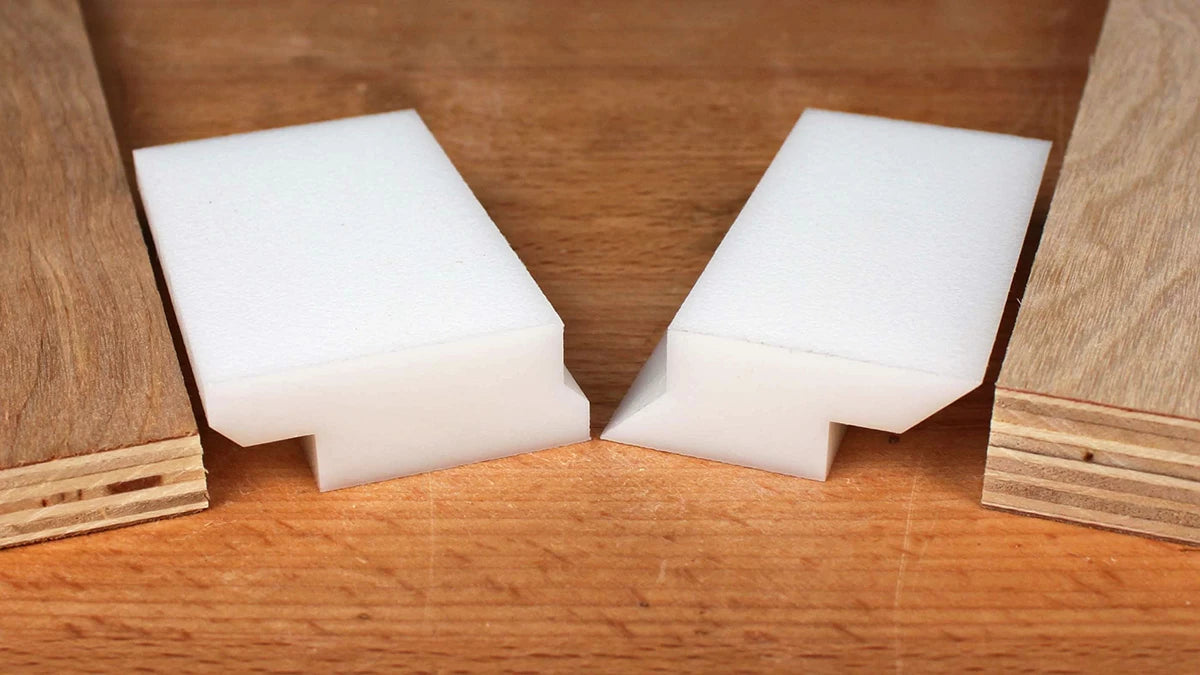
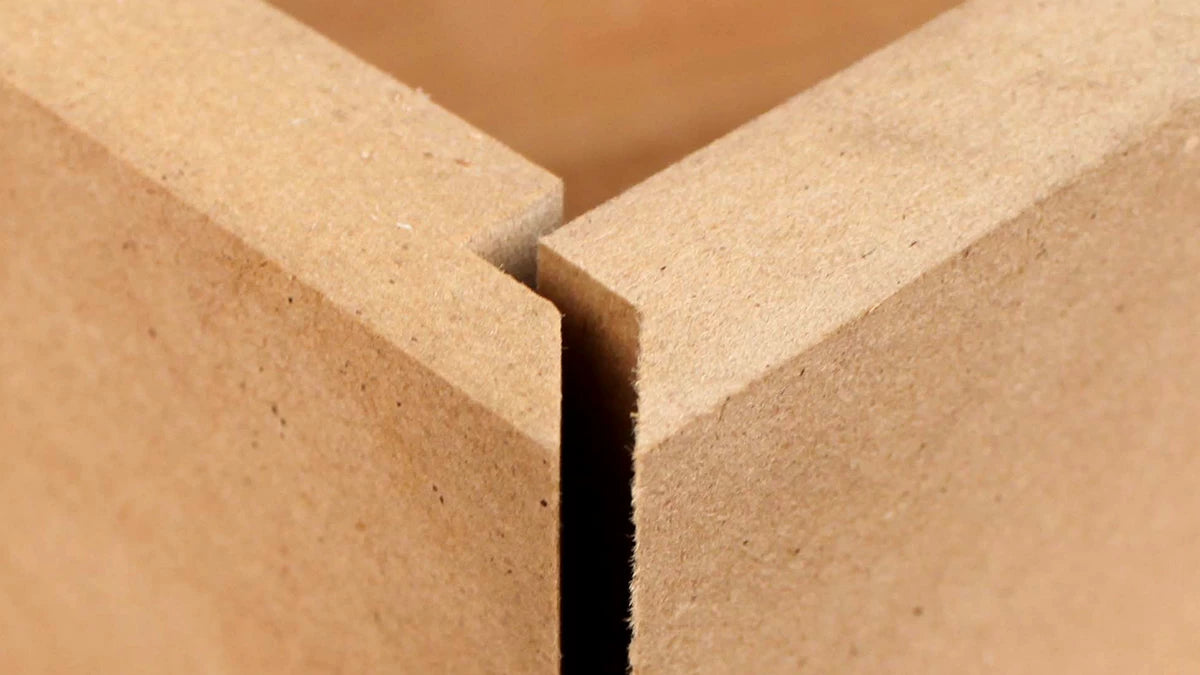
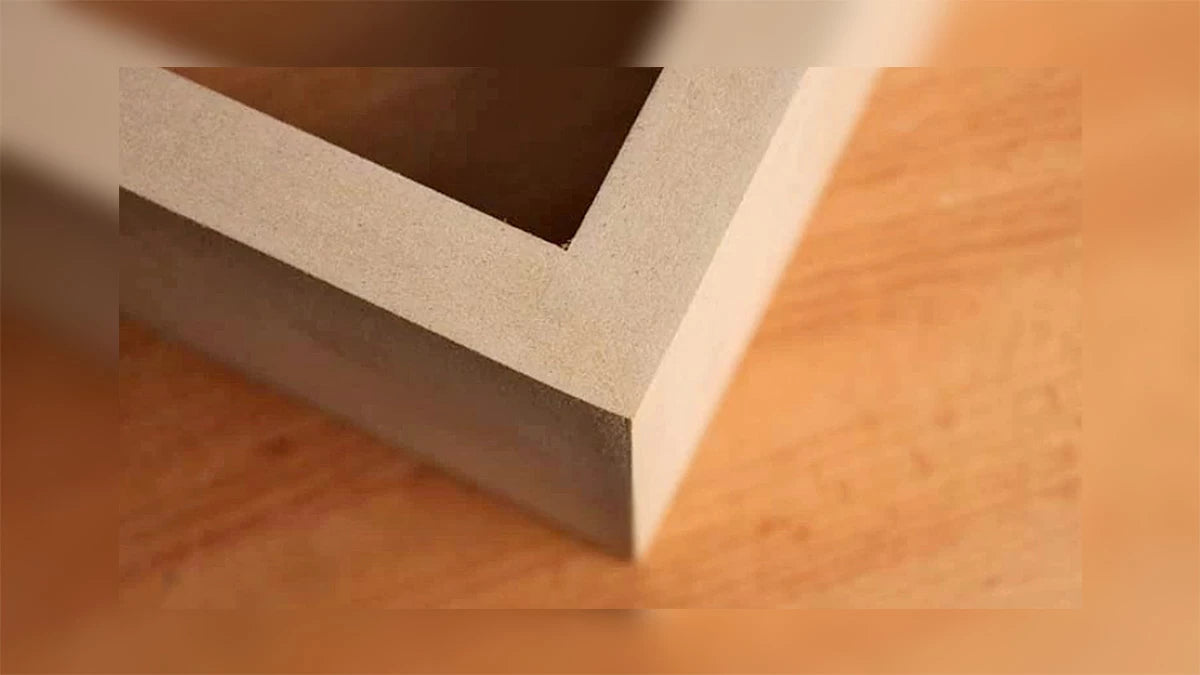
Traditional 45° Lock Miter router bits are great for hardwood joinery but their decorative 'finger' profile easily breaks in plywood and MDF. This is where the Infinity Tools Lapped Miter router bit set really shines. The set combines a half-lap profile with a 45° miter, creating a joint with a great glue surface and no weak 'fingers'. The half-lap makes glue-ups a breeze and the mitered edge hides unsightly plywood layers that are better left unseen. A win-win.
So there must be a steep setup price to pay for all of this joint goodness, you say? Not so much. Armed with a simple setup block and a couple of tips anyone can create a lapped miter quickly and easily, and it works with material from 1/2" to 3/4" thick. Keep reading, I'll even show you how I do it.
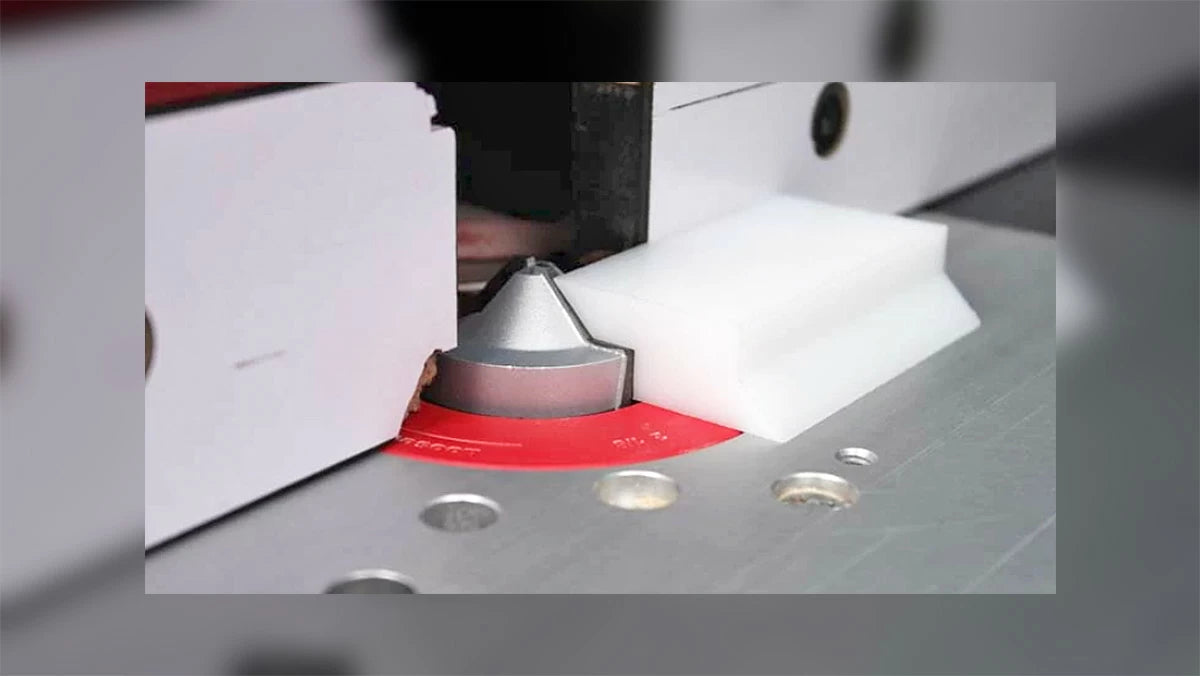
Setting up to make a lapped miter joint is pretty straightforward. Each of the two bits has a straight portion and an angled portion. The trick to setting up the bits is to make sure that the point where the straight and angled portions of the bits meet is exactly 3/8" from the tabletop, regardless of the material thickness being cut. With a setup block, this is a breeze, but it is even pretty darn quick with only a ruler.
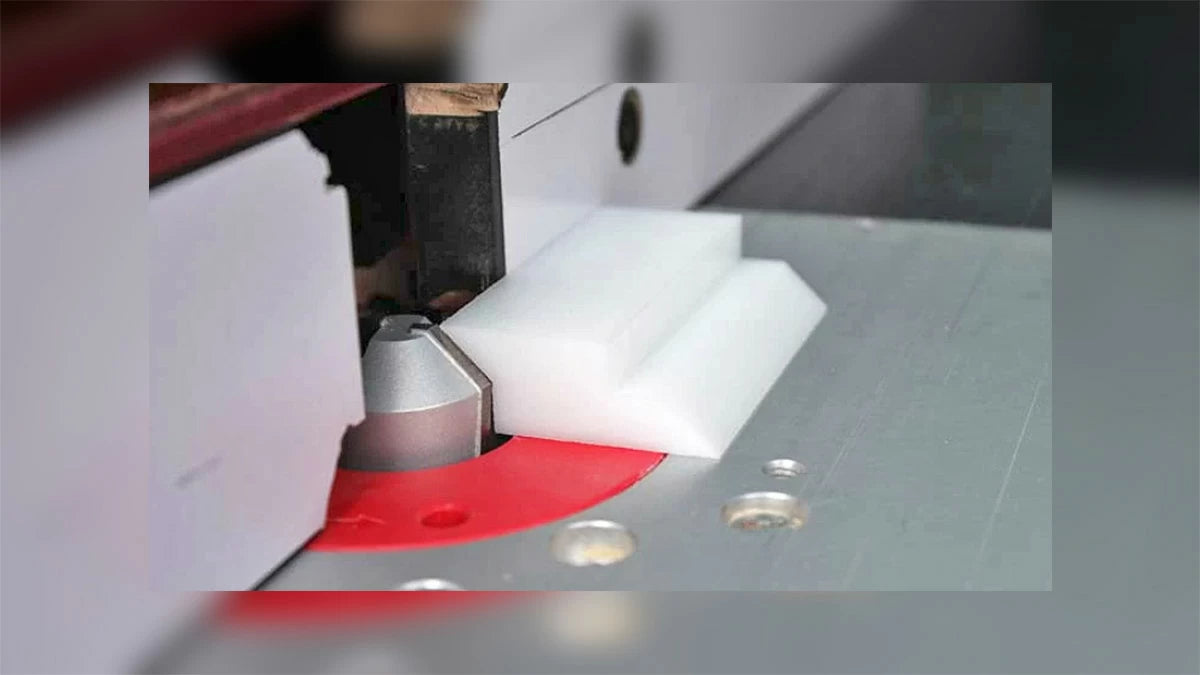
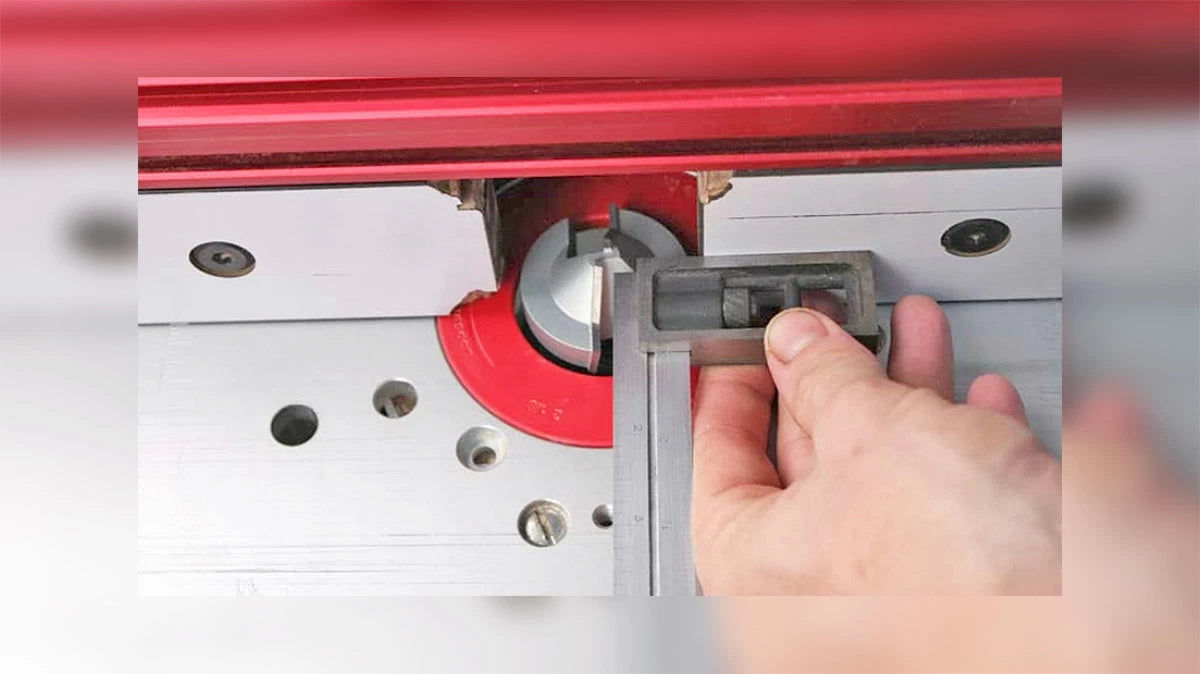
Once the bit height is set it's time to adjust the fence. My router table fence locks down at either end. I lock the outfeed end roughly in place, then I pivot the fence until my setup block touches the fence and the router bit. Once everything lines up, I lock the fence down and I am ready to cut. I also double-check that the bit is square to the fence. If the cutter is pointing at three o'clock instead of twelve, the fence will most likely be too far back and will cause the bit to cut too deep. Always double-check that the bit is positioned correctly and make a test cut to be sure.
If I'm using material that is thinner than my setup block I simply move the fence forward (towards the front of the table) the same amount as the difference in material. Basically, I'm looking to have the mitered portion of the router bit cut just to the edge of the material without leaving a flat or cutting into the face. Trust me, it is easier than it sounds. After making a test cut, if there is a flat on the edge of the material, the fence needs to move back.
That's it for setup. Infinity also makes a setup block for both 1/2" and 3/4" material. These are the most commonly used thicknesses so the setup block makes quick work of setting the bit height and fence.
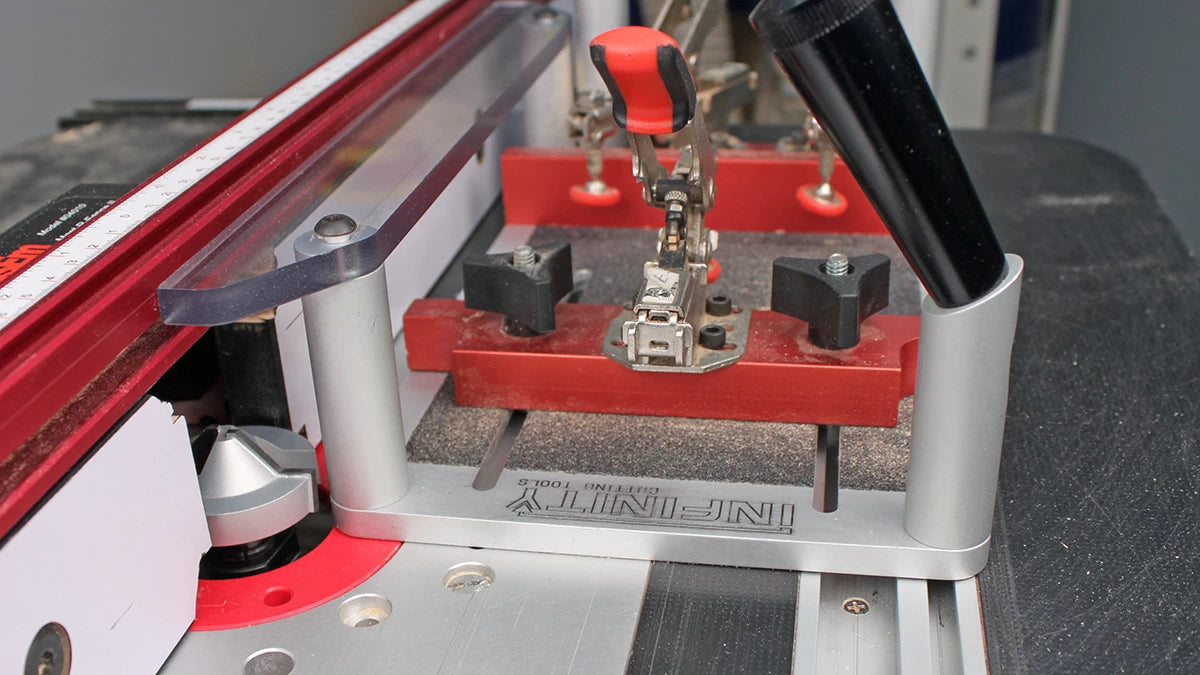
Once the bits are set up, all that's needed is to actually make the cuts. For narrow stock like drawer boxes, I like to use a coping sled to hold my workpieces. If you are using a sled, make sure to check the clearance between the bit and sled or you may cut into your sled with the larger router bit. A little more than 3/4" is required between the fence and the base of the sled to insure the bit will not cut into your sled when cutting 3/4" stock. The Lapped Miter bits have a down shear to help produce the cleanest possible cut, but in splinter-prone veneered ply it is common to have fuzz on the bottom of the cut. I make sure to remove this fuzz because it can cause the joint to not pull together tightly. A couple of wipes with some 220 grit sandpaper is all that is needed to remove the fuzz and ensure a perfect fit.
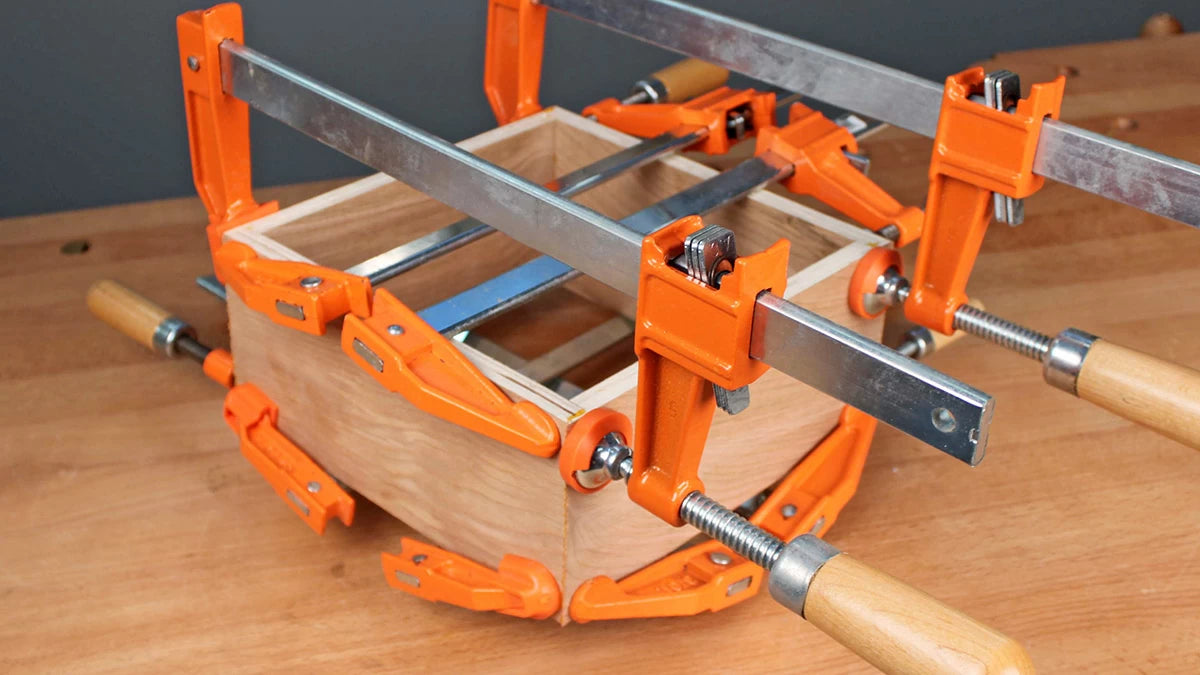
The real beauty of this joint comes when it is time to assemble the box. I like to apply glue to both surfaces and simply set everything together and start clamping away. Because the joint has a half lap type profile, the clamps pull everything together and the joint self-aligns the miter and also does a great job of squaring up the box. I always double-check that everything is square after the clamps are installed but with the lapped miter I rarely, if ever, need to make an adjustment. If you want to make the clamp up even easier, try using a Band Clamp or two. Band clamps will pull all four corners together and can save a bunch of time.
Simple right? No more worrying about miters sliding around during glue-up or little fingers breaking off because of plywood layers. Just an elegant, strong joint that is easy to make and attractive to boot. The Lapped Miter Bit set takes all the hassle out of making mitered corner boxes out of Plywood and MDF. This joint is sure to become a favorite in almost every shop.
Pre-Machined Router Bit Setup Block - For Lapped Miter Router Bit Set, 1/2" Material
Don't fumble with router bit setup, some cutters take more time to get set up correctly. For example, getting the perfect cut from your Lapped Miter Router Bit can be frustrating if you don't have experience with this type of bit. That's why we took the pain out of router bit setups with our pre-machined 1/2" thick blocks. Made from pre-cut high-density plastic, they'll make once frustrating bit set-up a thing of the past.
Easy to use - just set the height of your router bit so the 1/2" thick block matches the profile of your cutter. Since the height of your bit is automatically set, you only make a few trial cuts to dial in the height adjustment. Don't waste wood or time. For use with 1/2" stock only. Will work with most manufacturer's bits.
Please note: The setup block is not meant to be an exact fit. They are meant to serve as a height adjustment aid and/or a fence distance aid.