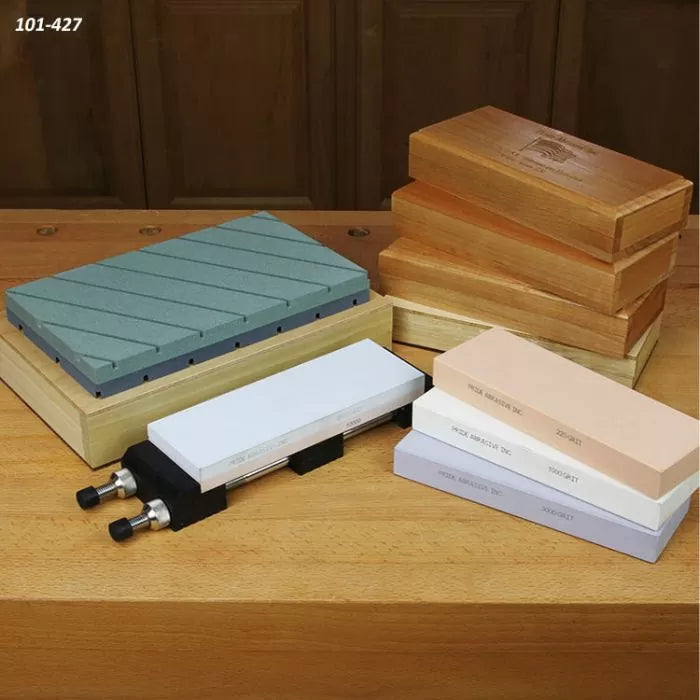
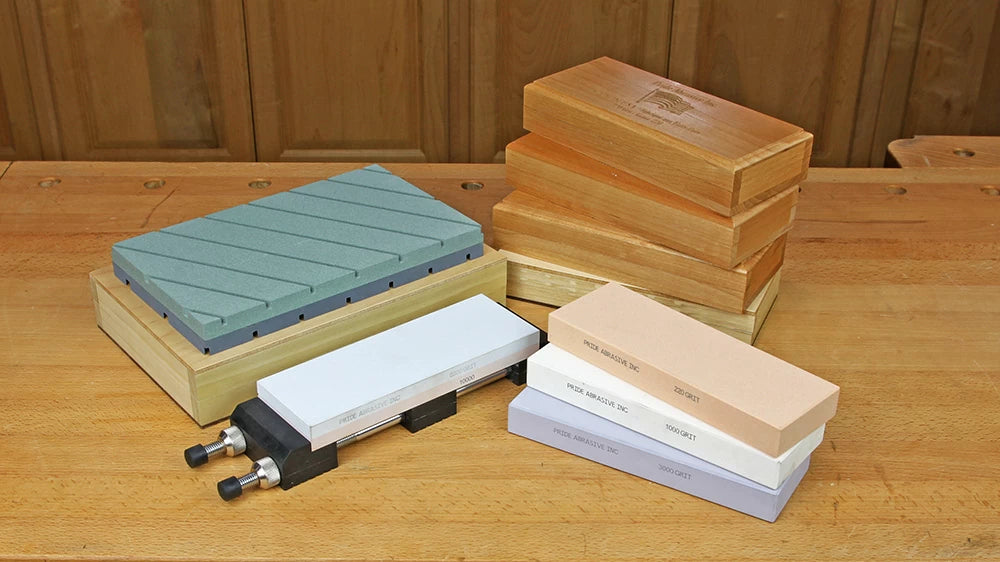
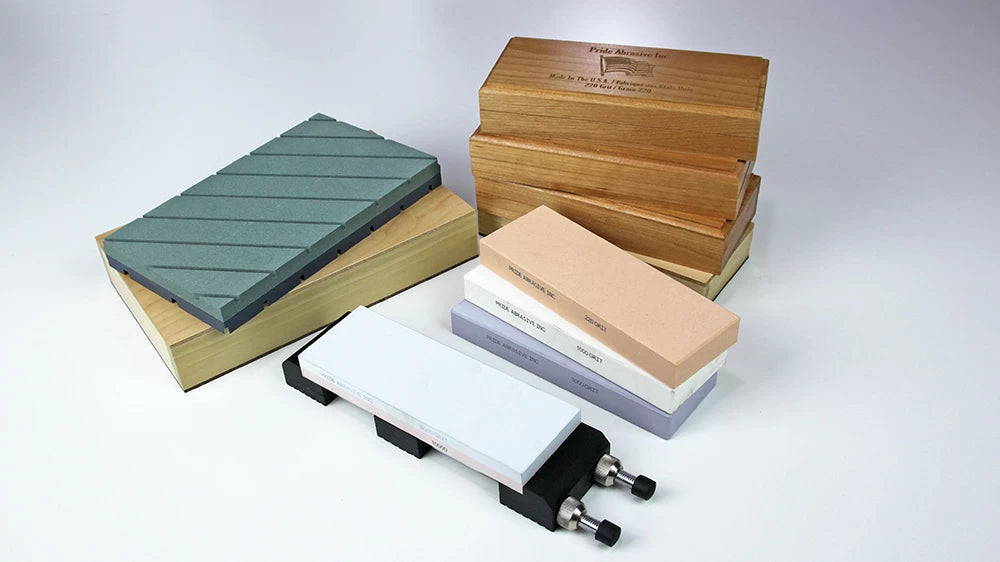
Many woodworkers struggle when it comes to sharpening hand tools. With so much information and complicated equipment available it's easy to understand why. My best advice is to keep things simple, both in technique and equipment. Waterstones are an excellent choice and can sharpen almost any type of steel you will find in the woodshop and kitchen. I recommend you take a look at the Infinity Tools Pride Abrasives 6-Pc. Master Sharpener's Package (101-427). It's a complete package that gives you everything you need to get your tools sharp without added complication.
Let's talk about waterstones first. Waterstones are quick and easy to use but require periodic flattening. As you sharpen, the stone wears and slowly goes out of flat. A flattening stone is used to remove the high spots and make your waterstone flat again. Flattening is something that needs to be done regularly. I typically flatten right before I begin sharpening or right after I finish. If I am sharpening several tools or a brand new or damaged tool, I will also flatten mid-process.
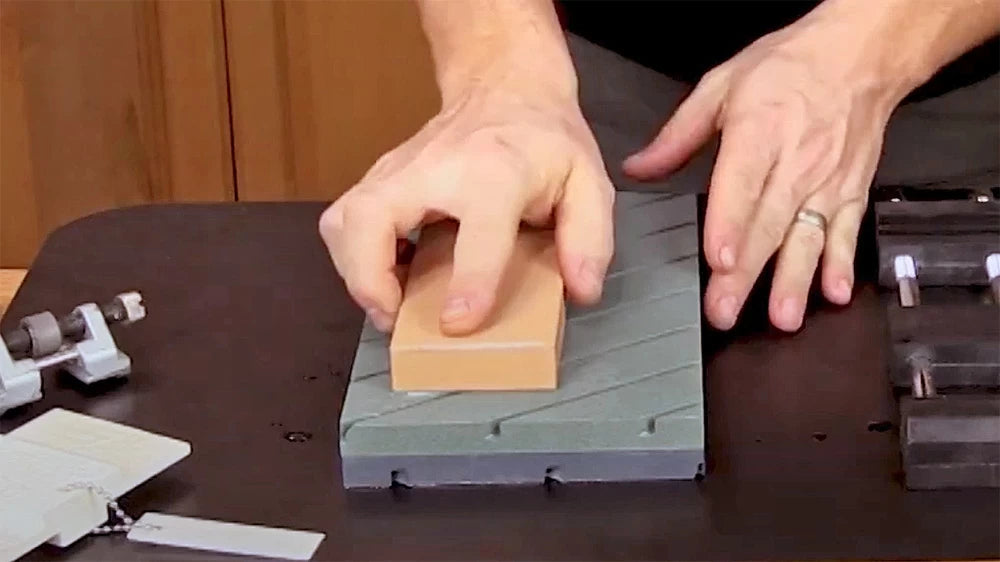
Flattening a waterstone is easy. Rub the waterstone on the flattening stone until all the marks and discoloration from sharpening are gone. When the surface looks clean and new, your stone is flat and ready to do some more sharpening.
Don't worry, flattening a waterstone only takes a few seconds when done regularly. All you do is rub your waterstone on the flattening stone. Trust me, you will be able to see when you are done because the surface of the stone will look nice and clean. If you don't keep your waterstones flat you will not be able to sharpen your tools effectively, so invest in a good flattening stone, like one from Pride Abrasives.
Now that you know how to maintain your water stones, it's time to sharpen.
STEP ONE, flatten the back. Flattening the back of a chisel or plane iron is a one time task. This is a lot like sanding, starting with your coarsest grit waterstone, lay the tool flat on the stone and rub back and forth. You only need to flatten the first 1/2" or so. Check your progress often and flatten your stone if you think it's starting to wear. Light, steady pressure is best, let the stone do the work and focus on keeping the tool flat on the stone. For narrow tools, I flatten more of the back simply to make it easier to keep the tool flat on the stone and not rocking. Once you have a consistent scratch pattern all the way along the cutting edge, move up through your sharpening stone grits. Don't rush, for future sharpenings, you will only need to polish the back on your finest grit waterstone. When you're done you should have a polished back that is nice and flat.

STEP TWO, establish the bevel. Grab your sharpening jig of choice, I have always been a fan of the inexpensive Vise Style Honing Guide (100-005) and Setup Jig (100-007). Except on rare occasions, I sharpen all of my tools with a 30° bevel angle. Grab your coarsest waterstone, set your jig to make a 30° bevel, and start honing. At this stage, you are trying to establish the primary bevel and remove any material from the cutting edge that is damaged or dull.
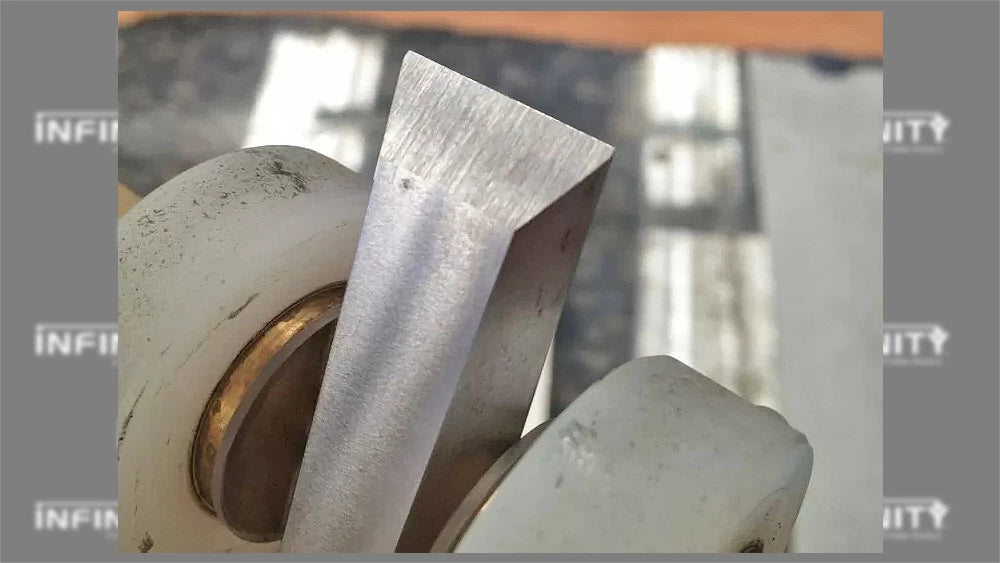
You will know when you are done because a burr will form along the edge that can be felt by dragging a finger off the back of the tool. This burr should be obvious, if you only think you have a burr, keep going. Often this burr can be seen by the naked eye or with a 6x Folding Loop (100-138).
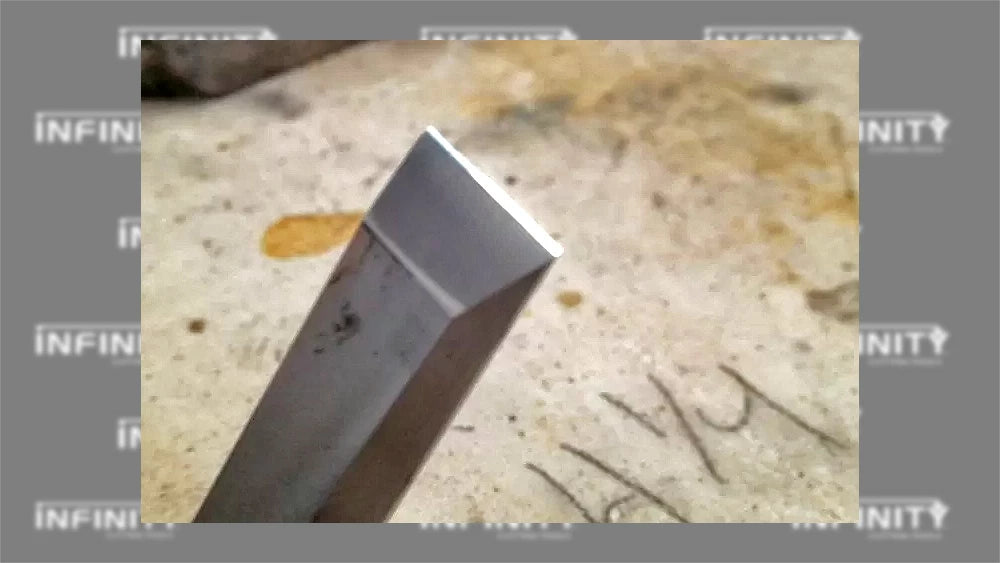
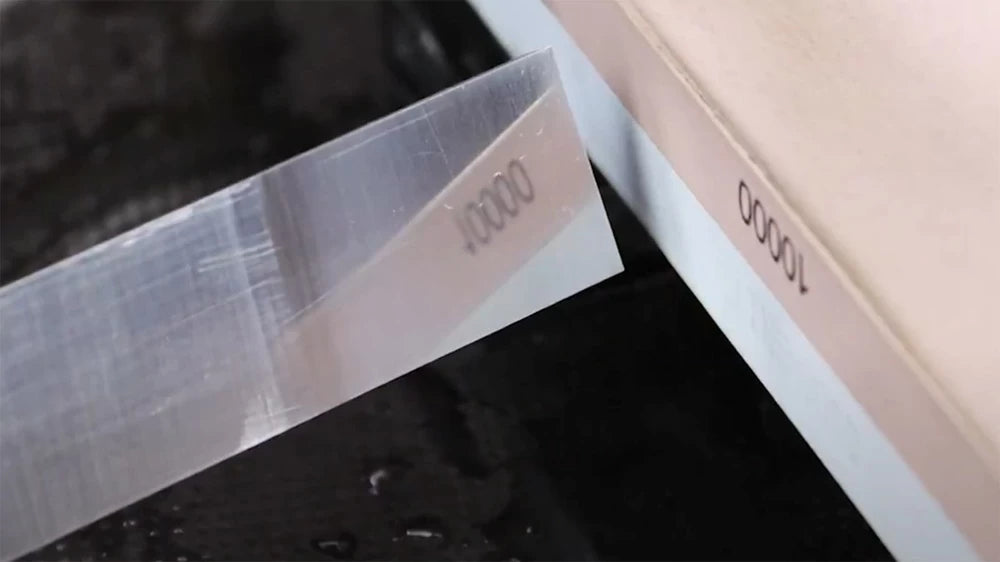
STEP THREE, hone a micro bevel. To get the job done as fast as possible, I use a micro bevel. Use the shim that comes with the Vise Style Honing Guide Setup Jig (100-007) to increase the bevel angle by a couple of degrees. Take the finest stone in your collection, if using our Pride Abrasives 6-Pc Package (101-427) this is 10,000 grit, and create a small micro bevel. 15 to 30 strokes is usually all it will take to polish a thin line along the edge and bring your tool to a razor-sharp edge. Flip the tool over and make a few strokes on the back to remove the burr. I like to flip flop back and forth a couple of times to work and remove the burr. At this point, you should have a nicely polished micro-bevel and back, and no burr left on the cutting edge. Remove your honing guide and you are ready to get back to woodworking.