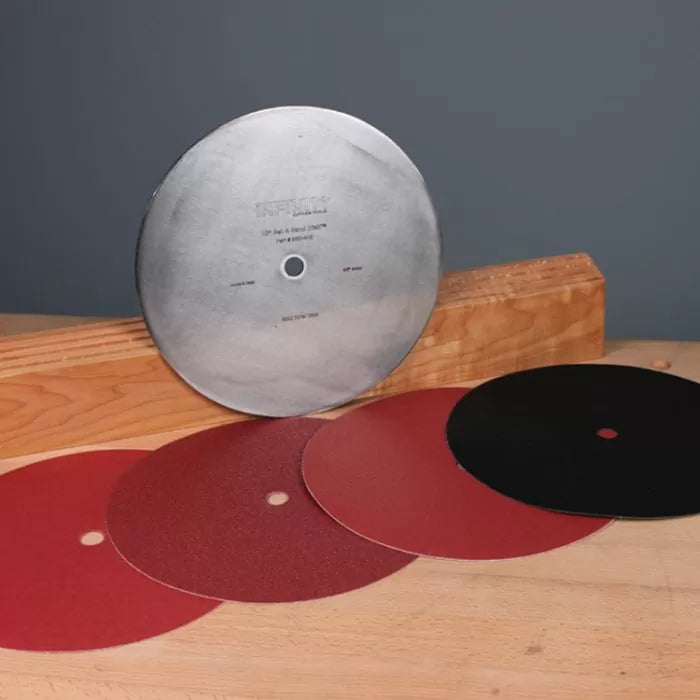
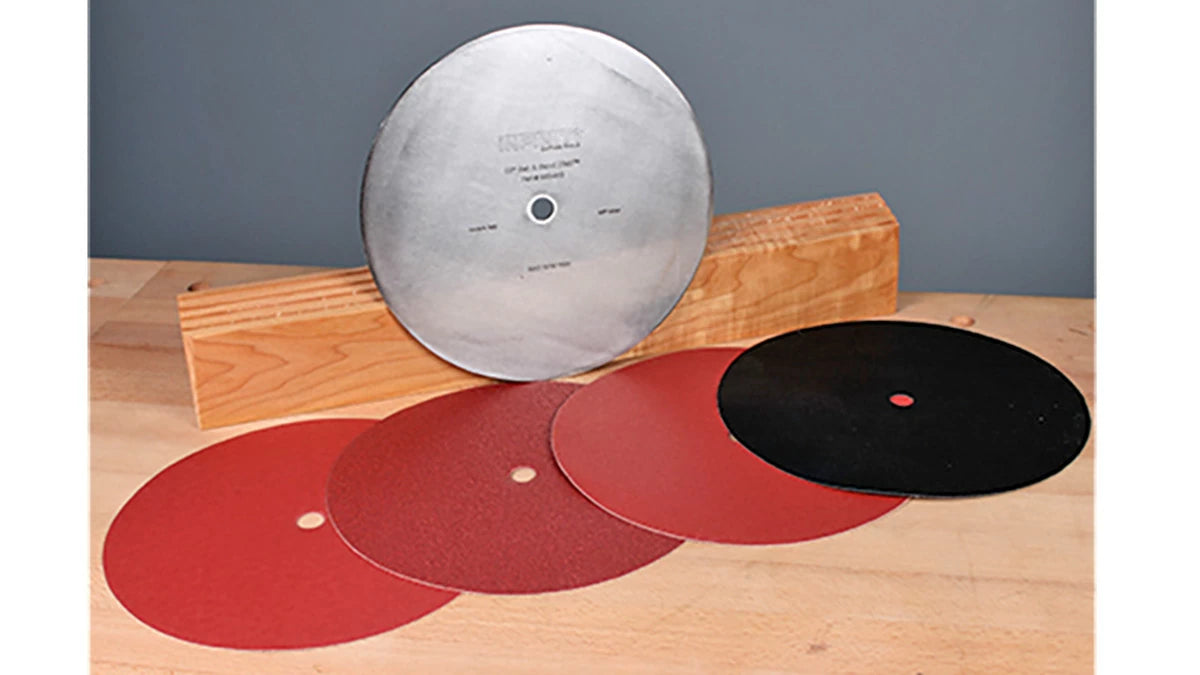
The Table Saw Setup and Sanding Disc set has only a few pieces, but what it can do is impressive! The 1/8"-thick, 10" plate, milled to perfect flatness on both sides, can be purchased separately, and you can buy the self-adhesive hook disc and assorted grit discs as needed. Or you can buy the complete set.
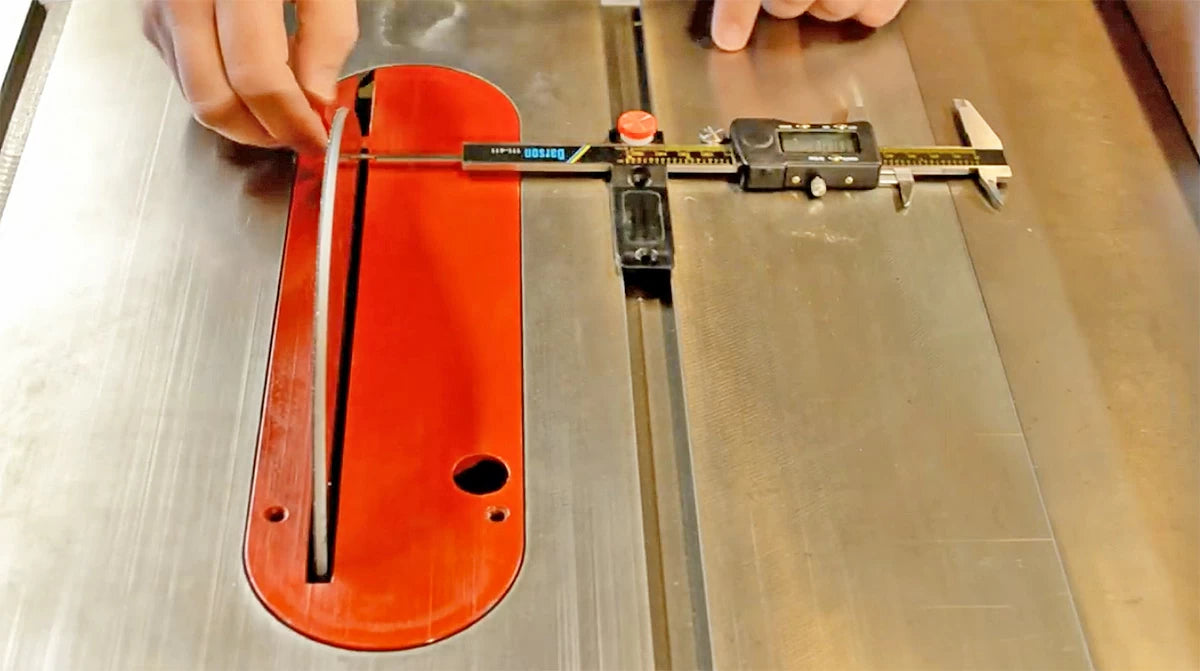
The 5/8" arbor setup disc is milled to fit perfectly flat against any table saw arbor. Once in place, aligning the plate to the miter slot is fairly simple. Using a setup gauge with extendable probe, note the distance at the leading edge of the disc.
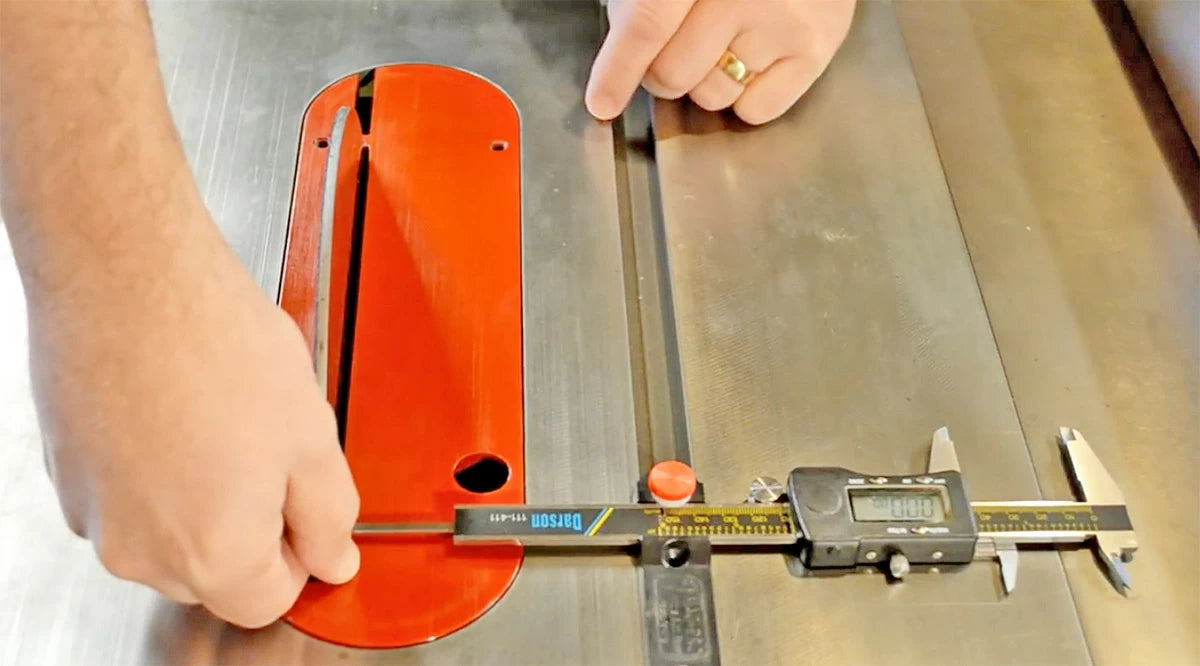
Then move the setup gauged to the outfeed side of the blad and measure again. The dimension should match the earlier reading. If there's a significat difference between the two, then you'll need to loosen your table saw top from the base and adjust until the dimensions match, then tighten the top on the saw.
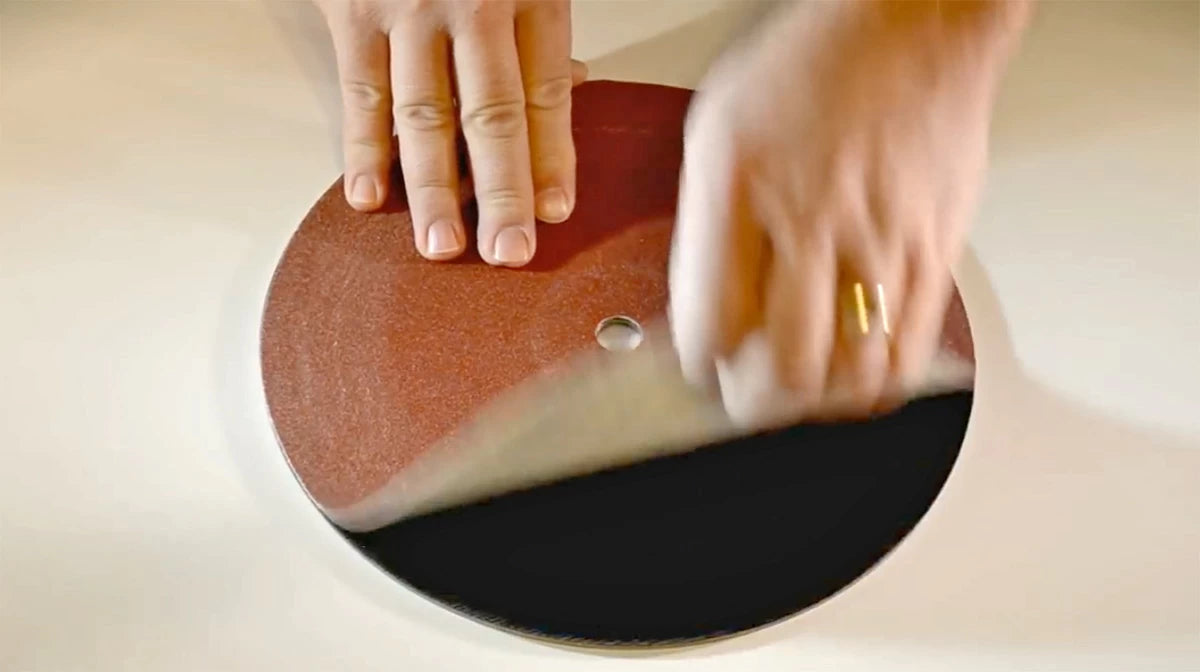
With the blade arbor perfectly aligned to the miter slot, you can use the disc for its other valuable purpose, sanding! The self-adhesive hook-material disc is simply applied to one side of the metal disc, add a sanding disc of an appropriate grit, and then reinstall on the saw.
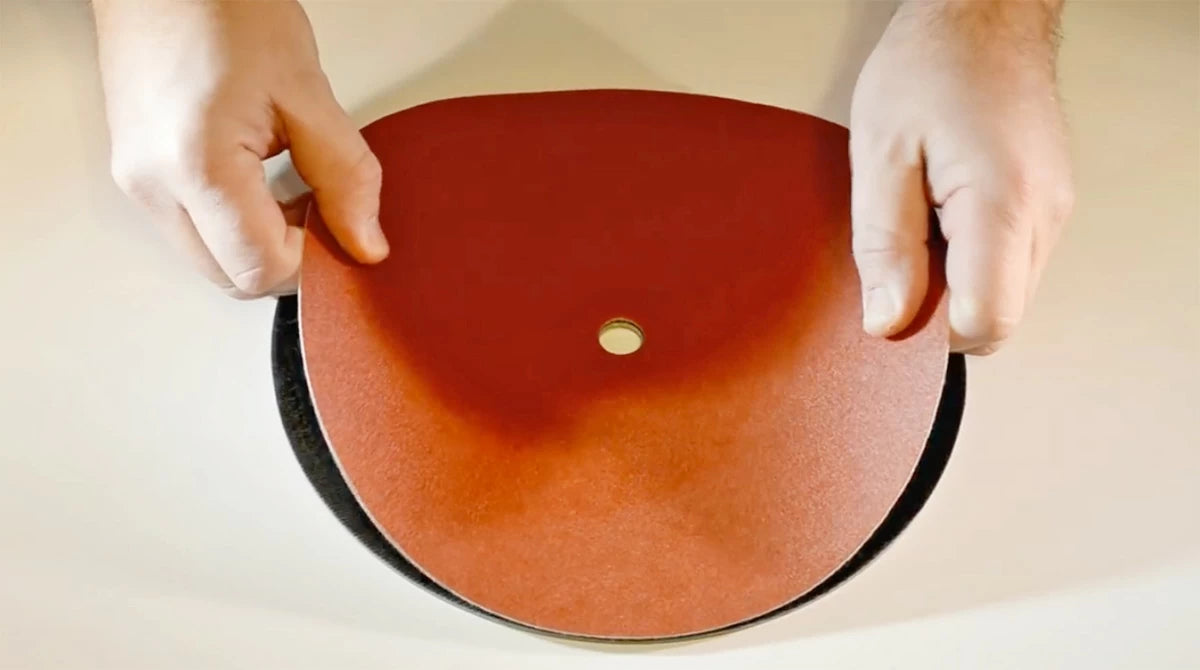
One of the other great things about the replaceable sanding discs is that you can move between grits (going higher to achieve a better finish) without throwing away good sanding paper!
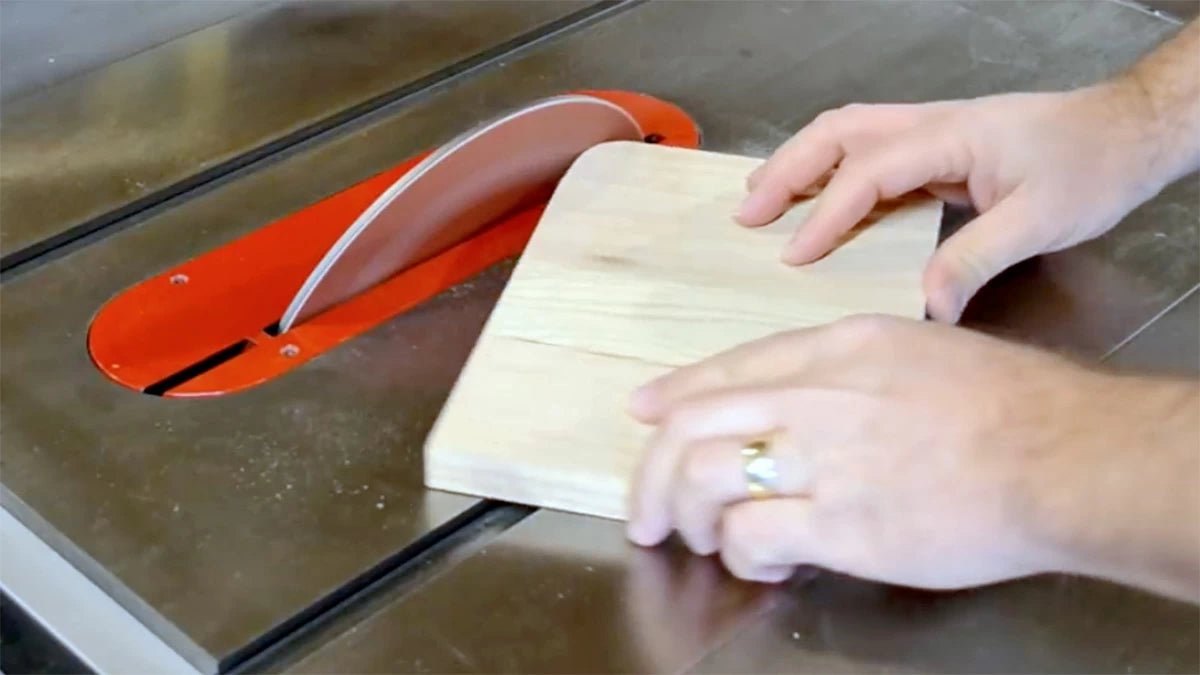
Now you can go to town with your new disc sander! But this one has an extra little benefit as well, title the blade and you have an adjustable angle disc sander!
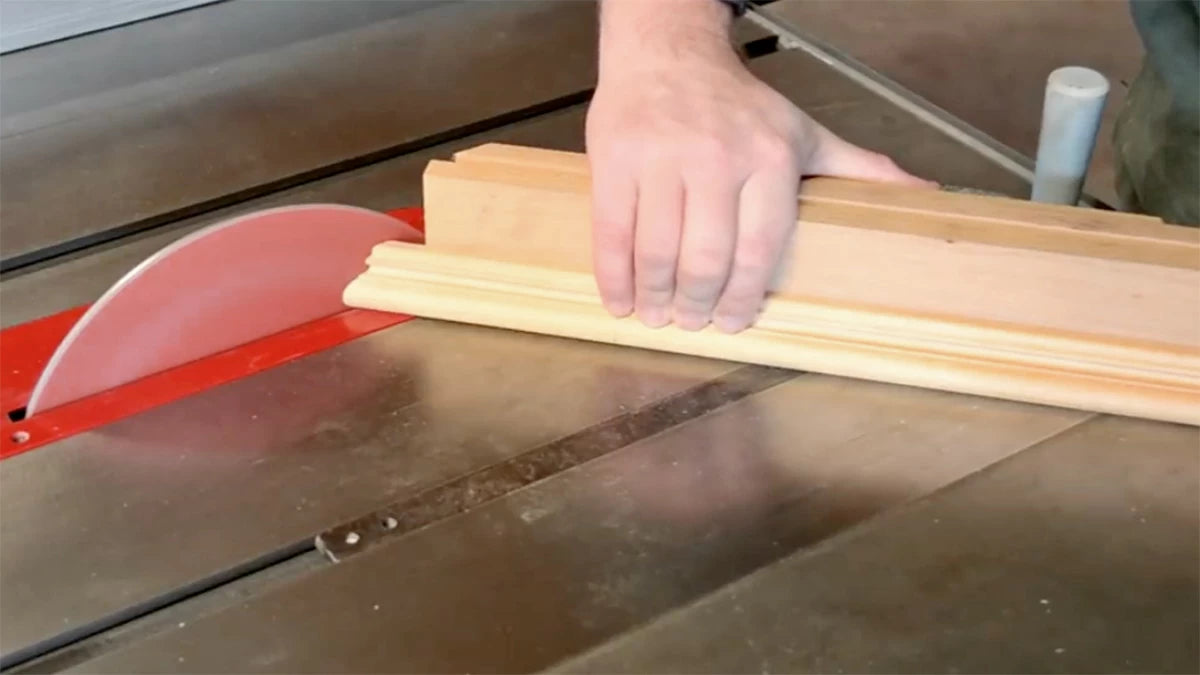
Fitting miters on almost anything becomes even easier with the table saw sanding disc. Your miter gauge can be set to match the perfect angle, then light touches against the sanding disc let you sneak up on the perfect fit!
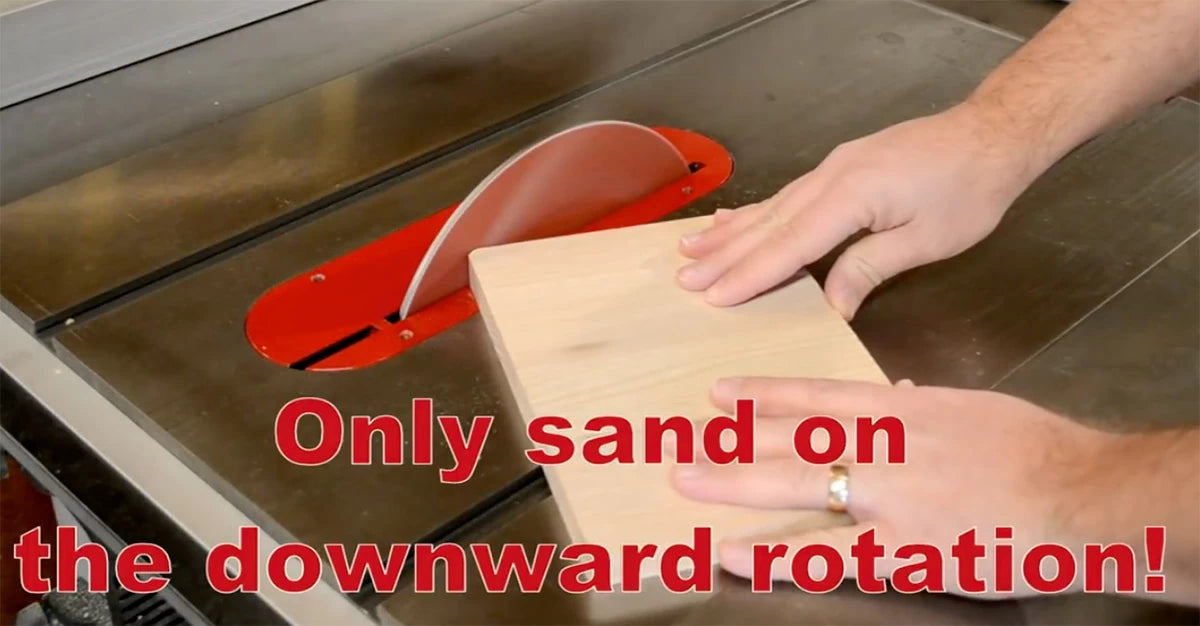
One quick safety reminder. Only sand against the infeed half of the disc, not past the center. The rotation of the disc can toss the piece up if you sand on the outfeed side! Upgrade your saw today with the Infinity Setup & Sanding Disc!