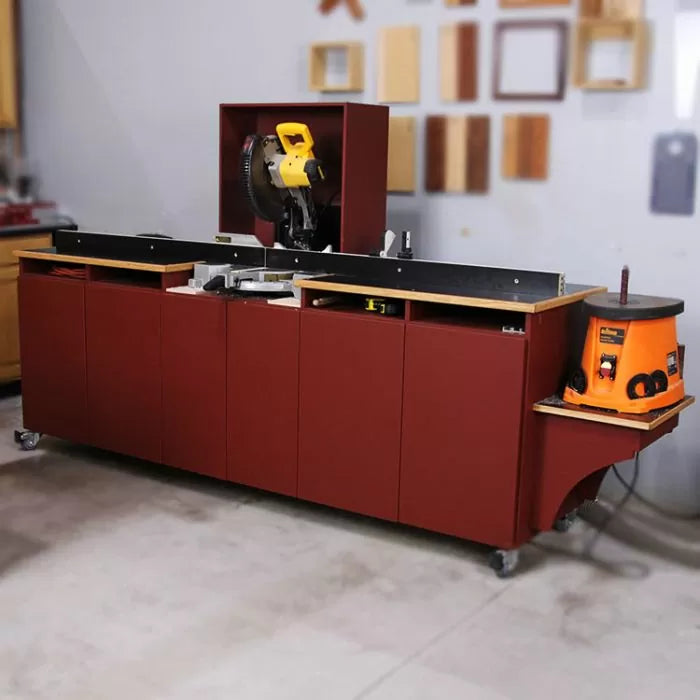
A miter saw station can take a lot of different shapes and sizes depending on your needs and the size of your shop. Our old miter saw station was nothing more than a handful of 2 x 4's and plywood screwed together. While it was sturdy, it did lack a lot of features that are very helpful. In our up-close look at our new Mobile Miter Saw Station we'll show you how it was built and its main features. We have a complete set of plans available for download (Project-007) so you can build one for your shop. So, let's get started!
The first step we took in designing our Miter Saw Station was to determine how much space we had available for it. While we are lucky to have a reasonably large shop we still wanted a design that was not overly huge. Next, we took a look at the type of work we use the miter saw to do. One of the biggest jobs we use the miter station for is to break down lumber to rough length before milling. It's not uncommon to have lumber come through the shop that is 12' long, so we knew we wanted to have a decent amount of table space both right and left of the blade. Then we looked at the materials we could use to build the station and it became obvious that making the surface from 8' plywood made the most sense. We also decided that making the station mobile would be advantageous. Finally, we decided on a height of 36" because this matches some of the other table surfaces in our shop and allows for extra long boards to use other areas for support.

Setting as many surfaces as possible in your shop to the same height is always a good idea. Doing so can make a small shop feel larger than its footprint would imply. It also makes handling long or large work-pieces much easier as they can be worked on with limited interference.
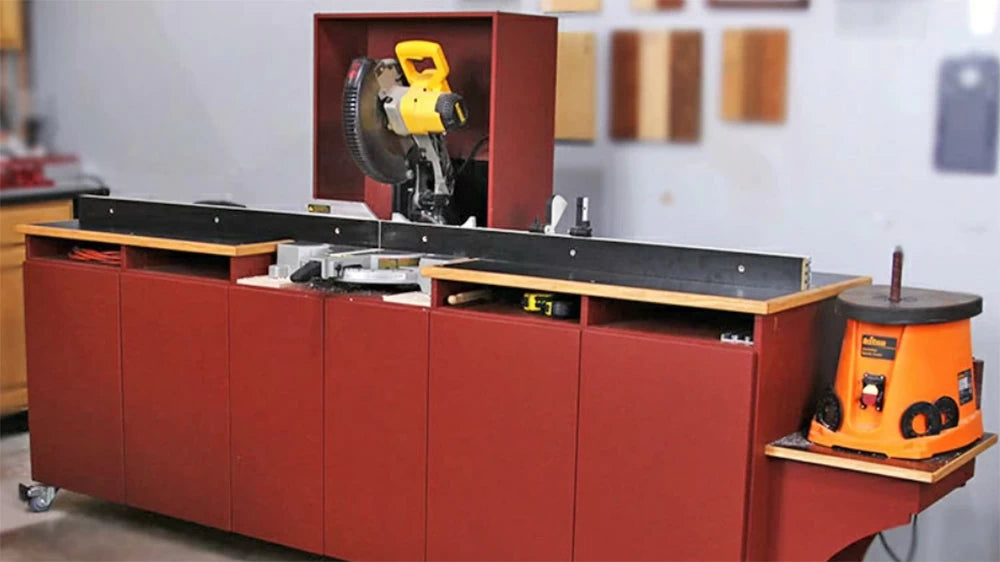
Because we wanted the station to be mobile we needed to ensure a couple of details. First, we needed some casters so we chose to use the Infinity Heavy-Duty Double-Locking Caster Set, 4-pc. (HDC-001). These are the same casters we use for the Infinity Adjustable Heavy Duty Tool Stand (HDTS-001) and Professional Router Table Package (RTP-103). Second, we needed this long table to be stiff and able to span the 8' length without sagging. While we could have used more than 4 casters, doing so would ultimately cause a teeter-totter affect on uneven floors. We went with 3/4" plywood all around because it allowed us to make a very sturdy table that reduces the chances of sagging.
The final element we wanted for the station was storage, actually, dust-free storage. Our design includes doors because miter saws will inevitably make a lot of small particulate that is hard to capture. Since the station is not permanently attached to the wall we decided to go with standard adjustable shelves rather than pull-out trays. The chance of tipping would be increased with pull-out trays so traditional shelves were a logical choice.
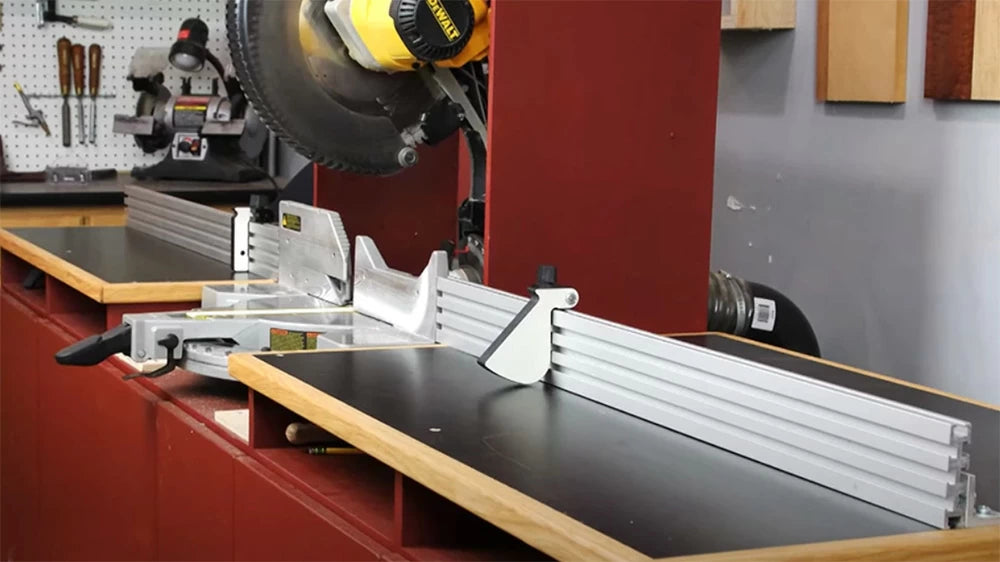
A second advantage to a mobile station is it gives you flexibility to use different types of miter saws. We currently have a standard 12" non-sliding miter saw, but because that table can be pulled away from the wall we could easily add a sliding saw in the future. This also gives us room to experiment with different types of dust collection enclosures.
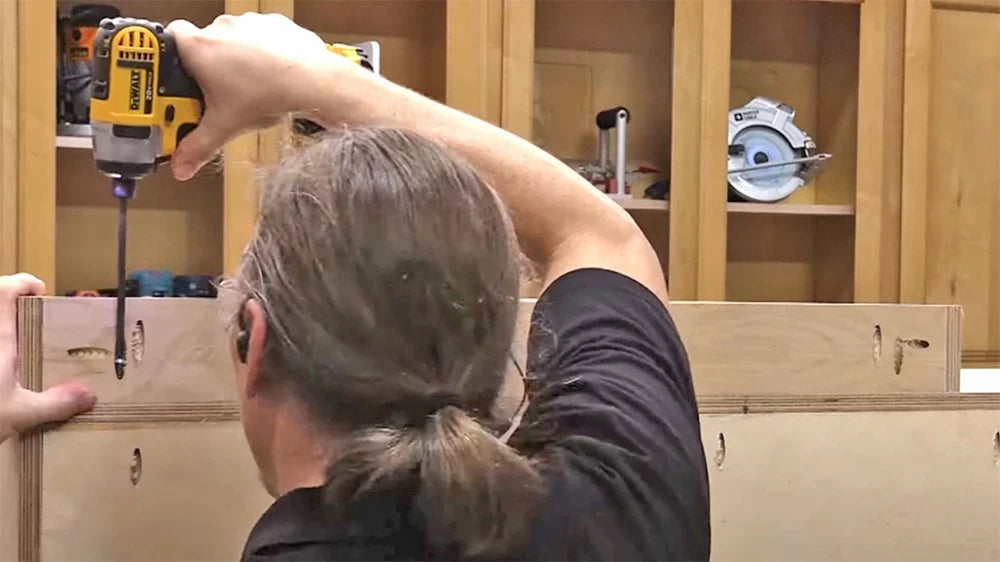
The construction methods is simple and straightforward; the Miter Saw Station is built as one long cabinet using Kreg pocket screw joinery. Many of the pieces in this cabinet build are too large to safely handle at our Kreg K5 pocket hole station. So we needed a jig that could travel around the work-piece and the Kreg Mini Pocket Hole Kit is ideal for that. For the more manageable pieces I still reach for the Kreg K5. We actually used a bunch more Kreg products during the construction process. Here's a quick list for you; Kreg right angle clamp (116-102), Kreg Concealed Hinge Jig (116-016), and Kreg Shelf Pin Jig (116-267).
When it comes to building shop furniture you should always do your best not to cut corners (no pun intended). Instead, think of it as practice for your next fine furniture project. This means taking the time to sand all the parts and make sure everything is straight and square. Taking this approach helps us find the faults in our build process. For instance, we forgot to sand all the pieces of this cabinet before assembly so we had the much harder job of sanding all the parts with the cabinet together. Fortunately, we've got the Mirka Deros Dust Free Sanding System (102-522) in our shop. It lived up to its name and did a great job of sucking up almost all of the dust in this build, making it a much more pleasant experience.
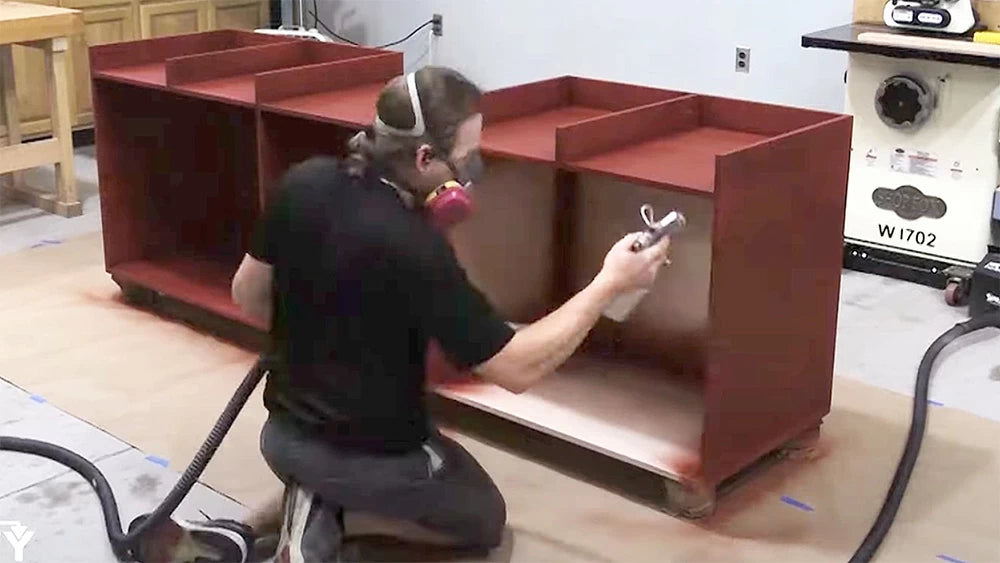
You're not done until it's finished! So we went the extra mile and sprayed our miter saw station with some General Finishes Tuscan Red Milk Paint (117-212). We applied 3 coats on every part of this project in a single day, including the cabinet carcass, doors and shelves. Good thing the General Finishes water-based Milk Paint dries so quickly! But if you've ever sprayed a water-based finish you know it has a tendency to raise the grain on plywood. Sanding first to 180 or 220 grit really helps keep the grain from lifting. When applying finish with an HVLP, we recommend the VersaSpin painter's pyramids (100-220). These project helpers are worth their weight in gold.
Be sure to check out the video and keep scrolling for a complete list of the tools we used in this build. If you'd like to make a version of our Mobile Miter Saw Station for yourself, we have a complete set of plans (Project-007) available for download. You'll get detailed dimensional drawings that will make your project easier.
Having nice furniture makes us feel proud every time we walk in our shop and surely it will do the same for you. Whether you follow our plans or come up with your own design, be sure to grab one of our 48" Professional Miter Saw Fence Systems (100-349) to give it the ultimate finishing touch. Good luck!