Featured

Drawer Joinery Methods for Your Next Project

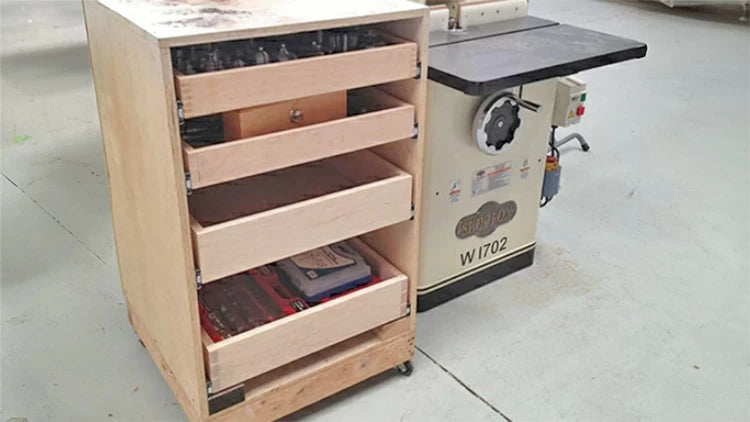
Where do you store all of your router bits and shaper cutters? Most people have a drawer dedicated to them by their router table or in a case somewhere. Now, where do you store your router and shaper bits when you have dozens of different profiles from the Infinity Tools catalog. We use lots of our bits for test cuts, profile photos, and to work on some of our projects, so we need an organize way to store them.

I decided to add drawers to one of our rolling storage cabinets. It would hold a bunch of our router bits and keep them organized, not to mention preventing them from getting damaged by rolling around loose in a drawer somewhere.

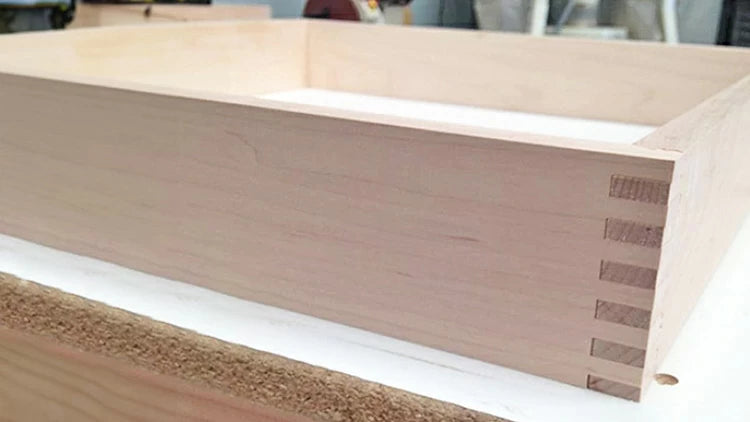
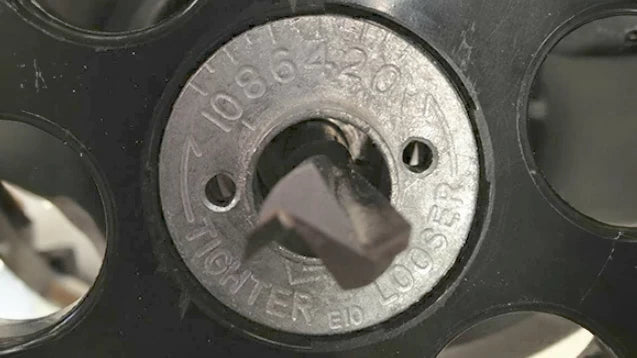
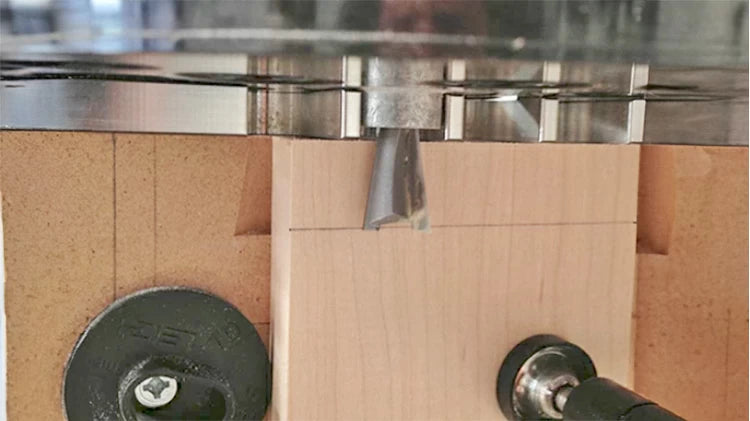
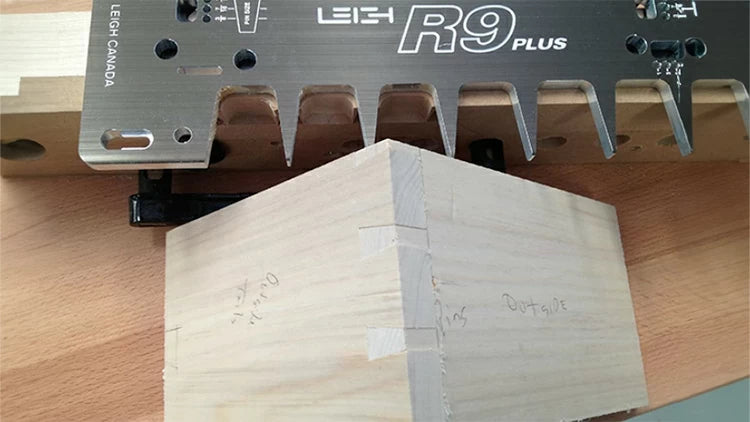
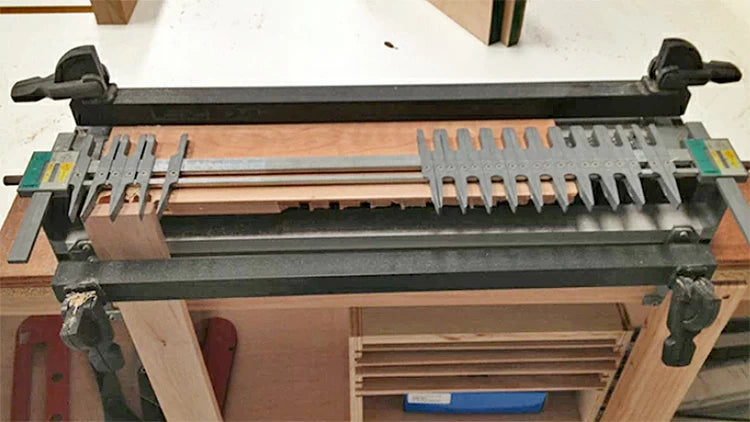
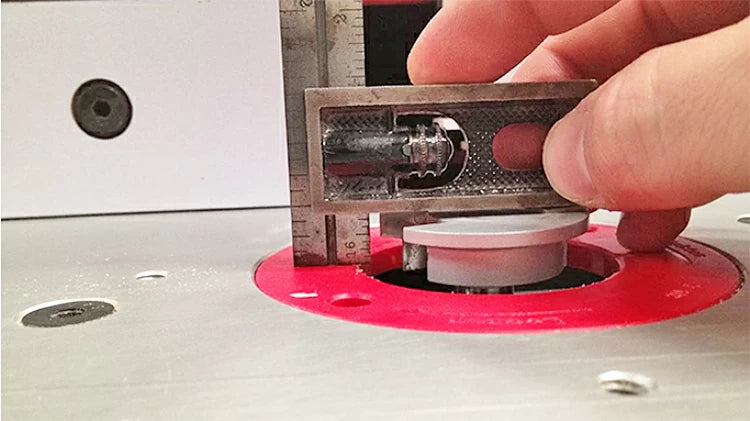
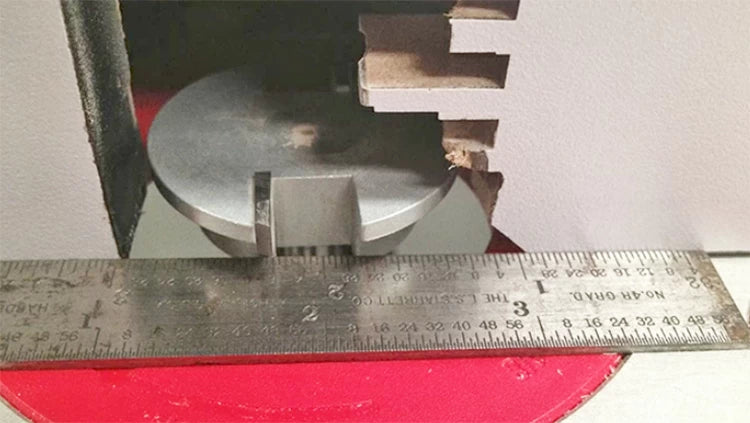
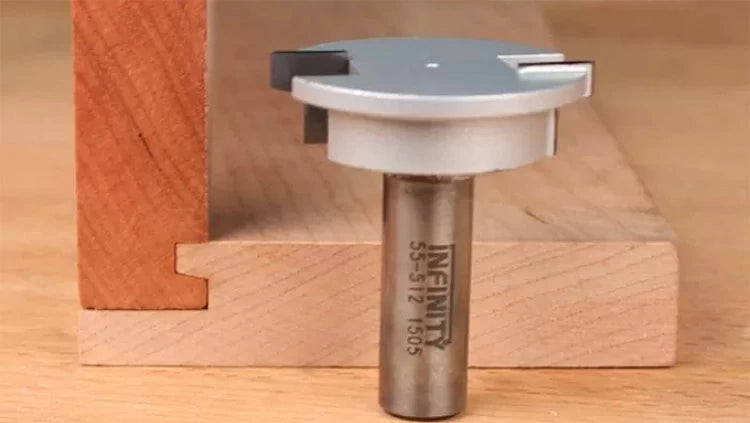
To make the drawers for this cabinet, I decided to make every drawer using a different joinery method. We used two different dovetail jigs, a drawer locking router bit, and a box joint jig.

Incra I-Box box joint jig and Infinity Cutting Tools 1/4
Incra I-Box box joint jig and Infinity Cutting Tools 1/4"-kerf flat-top table saw blade.

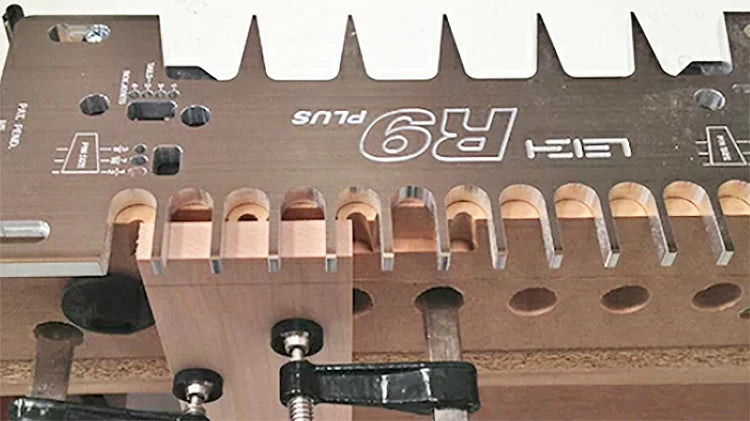
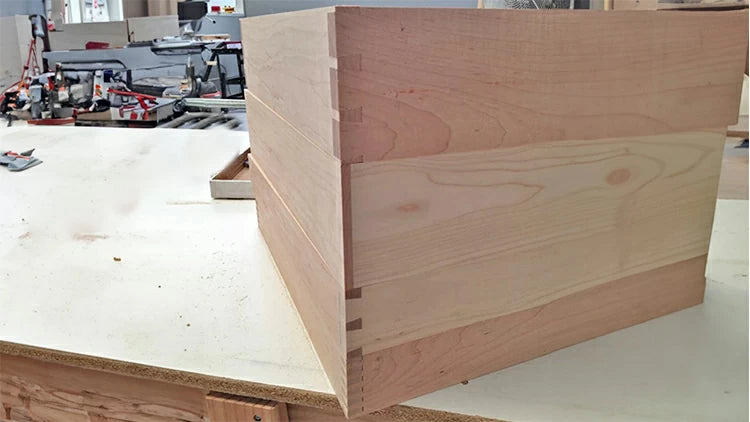
The first box I built was with the Incra IBOX Jig. What a delight this was. Once it's set up (it only took me two test cuts), the IBOX jig in combination with the Infinity Tools 1/4" Kerf Flat Top Blade makes quick, clean, and easy work of box joints.  It's very simple to use.  This was one of the two quickest jigs to use.  It really is as easy as lining up your piece in the jig and then placing it in its slot each time.

Incra I-Box box joint jig and Infinity Cutting Tools 1/4

Next up was the Leigh Dovetail Jig.  This is Leigh's budget-friendly dovetail jig.  It allows you to cut both through dovetails and box joints at the router table or with a hand-held router.  I had to make the set-up board for it using Leigh's very detailed instructions and do a good number of test cuts to get my fit right.  To adjust the fit, you need to use Leigh's adjustable eBush guide bushing (included in the package).  Once you are set up, you can go to town all day on your drawers.  The R9's only real negatives are the time it takes to do test cuts and original set-up as well as having to use fixed widths on your parts due to its fixed tail spacing. Otherwise, this is a very powerful jig with the ability to cut unlimited stock width which merits a thumbs up in my book.

Incra I-Box box joint jig and Infinity Cutting Tools 1/4
Leigh dovetail jig eBush elliptical bushing
Incra I-Box box joint jig and Infinity Cutting Tools 1/4

My old standby for machine cut dovetails is the Leigh D4R dovetail jig.  This machine only allows you to cut dovetails in parts up to 24" wide, but gives you the ability to change the width of your pins and tails to create a much closer to hand-cut feel.  It also has an amazing clamping system and reference guides to set up and cut dovetails efficiently and to very tight specs.  Adjustments to tails and pins that are too loose or too tight are very quickly fixed with this jig.

Leigh dovetail jig eBush elliptical bushing

The fourth drawer was with the Infinity Tools Drawer Locking router bit.  I had never used one of these before, but I have to say I'm impressed with this router bit.  This is a very nice and affordable alternative to the rabbeted drawer box. This drawer lock router bit provides more glue surface and holding power. To use this bit, you run the drawer fronts and backs horizontally on your router table. The drawer sides are passed through the bit vertically while riding against the router table fence.

Original setup took me a few tries to get the cuts aligned but after that it was good to go.  For initial setup, raise the router bit 7/16" above the router table top. Align the router table fence by putting your material alongside the fence and then running another piece in front of that so that the bit barely clears it.  Lay the drawer fronts and backs face up on the router table and push your piece through using a backer block.  For the sides, bring the fence forward and align the bottom straight cutter with the fence so only the top cutter is exposed.  Push the drawer sides through vertically (against the router table fence) to complete the joints.

Leigh dovetail jig eBush elliptical bushing

This turned out to be a pretty fun project.  I enjoy the setup part of woodworking and each of these drawers required a different approach to them.  Even the bottom panels all ended up being different sizes.

Leigh dovetail jig eBush elliptical bushing