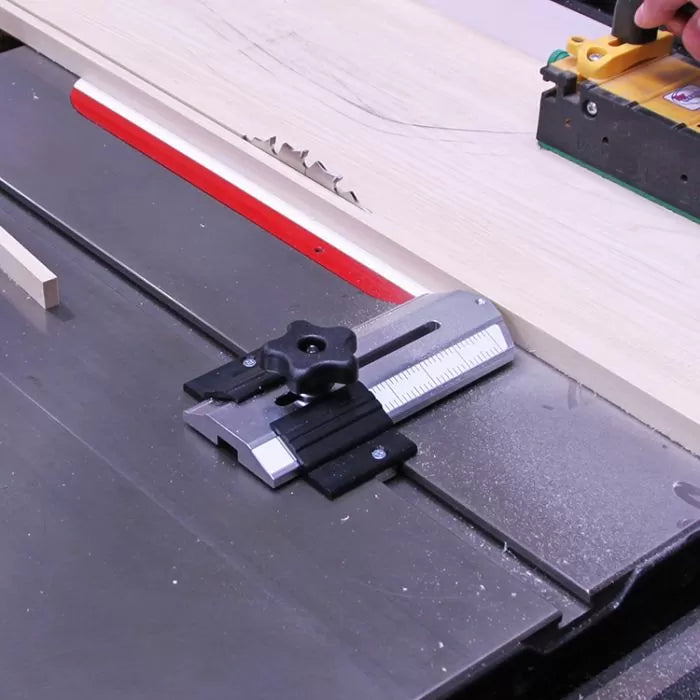

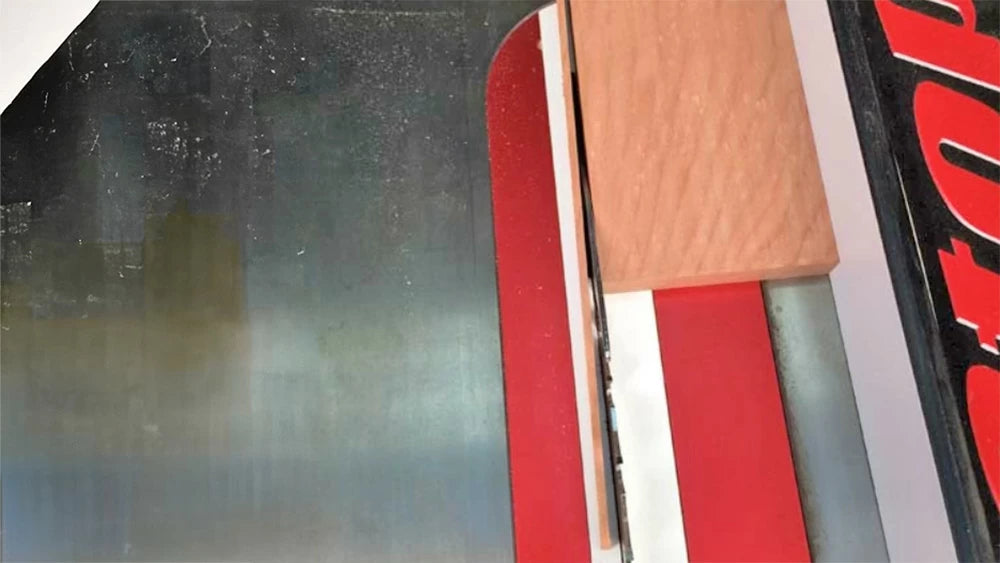
Cutting thin strips of wood on the table saw can be a scary daunting task. Not only is it hard to maintain accurate even pressure against the fence when pushing a narrow strip of wood past the blade, but there is the possibility of the wood getting bound up between the saw blade and the fence causing kickback. That's why we like our Thin Rip Guide. It helps you safely make repetitive offcuts on the left side of the saw blade.
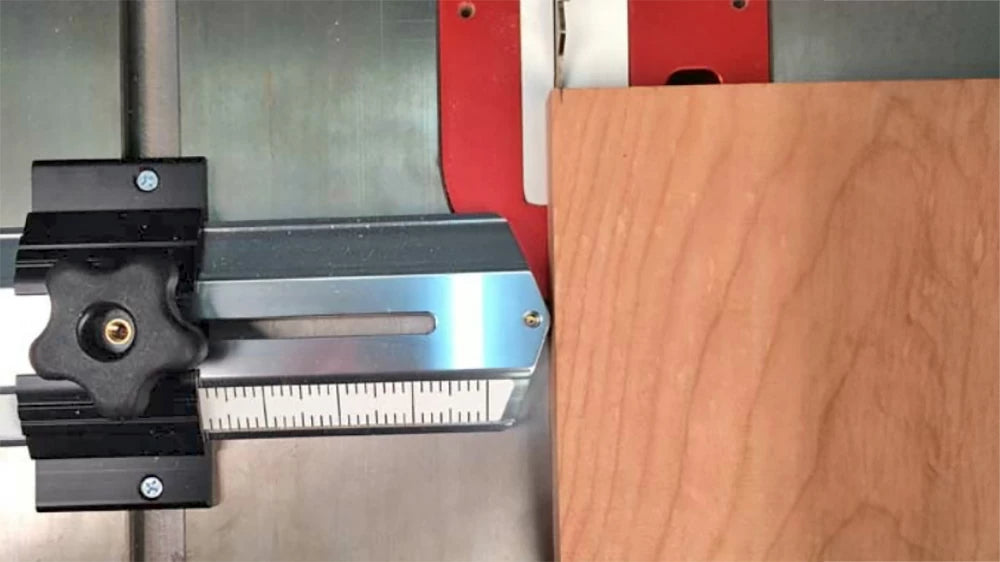
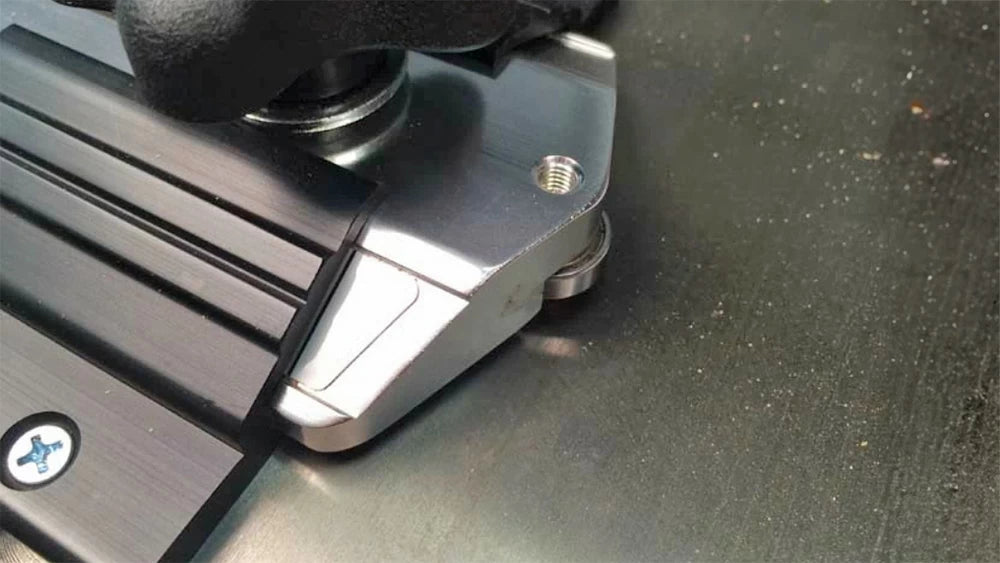
The Thin Rip Guide is easy to set up and use. Working with any 3/4" x 3/8" miter slot, simply set the jig about 2-3 inches in front of the saw blade. Using a squared piece of stock, set your fence so that the offcut (the part to the left side of the saw) is the desired width you want. Next, extend the guide over to the piece of stock so that the bearing on the Thin Rip Guide is touching the wood. Lock down the guide and rip the piece of lumber. Check the measurement on your piece of wood to make sure it is the desired width. If not, adjust the Thin Rip Guide accordingly using the built-in scale on the guide. For each successive cut, simply move your fence over to but the wood to the guide and rip away. Make sure your stock is wide enough to allow you to get out as many strips as you will need.
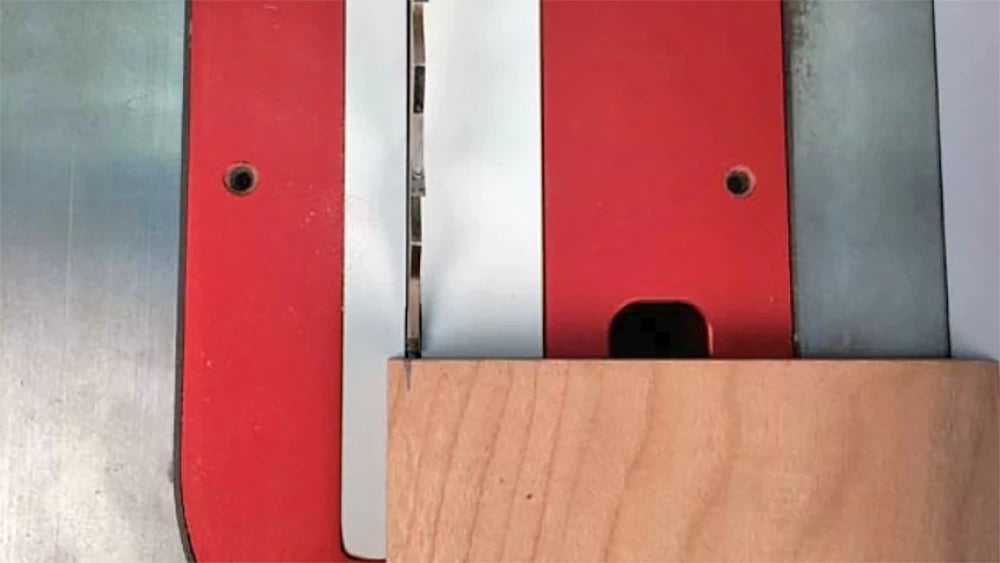
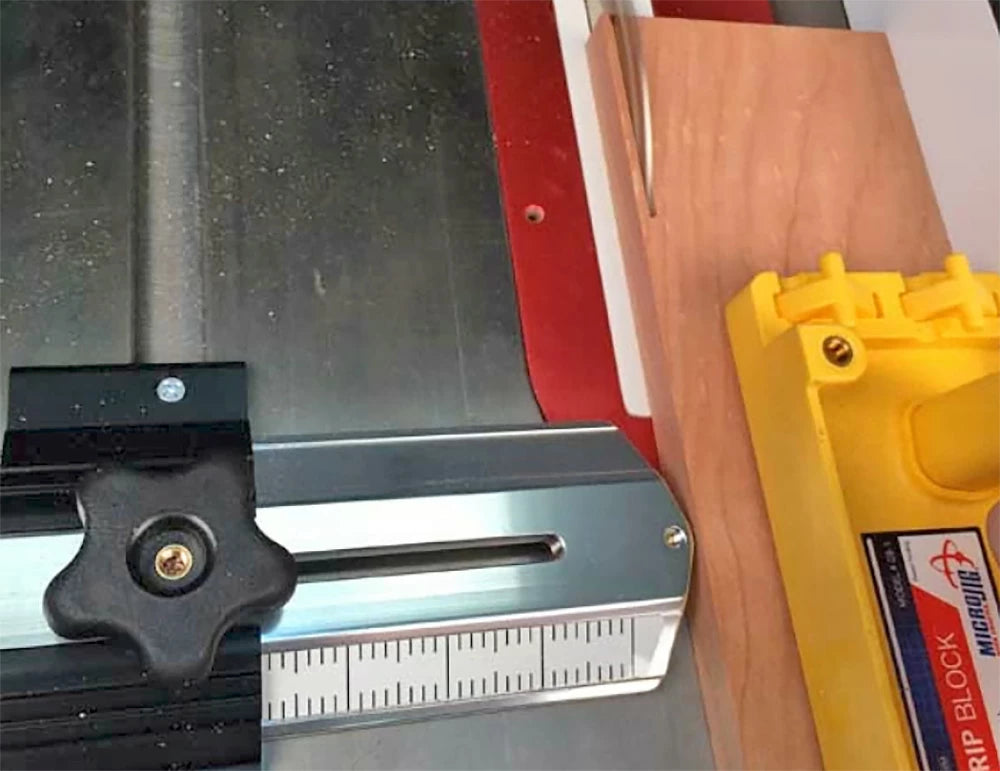
The ball bearing guide on the thin rip guide also works similarly to a feather board helping you keep your material firmly against the fence while allowing your work to flow freely past it. You can also use the Thin Rip Guide in any of your tools that have a 3/4" x 3/8" miter slot such as your shaper, router table, or bandsaw.
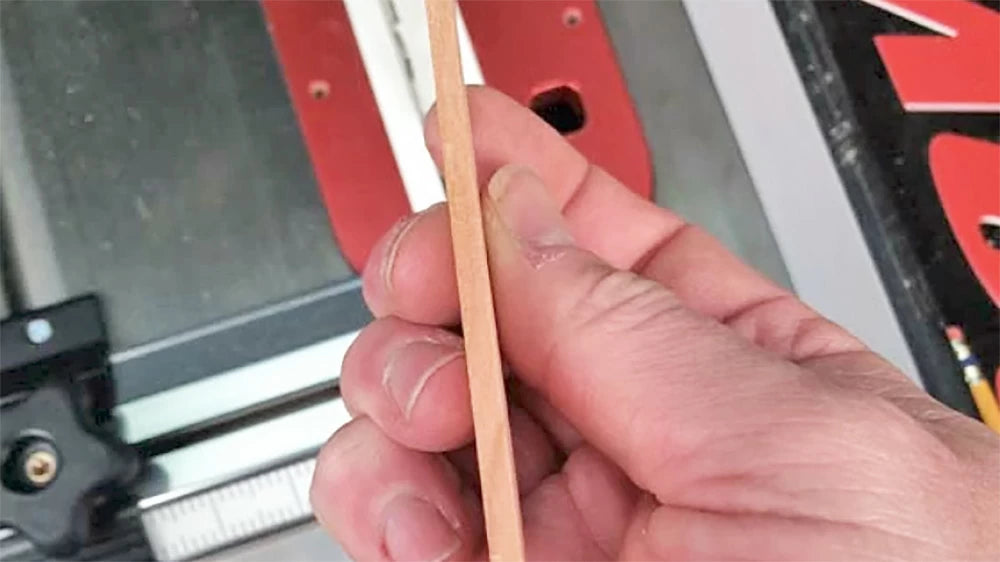
Re·peata·bili·ty - it's hard to get confirmation that this is an actual word in the English language. Some text editing software throws the red flag when you use it while other software lets you get away with it. What we can tell you for sure is that our Thin Rip Guide lets you accurately make the same thickness of rip cut, time and time again. This, to us, is 'repeatability'.
We would also like to remind you that when using the thin rip guide with the table saw, please always try to use a zero clearance insert, splitter or riving knife, proper push stick or block, and the table saws' safety guard whenever possible.