
Self-Centering Dowel Jig
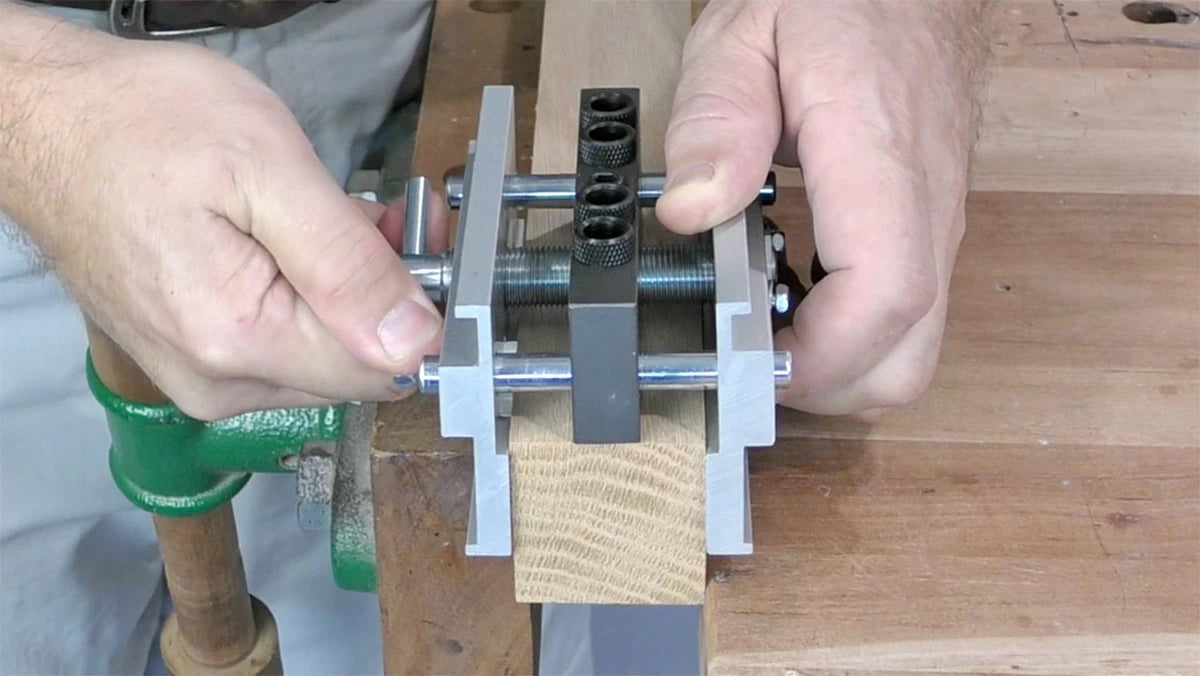
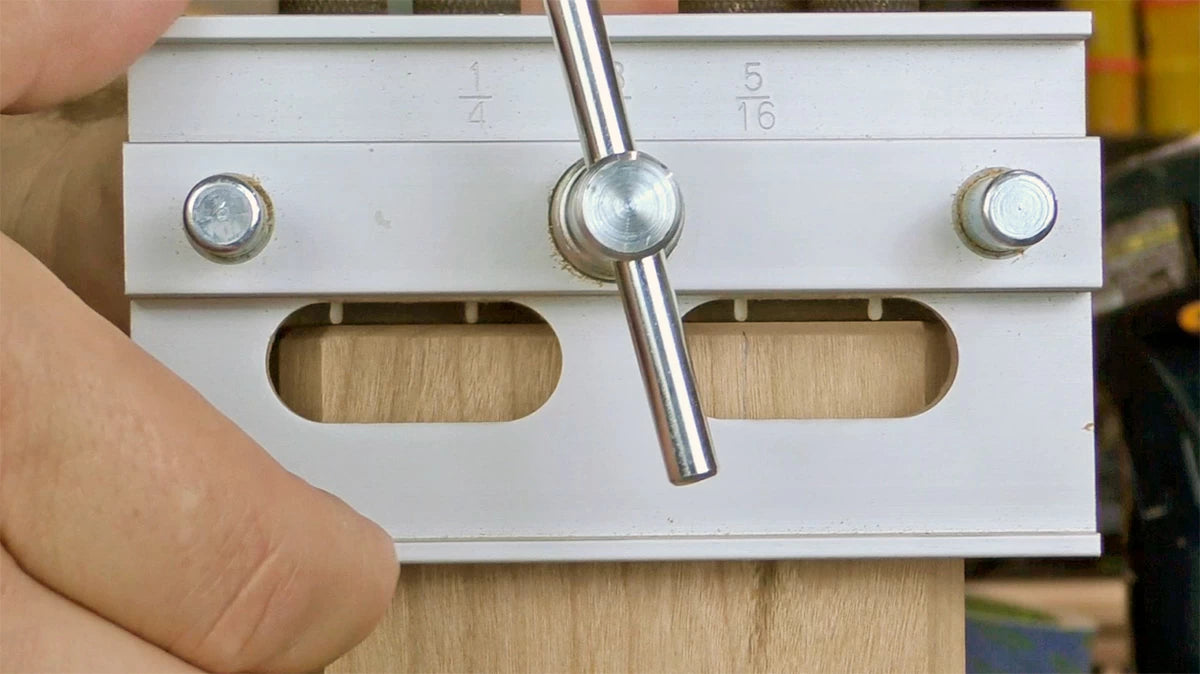
This doweling jig is completely self-contained with no loose parts to get lost or out of alignment. The patented automatic self-centering action ensures accurate center-drilling every time. The large, steel clamping screw securely tightens the tools like a vise. The rugged aluminum sides are smooth to prevent marring or damage to the wood. Works with material ranging in thickness from 3/8" up to a full 2".
Dowels, or "removable tenon" technology is nothing new in woodworking, but being able to repeatably set up the guiding mechanism hasn't always been this easy. With our self-centering dowel jig, the guide is nearly fool-proof.
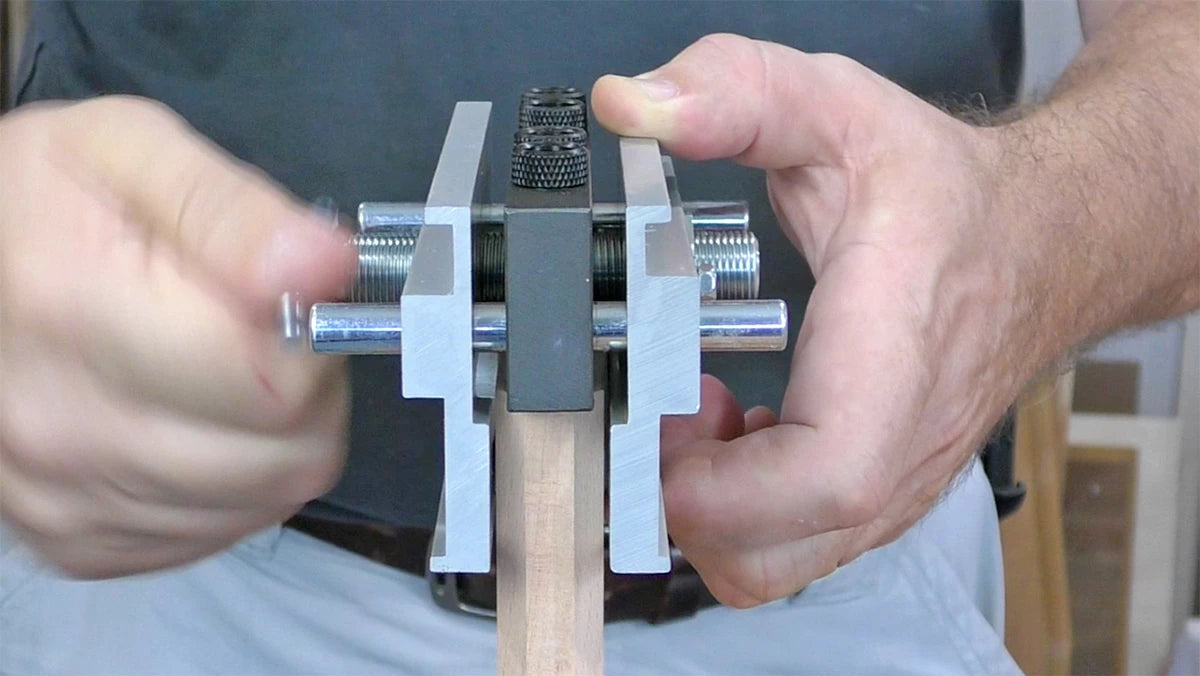
The self-centering feature makes life so easy. The jig is set to always have the center of the drilling holes in the center of your workpiece, no matter the size.
Okay, that's half the process made so simple that anyone could do it. It's actually not easy to mess this step up, so don't sweat it! If the center drilling bar is flat to the work surface and nothing is stuck between the side clamps and your material, you jig will center accurately!
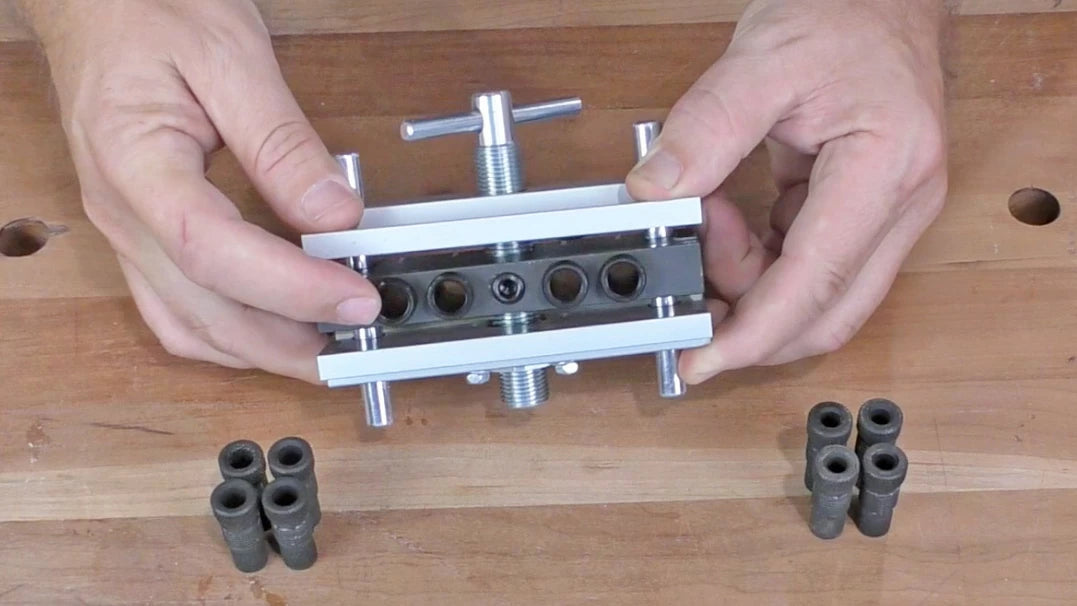
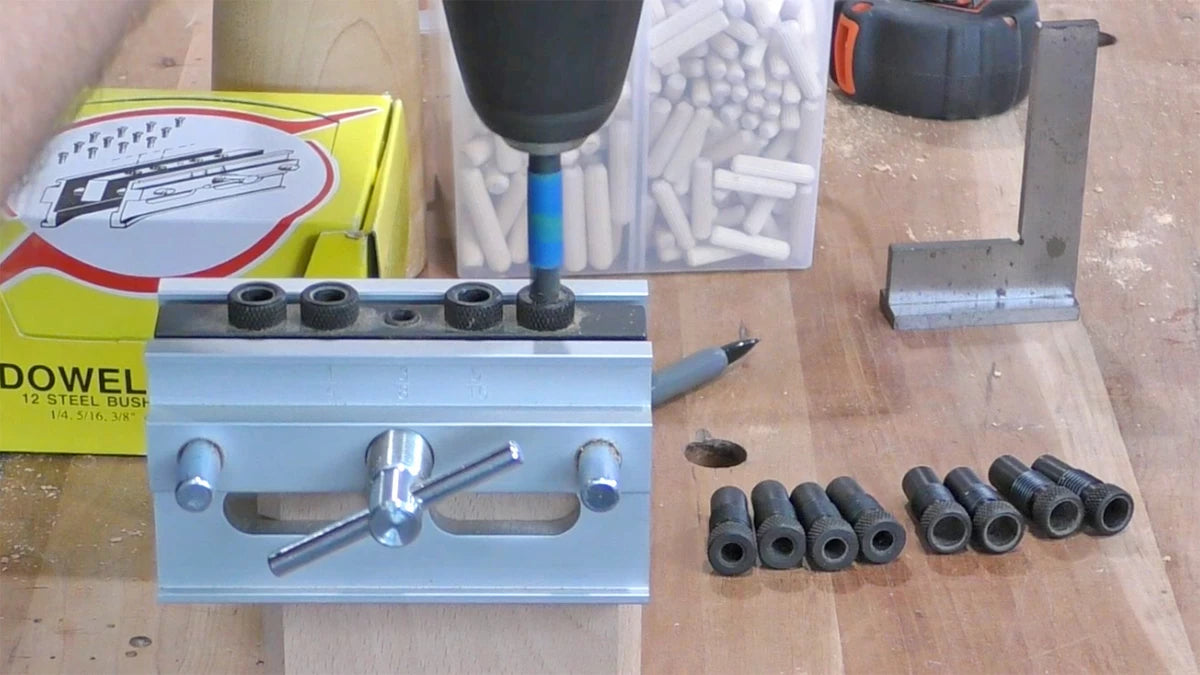
You also have the option of using different diameter dowels for your work. Thinner material should use smaller dowels to avoid "transferring" the location through too thin a side wall. This jig comes with 12 steel drill guide bushings (4 of each 1/4", 5/16" and 3/8" diameters). Simply screw the proper bushing sizes in place and you're set. The solid steel guide bushing center holes are precision drilled and reamed to exact size for extreme accuracy. The hole sizes are permanently cast in the side of the jig and will not wear off.
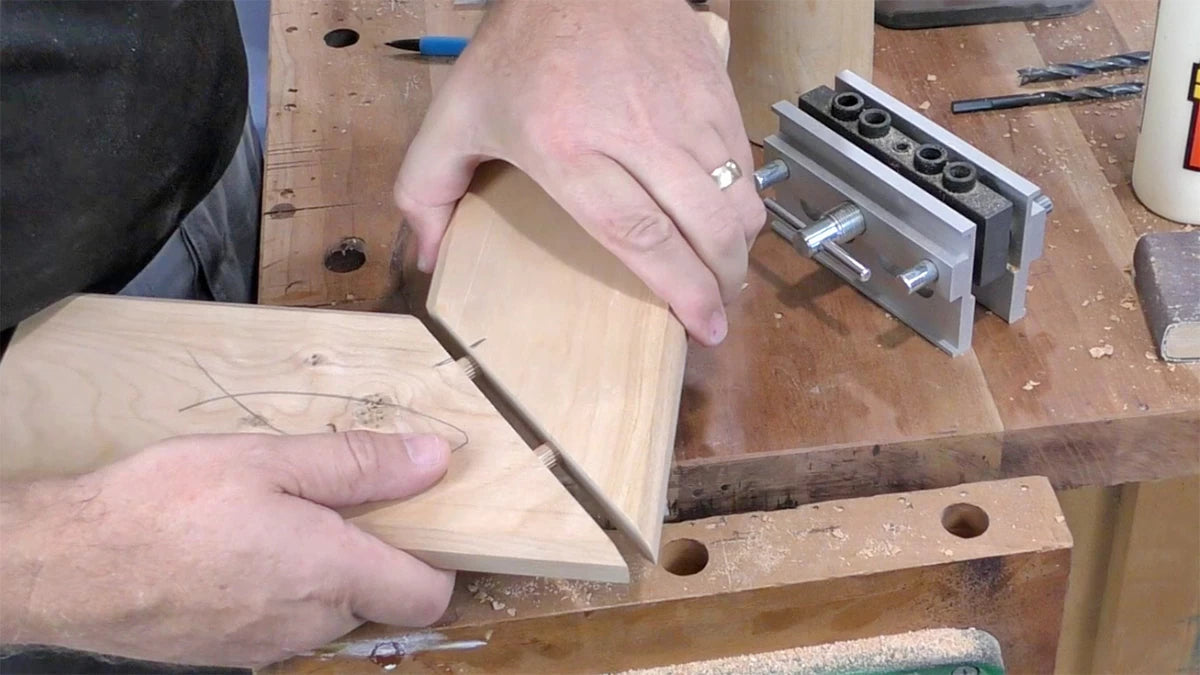
After you've marked your intended locations for your dowels on the sides of your workpiece, it's a simple matter to align the jig and clamp it in place. Make your pencil mark dark enough to see easily, and the alignment is most accurate when looking directly at the jig, not at an angle.
With the proper sized drill bit in place, you need to know when to stop drilling. If you go too far, the dowel can slide in too far and won't be deep enough on the other side to make a strong joint. Drilling a little more than half the length of the dowel will give you enough room and will keep the dowel from seating all the way in (leaving a gap at the joint!). Some blue painter's tape makes a decent depth stop, but you may want to add something more accurate such as an adjustable depth stop.

Smear some glue around the end of the dowel, place it into the hole and tap it into place, making sure it's at full depth. Don't put the glue into the hole itself. This can create a glue pocket at the end of the hole and keep the dowel from fully seating.
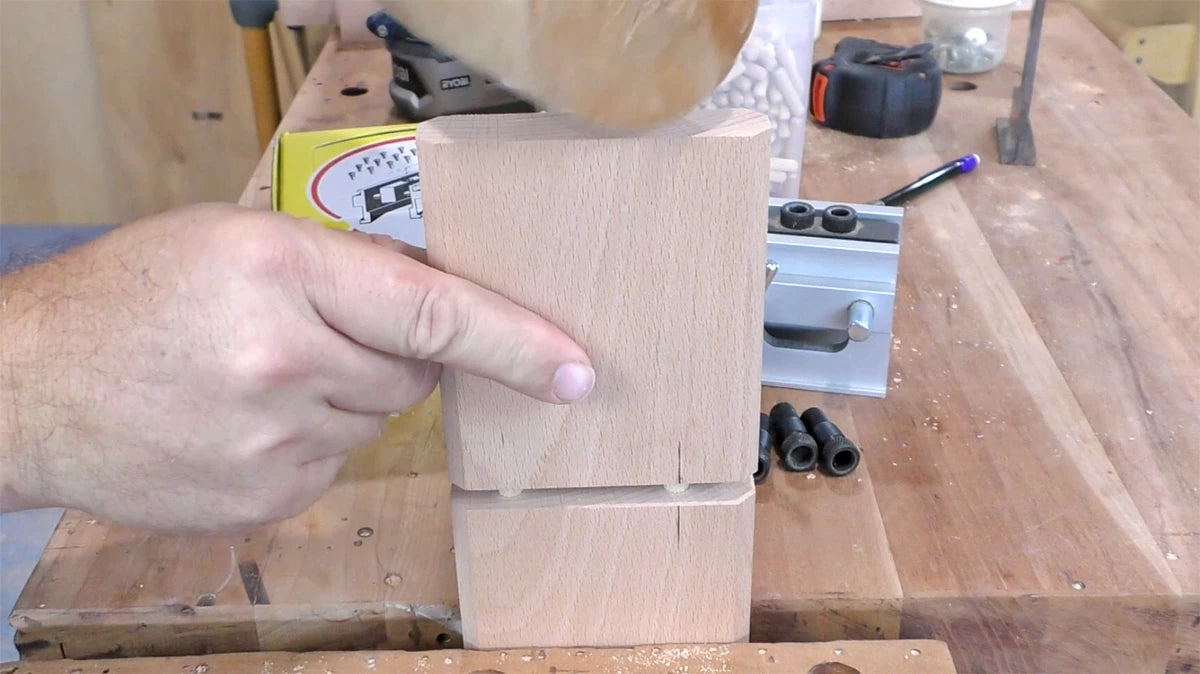
Add some glue to the exposed dowel and tap your complementary piece into place. For the great majority of woodworking, this simple joint is strong enough to stand the test of time. And it really couldn't be much simpler (especially with a self-centering dowel jig)!


