
To make a rule joint for a drop leaf table, you’ll need some specialty bits. Sourcing a matched router bit set ensures the two cutters will create profiles that fit precisely, for a project you’ll be proud of. Calling them specialty bits may not be entirely accurate though – despite their intended application for drop leaf tables, they’re also excellent bits for general shop tasks.

Start with the Roundover Cutter
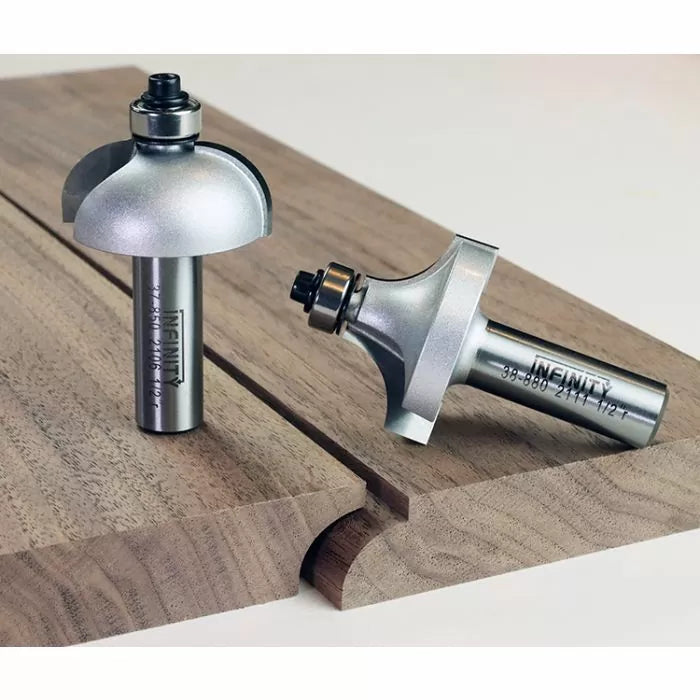
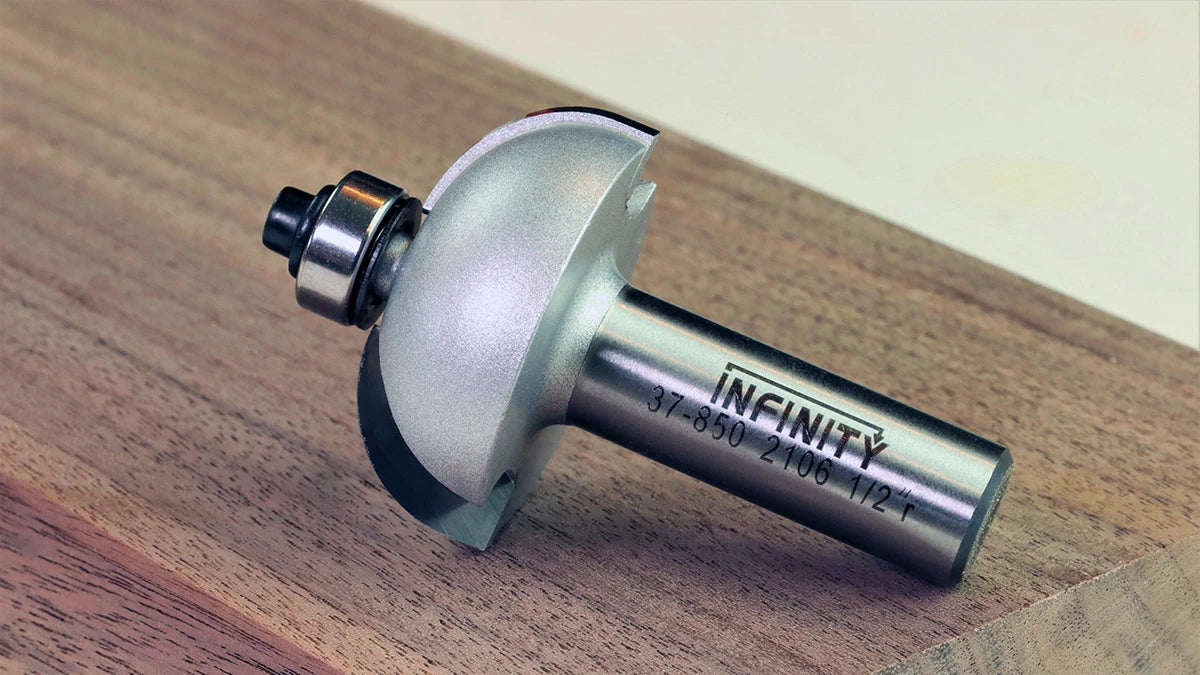
To make a classic rule joint for a drop leaf table, you’ll want to start with the roundover bit. This large, carbide-tipped cutter features a sturdy ½” shank to eliminate bit chatter, and a special coating to prolong bit life. Choose the Infinity #00-124 bit set for drop leaf joints in ¾” thick stock.
Chuck the Roundover bit into Your Router Table
Align the bearing of the bit with the router table fence using a straightedge such as iGaging steel rules. This step is important to offer additional support to the workpiece at a variety of bit heights. Start with a fairly low bit height, and raise the bit incrementally in multiple passes. Note: The main table panel is oriented face-down on the router table for this step.
On Your Mark
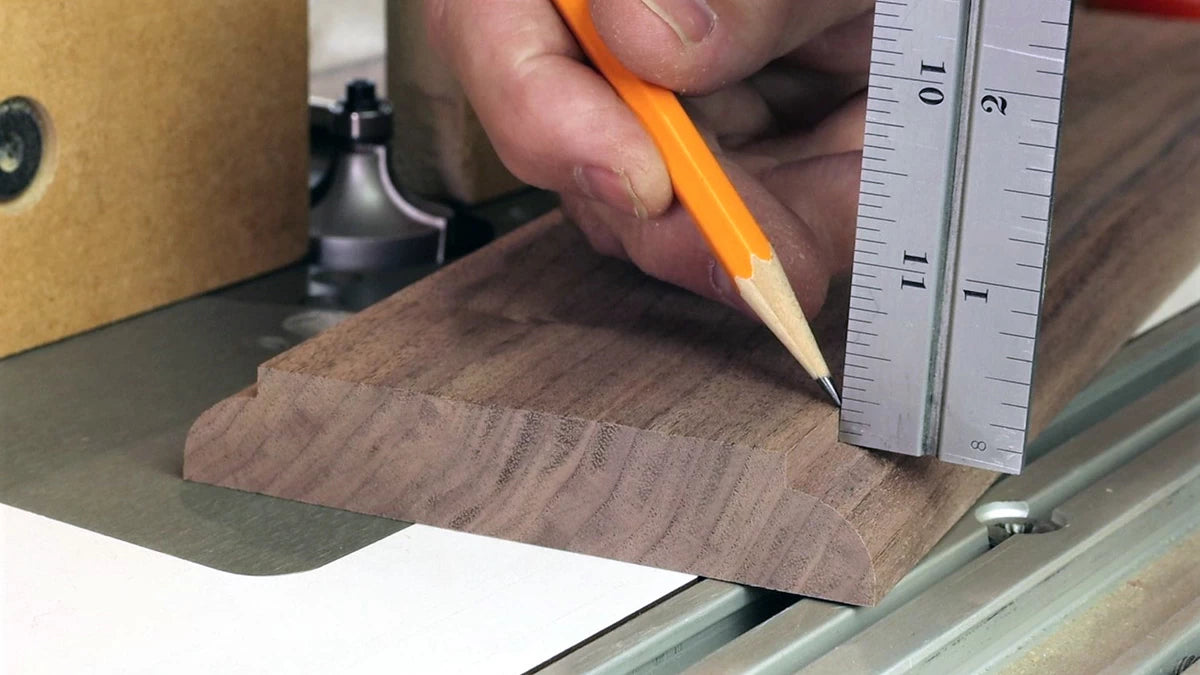
Continue making passes with the roundover bit until the “fillet” or shoulder of the main table panel measure 3/16”. It may be tempting to make this dimension smaller, but remember this is what determines the eventual dimension of the table leaf lip. Anything less than 3/16” here could result in a fragile edge on the table leaves.
Cut the Cove
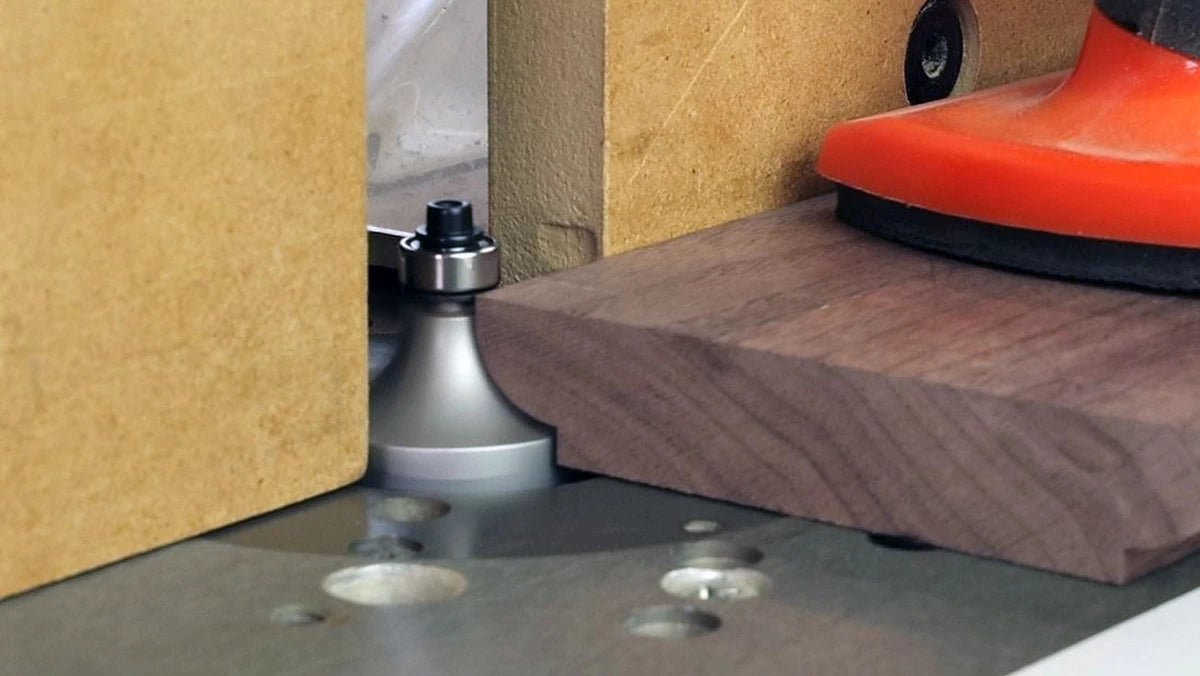
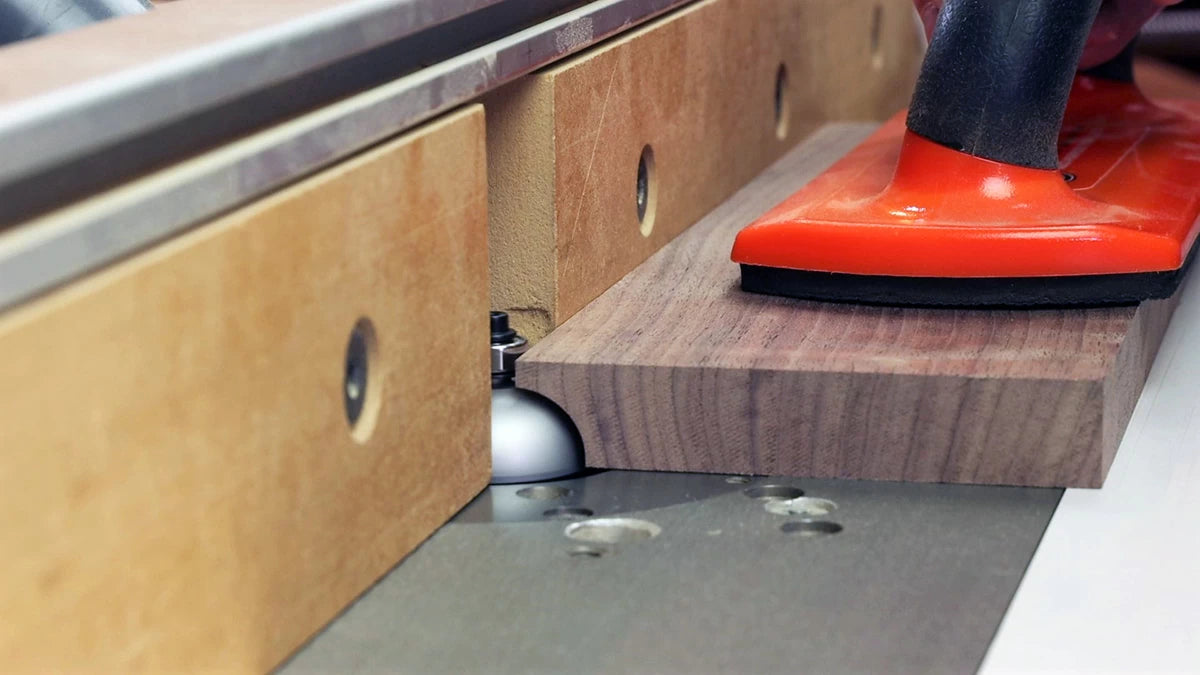
Now chuck the matching cove cutter into your router table. As before, align the bearing flush with the router table fence.
Don’t Measure, Judge by the Fit Instead
Now the table leaves can be routed face-up at the router table. Instead of measuring the shoulder at this point, use the mating tabletop as your guide. Gradually raise the carbide-tipped cove cutter, taking multiple passes until the profiles fit exactly.
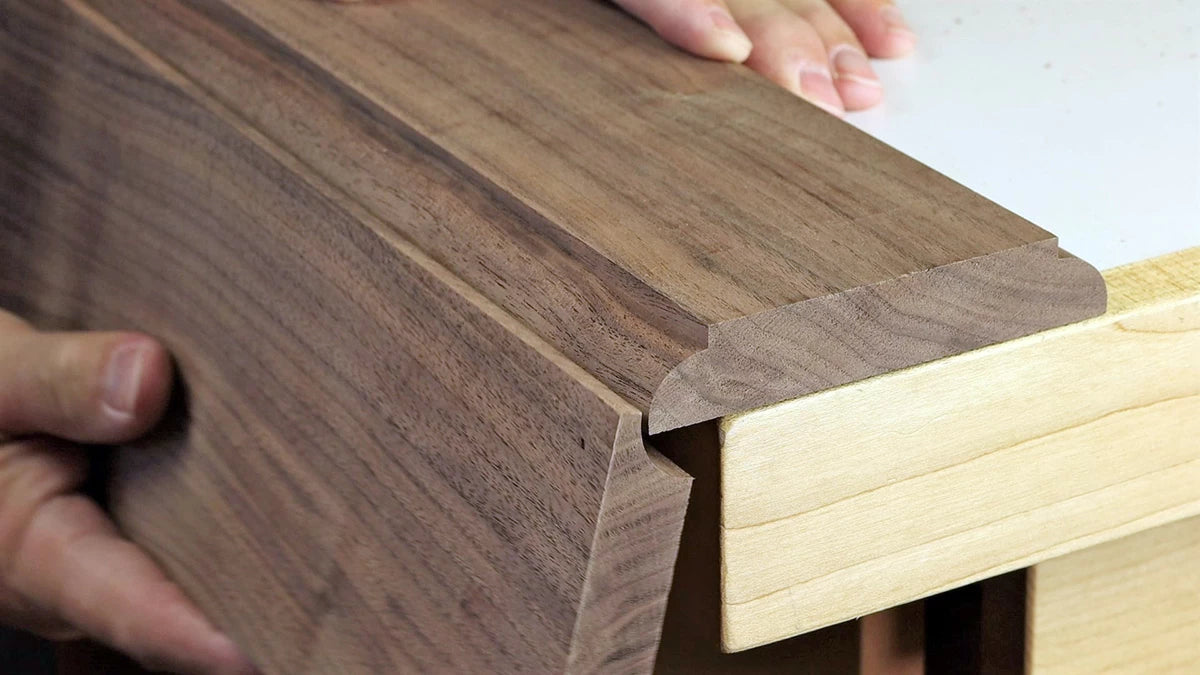
Flush On Top
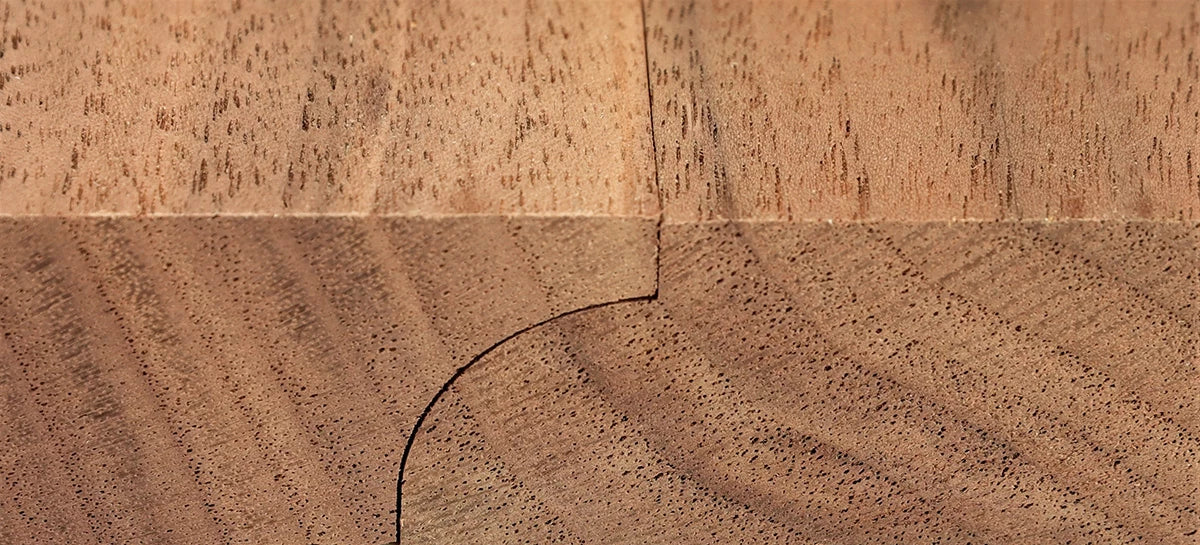
When the two panels come together, run your finger over the joint where they meet. When the table panel is flush with the leaf on top, the rule joint is complete. Since you’ve used a matching bit set, you’re guaranteed a perfect fit.
Rout Recess for the Hinge
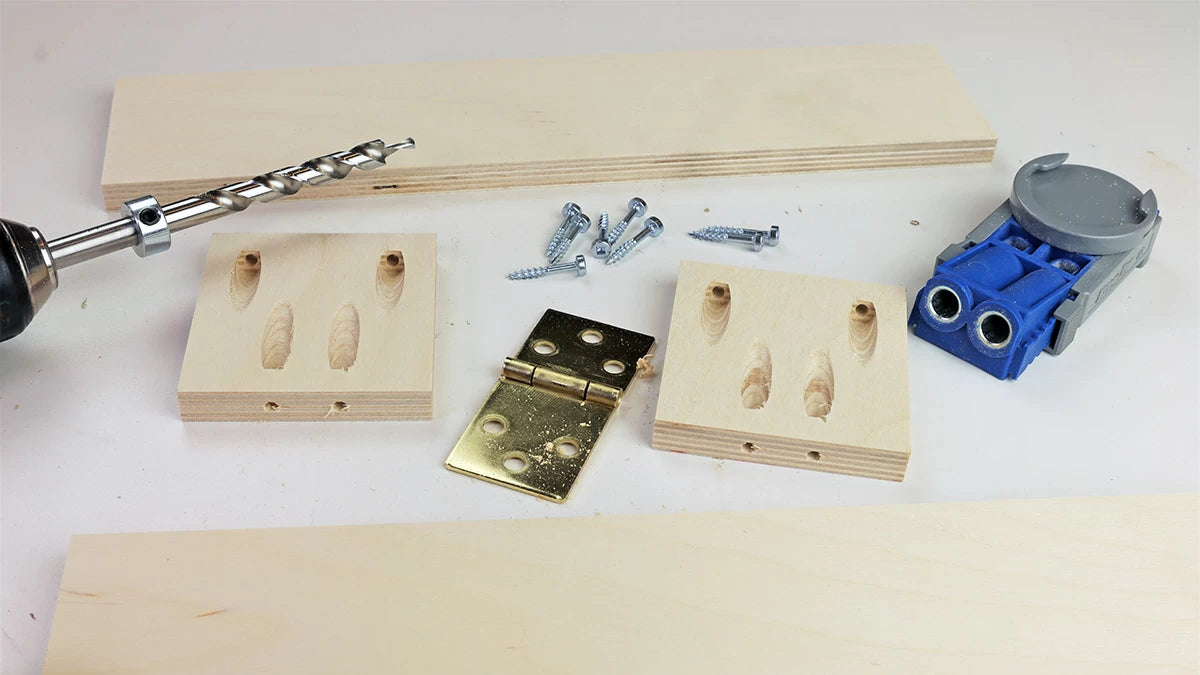
Special drop leaf hinges are required for this application, and often they’re mortised into the underside of the table. Make a quick template with scraps of ½” plywood and pocket hole screws. Cut the plywood strips to fit perfectly around the open hinge.
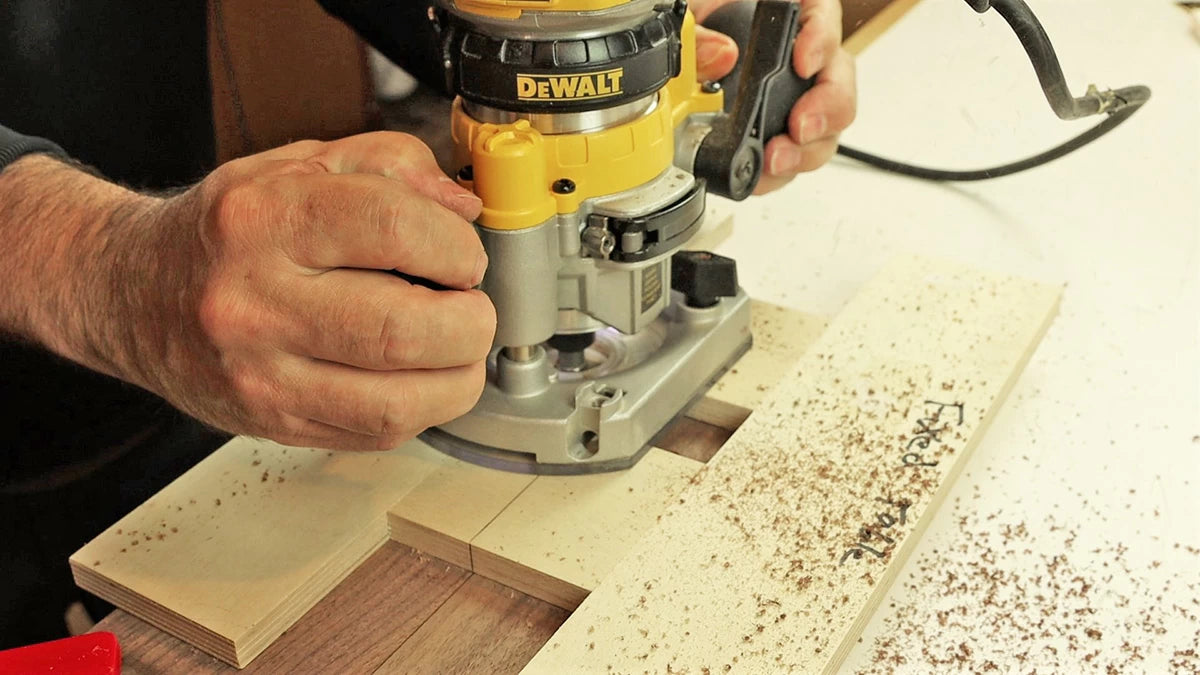
Rout it Out
Cut the shallow recess to uniform depth with a plunge router. The template can be secured to the table components with double-sided carpet tape or clamps. Rout in a clockwise direction with a short template routing bit, then clean up the waste in the middle. If you need a fresh hinge mortising bit, grab an Infinity #01-128D mortising bit with bearing. This will give you a carbide-tipped cutter with a short 5/16” cutting length, perfect for hinge mortises. Note: For best results, space the panels 1/32” apart for this hinge mortising operation. This will ensure the parts don’t rub together in regular use.
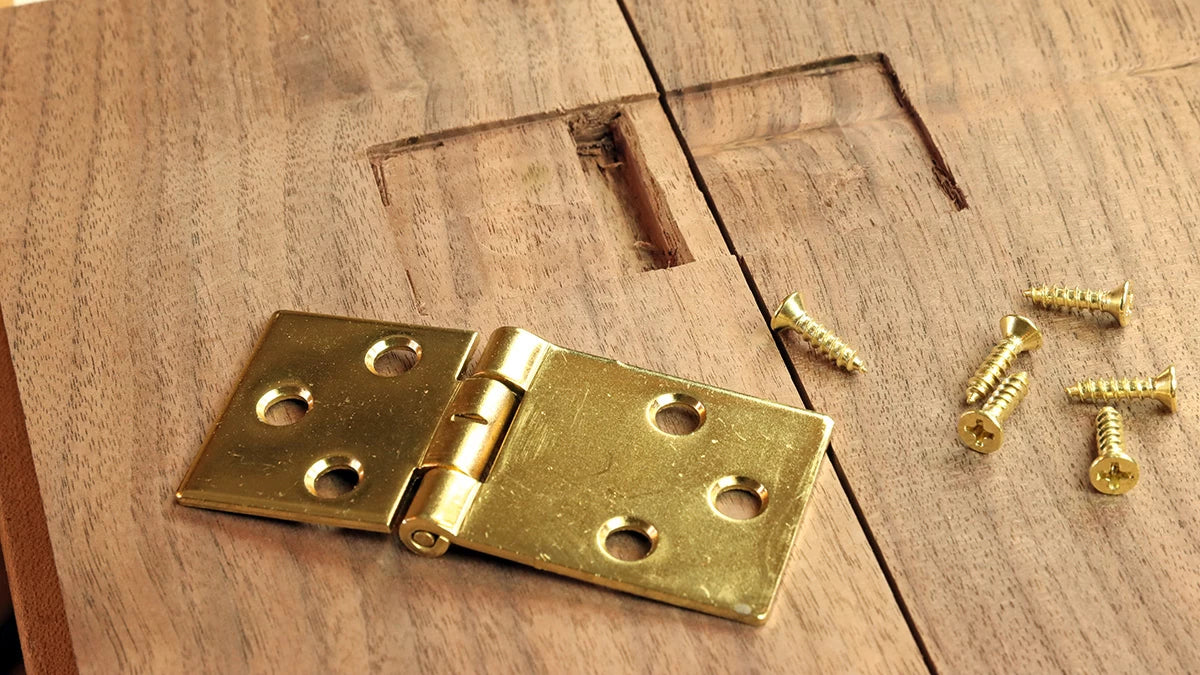
Mortise for Knuckle
The shorter hinge leaf is installed on the main table side of the joint. A secondary mortise is required to make room for the hinge knuckle. You can chisel or rout this deeper mortise. Follow the hinge manufacturer’s instructions for locating the hinge.
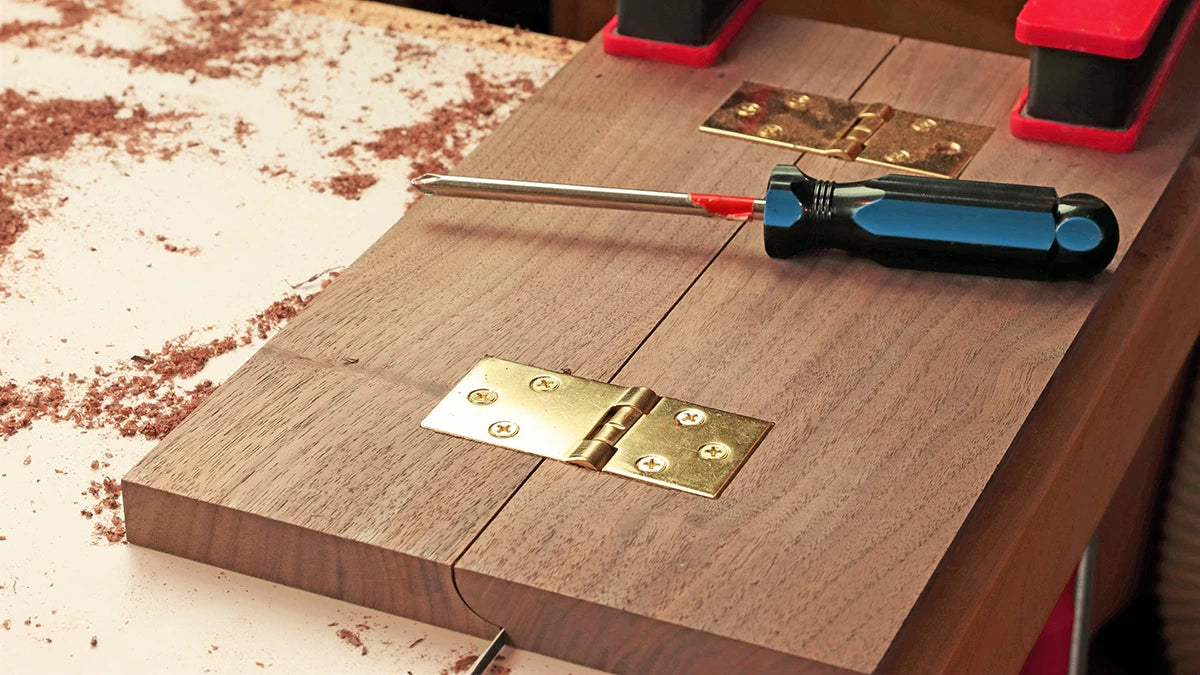
Install the Hinges
Once you square up the corners with a chisel, the hinges should drop right into place. A self-centering drill bit will help locate the pilot holes exactly in the center of the hinge holes. I recommend installing these small hardware screws with a hand screwdriver. The flush installation gives a clean, professional look while still letting the hinges operate smoothly.
Pride in Craftsmanship
Don’t fight with old, dull bits that were never part of a matching set. Buy the set purpose-made for authentic rule joints. The result is crisp, tearout-free profiles in your finished product. Shop the Infinity Drop Leaf Router Bit Set now.
Pride in Craftsmanship
Don’t fight with old, dull bits that were never part of a matching set. Buy the set purpose-made for authentic rule joints. The result is crisp, tearout-free profiles in your finished product. Shop the Infinity Drop Leaf Router Bit Set now.
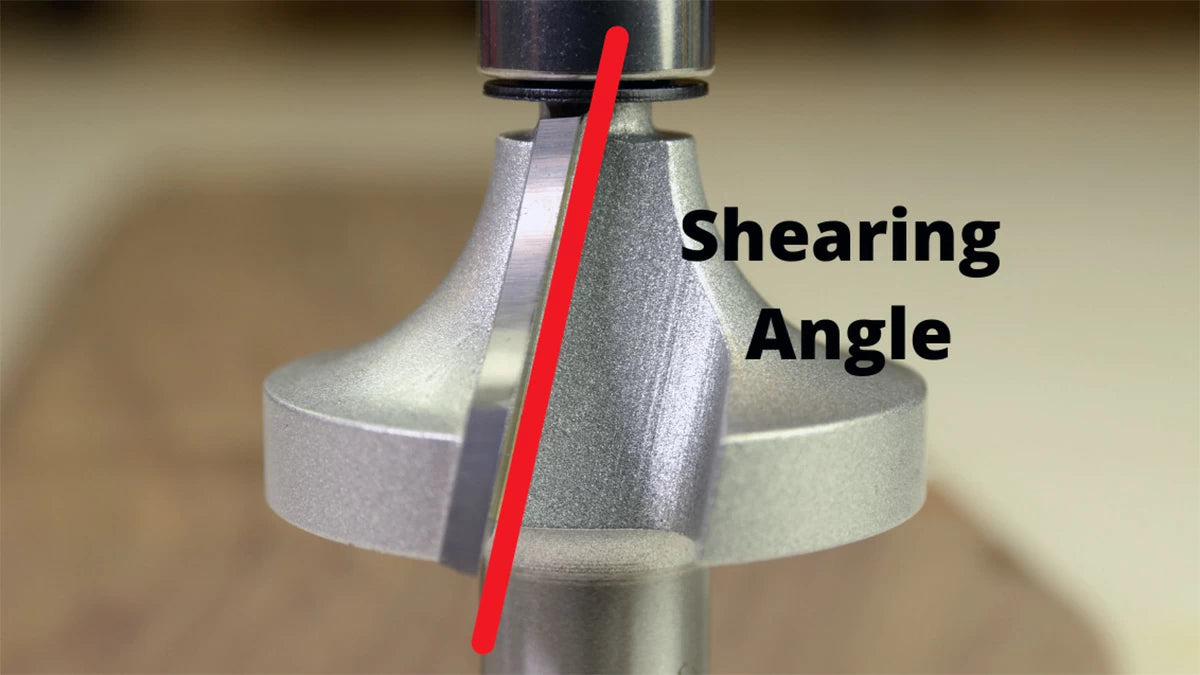
Bit Tech Extra
Why do Infinity Drop Leaf Bits cut so well? The sturdy ½” shank and precision ground carbide tips certainly help. However, the big story is the bit geometry. The dramatic shearing angle of the carbide slices hardwood fibers like a chef’s knife. The result is buttery-smooth cuts you’d swear were already sanded. Both the roundover bit and cove cutter feature this aggressive shearing angle for optimized cuts.
- Willie Sandry
Willie Sandry is a freelance writer for several woodworking magazines and a crafter in wood and leather. Willie enjoys blogging, technical writing, building Arts and Crafts style furniture and creating videos. You can view his work at The Thoughtful Woodworker.