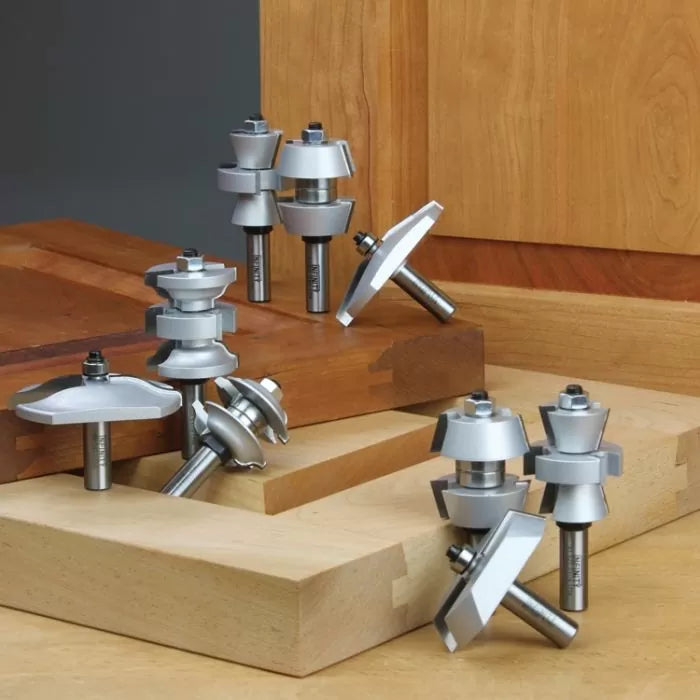
Making an entry door is easy when you have the right tools and use the proper techniques. One of the key components of success is a Rail & Stile Router Bit Set for Entry & Passage Doors. In Part 1 of our Entry Door project, I showed you how I go about milling all of the pieces so they're straight, square, and smooth. Today, we'll focus on the proper procedure and tools for cutting all of the joinery to create a strong door assembly.
Part 2 - Joinery
Since we're using the rail and stile router bit set, most of the joinery is done automatically when routing the pieces. The rail and stile router bits create a stub tenon that fits into the groove on the inside edge of the stiles. To give the door added strength, I opted to use longer tenons on the rails.
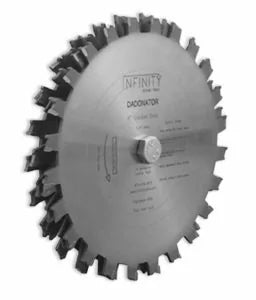
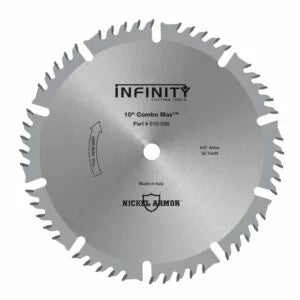
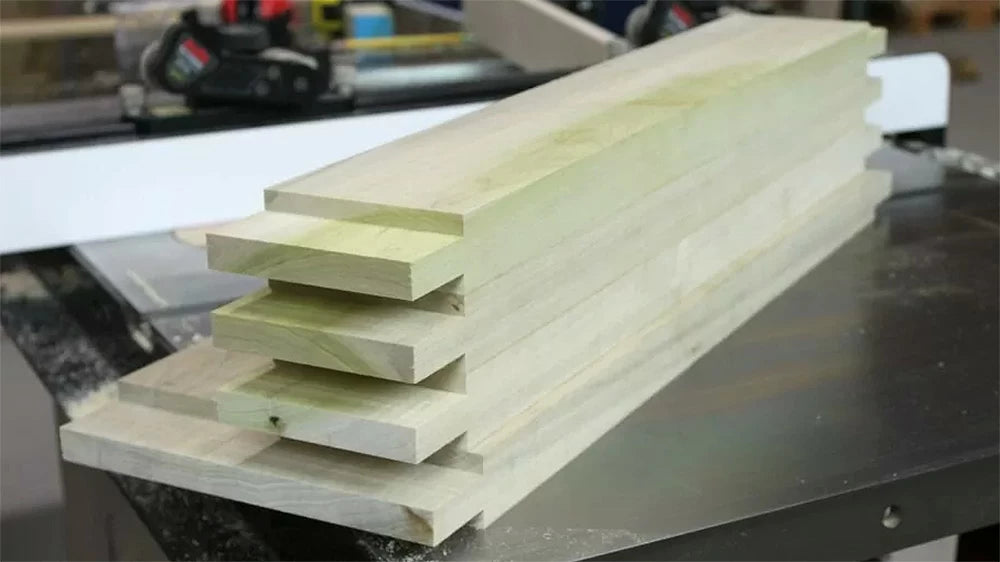
With all pieces milled to final thickness, width, and length it's time to cut the tenons. I used extra-long, extended tenons on all of the rails. This creates more glue surface and a stronger door assembly than the stub tenons the rail and stile router bits create by themselves. This extra tenon length is important to take into account when cutting your rails to final length. I created 2"-long tenons by rough-cutting the tenon at the table saw using a Dadonator, 8"stacked dado blade.
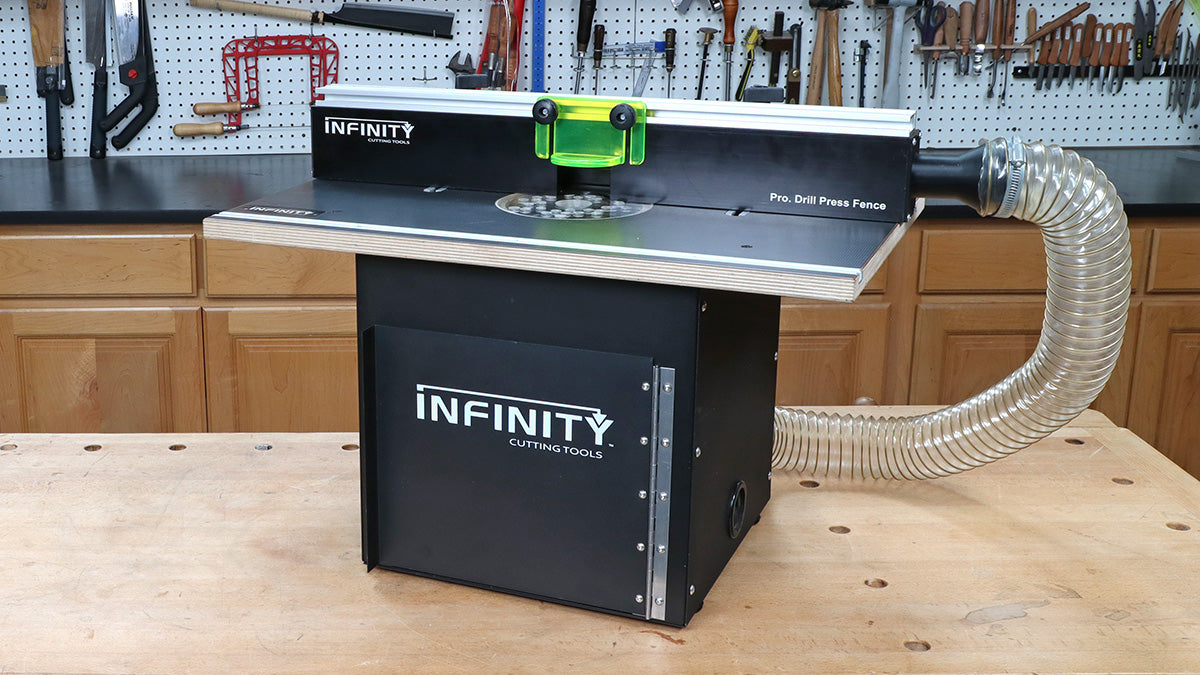
To finish the cope cuts on the ends of the rails that mate with the profile on the edges of the stiles, I used the extended tenon cutter (91-525TC) at the router table. Even though I'm making a 1-3/8"-thick interior-sized door I made the extended tenons 1/2" thick and left the door-making router bits set up to create a 1/2" panel groove. This is the usual setup for an exterior door, but provides a 1/2" groove for the insulated glass unit I'm using. The Shaker or Mission Rail & Stile for Entry & Passage Doors router bit sets give me this flexibility because the beveled profile is simple. What this means is that creating the 1/2"-wide groove removes some of the profile without losing any detail. If we tried to use this setup with the Ogee Rail and Stile router bits, part of the ogee profile on each side of the door would be lost.
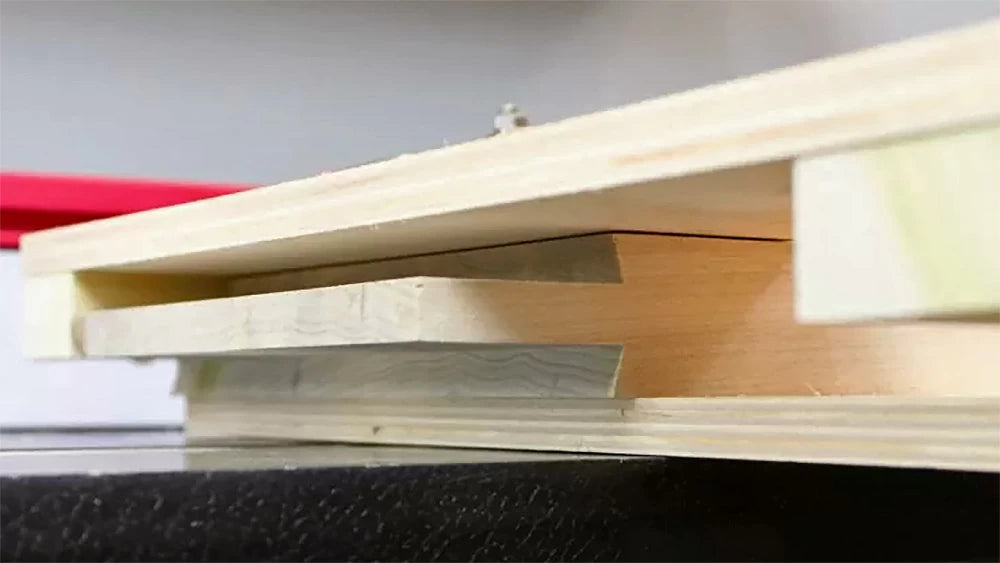
Because the bottom rail of the door is 8" wide I made a custom coping sled for my router table using plywood, cutoffs from the milled poplar, and a pair of toggle clamps (Item 100-520). I adjusted the height of the extended tenon cutter to rout the tenon to final 1/2" final thickness to fit the groove in the stile. This bit simultaneously cuts the 15° bevel to properly mate with the stiles.

The next step is to rout the stile profile cuts along the edges of the rails and inside edges of the stiles. I did this at the router table. This large-diameter router bit removes a lot of material so you'll want to make sure you have a larger, variable-speed router mounted in your router table. I recommend a 2-1/4hp or larger router. It's also a good idea to use featherboards or other hold-downs to keep the workpiece tight against the table and fence. My favorites are the Jessem Clear-Cut Stock Guides (RTF-SG1).
When making these profile cuts in the rails and stiles, I'm not concerned about the rabbet that will hold the glass. We'll cover that in a bit. Go ahead and rout the profile in all the pieces as if they were receiving a wood panel.
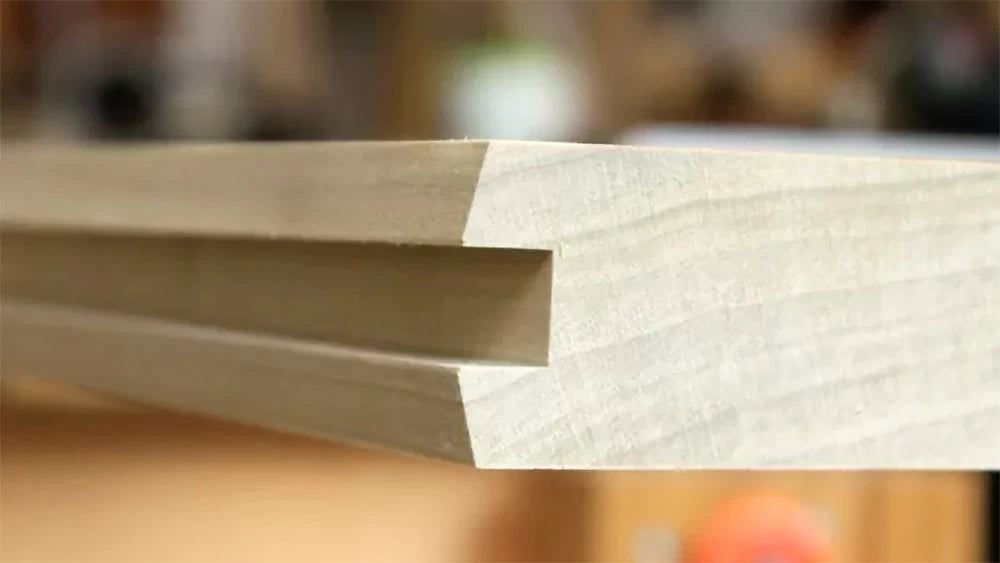
The tenons in the top and bottom rails need to be notched (or "haunched") so the tenon doesn't extend all the way to the end of the stile, which can weaken the joint. The most important thing to remember here is that a stub tenon fills the groove in the stile.
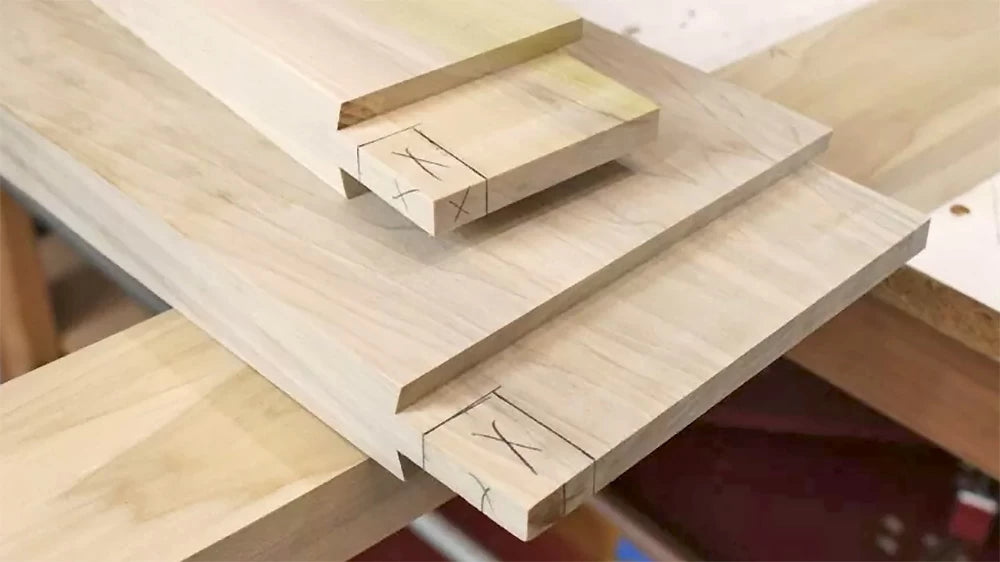
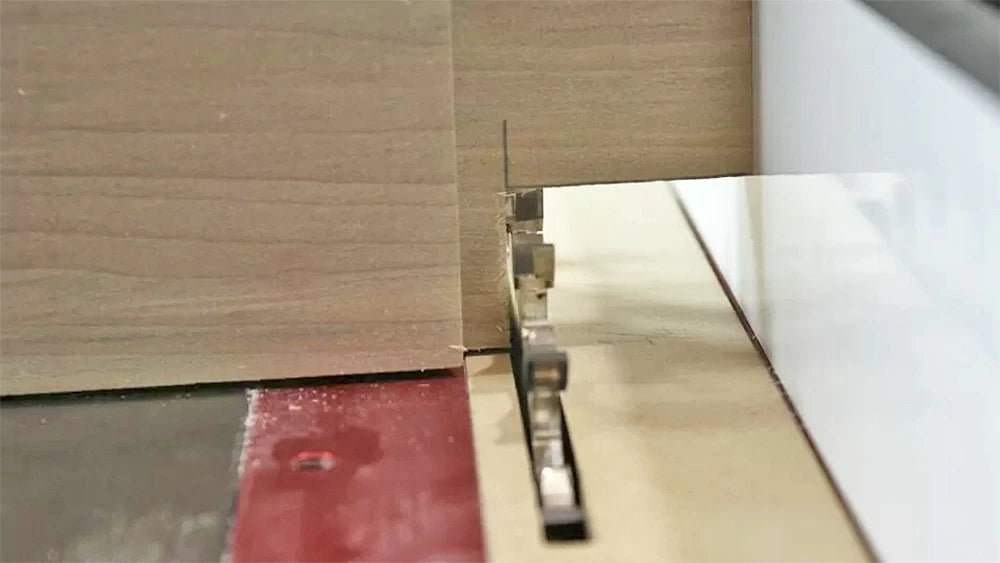
The top rail is notched back 3/4" of an inch. The bottom rail has a 1"-deep notch. To cut the notches I marked them out, leaving 7/16" of material to fill the grove in the stile. I made the cuts at the table saw using a 1/4"-Kerf Flat-Top Blade (080-250), and nibbling away the material while using the table saw rip fence as a stop.
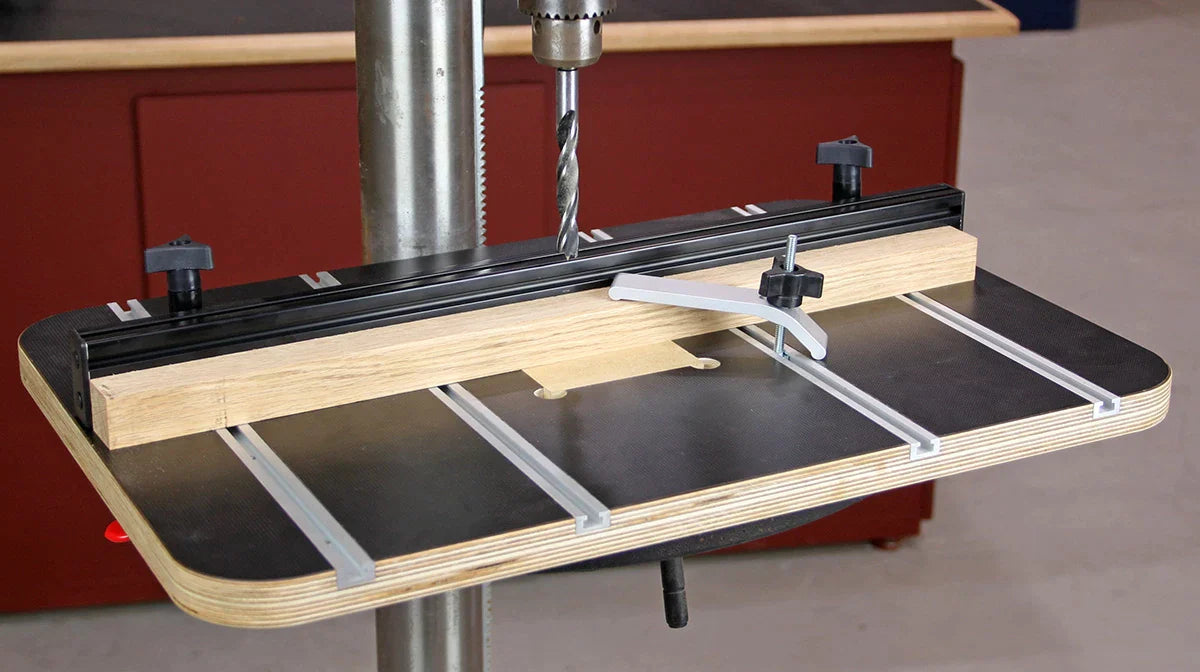
With the routing of the rails and stiles complete and the tenons cut to size, all that's left is to chop the mortises in the stiles for the rail tenons. There are several options for making the mortises — from a dedicated mortising machine to a straight router bit with a fence. I decided to cut them using the "drill and chop" method. I laid out the location of the mortises, removed most of the waste by drilling overlapping holes with a 7/16" brad point drill bit, and finished up with a sharp chisel. I chose a brad point drill bit over a Forstner-style bit because it does a better job of clearing waste and reaching deep into the 2"-deep mortise pocket. I also used the drill press with a fence to guide the workpiece. This guarantees the holes are straight and square to the edge of the workpiece.
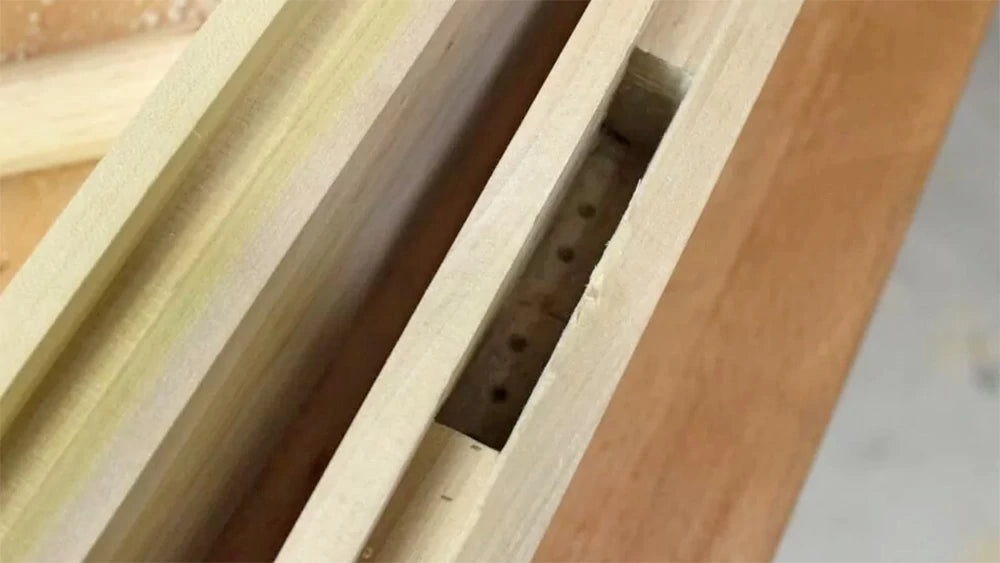
Milling the stiles before mortising creates a groove that serves as a guide to keep the mortises straight and square. With all mortises cut, the frame pieces are complete. Now, dry-assemble the frame, double-check all of the dimensions, and make sure the assembly is square. As you fine tune the mortises keep a ruler handy and make sure that the rail is square with the stile. It's easy to chop the mortise at a slight angle which causes the rail and stile to not fit together properly, resulting in a door that isn't flat or square.

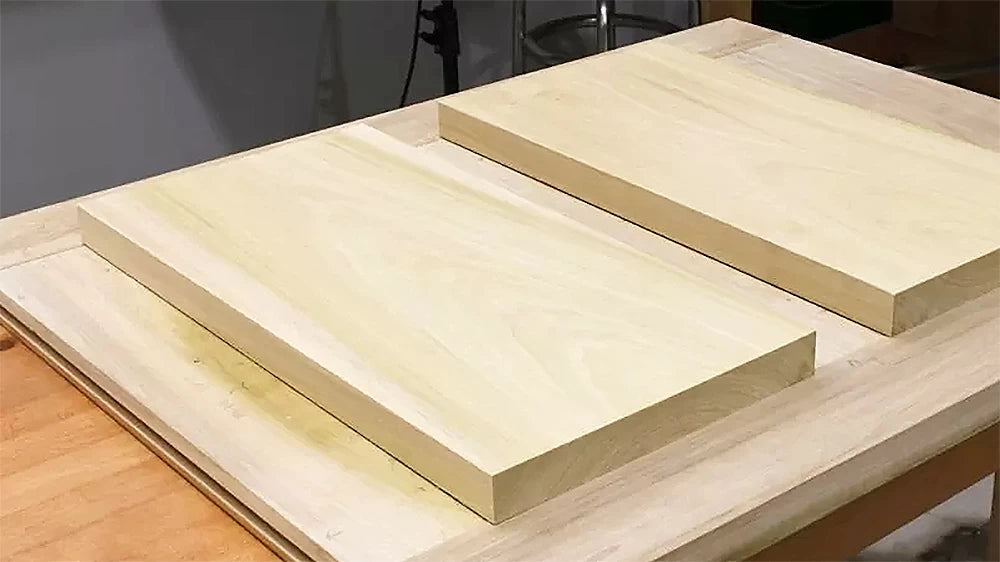
With the frame dry-assembled, measure and mill the two raised panels for the lower portion of the door. Remember, these panels need to float in the frame and have room to expand and contract with seasonal changes in humidity. Here in Florida our humidity—while high—stays fairly consistent year-round so I leave about 1/8" of space on all sides of the panel. I also use Entry Door Spacers (101-288.1) to keep the panel from rattling or shifting. Depending on where you live, the species of wood you choose, and the time of year you build your door, you may want to add more or less room between the frame and panels.
Because of the spacing between my frame and panel I'll be swapping the bearing on the top of my raised panel bit with the one that comes in the Infinity beading conversion kit (BCK-002). By switching to the smaller bearing I increase the length of the tongue on the panel and keep the profile fitting just right in the frame.
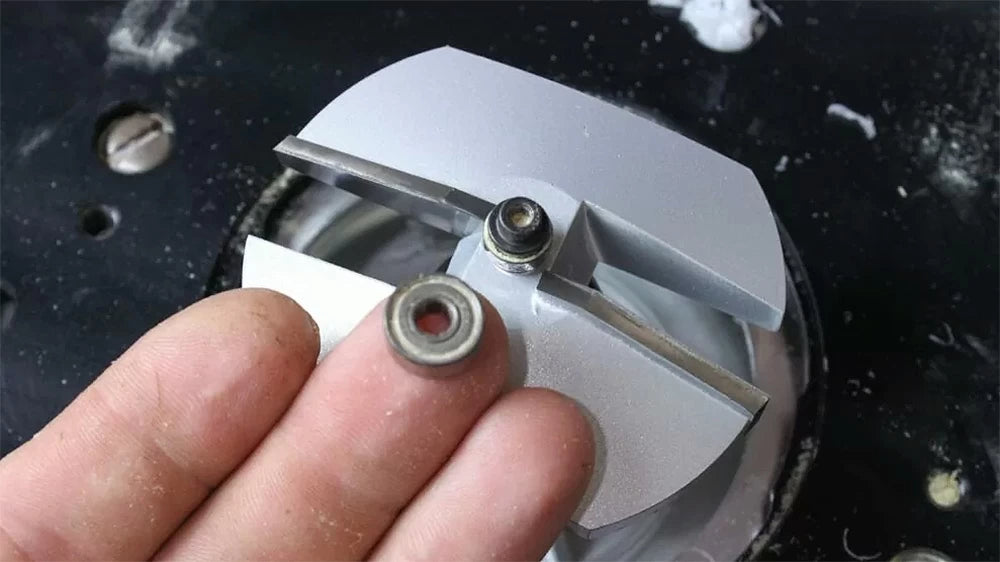
The door panels are raised on both sides. I take several passes, flipping the panel and milling both faces before raising the bit height. Take your time and sneak up on the final fit of the panel in the door frame's groove. Because the panel is milled on both faces, any height adjustment made to the bit will be doubled, so make very small adjustments.
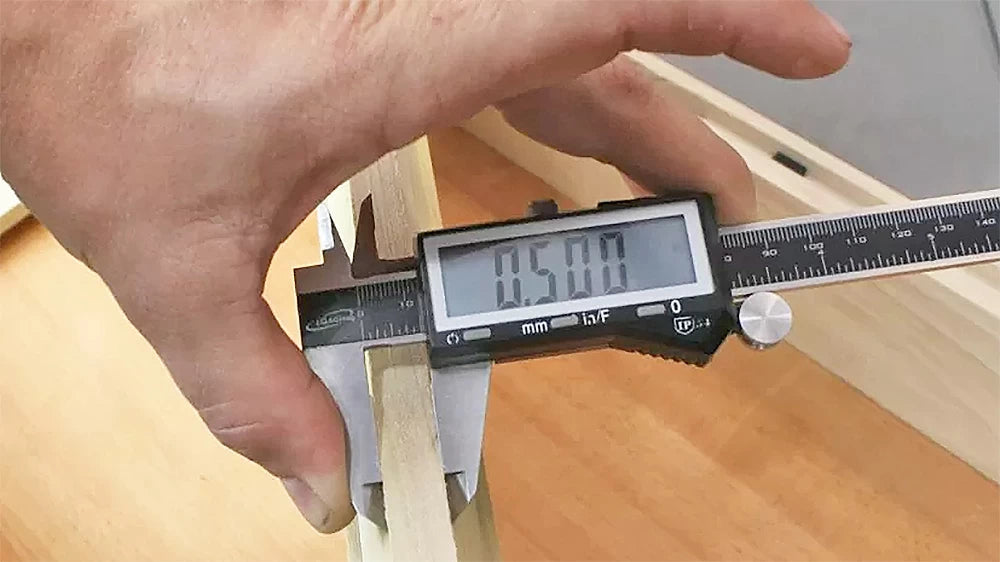
Don't rush and overshoot or the panel will be loose in the frame. It's better to make one or two extra passes than to rush and take too much off and have to start over. Your goal is a 1/2"-thick tongue when all is said and done.
If you find the panel fits too tight, try making a second pass without changing the bit height. If that doesn't work raise the bit just a hair. We're looking for snug, sliding fit without being tight.
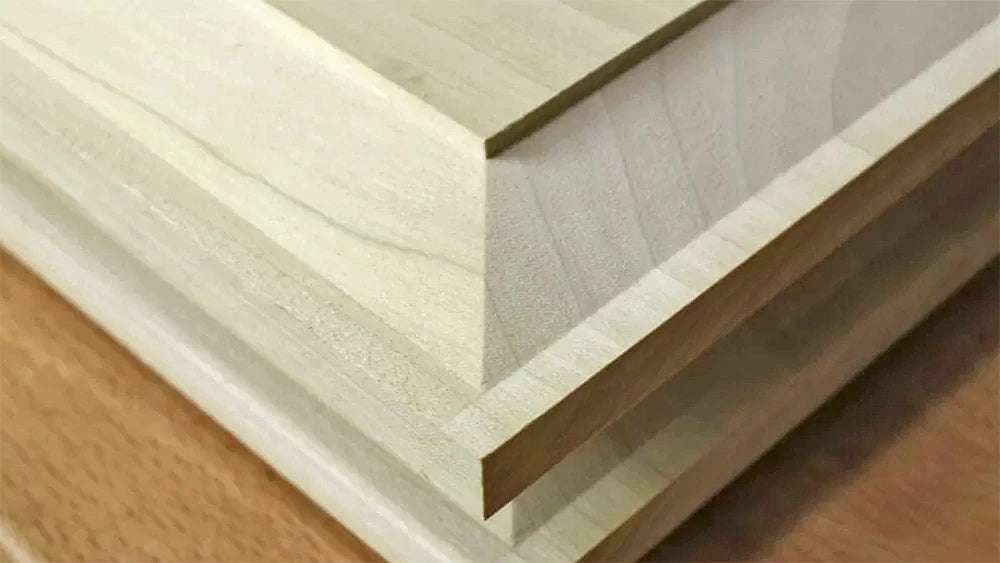
With the panels milled its time to dry-fit them into the frame to check for a good fit.
If you missed Part 1 of our series where we show you how to prepare the stock for making your door, click here.
Be sure to check out Part 3 where we show you how to reinforce the joinery and prepare for adding the hardware and glass.

