
Arch-top or cathedral doors always seem so fancy to me. They elevate a door into a bit of classic architecture. While not for everyone or every piece, there are many projects that look much more dressed up with cathedrals and arches. We decided to dress up the Infinity Tools shop and make two cathedral arched doors for a wall cabinet. Typically in the past, I would make templates out of MDF which I would then attach with double-sided tape onto my door panels and top stile. This is time-consuming, to say the least.
I decided to put two tools to the task for these shop doors. The Frame and Panel Master router jig with cathedral door templates and the Infinity Insert-Pro 1-pc. rail and stile router bit system.
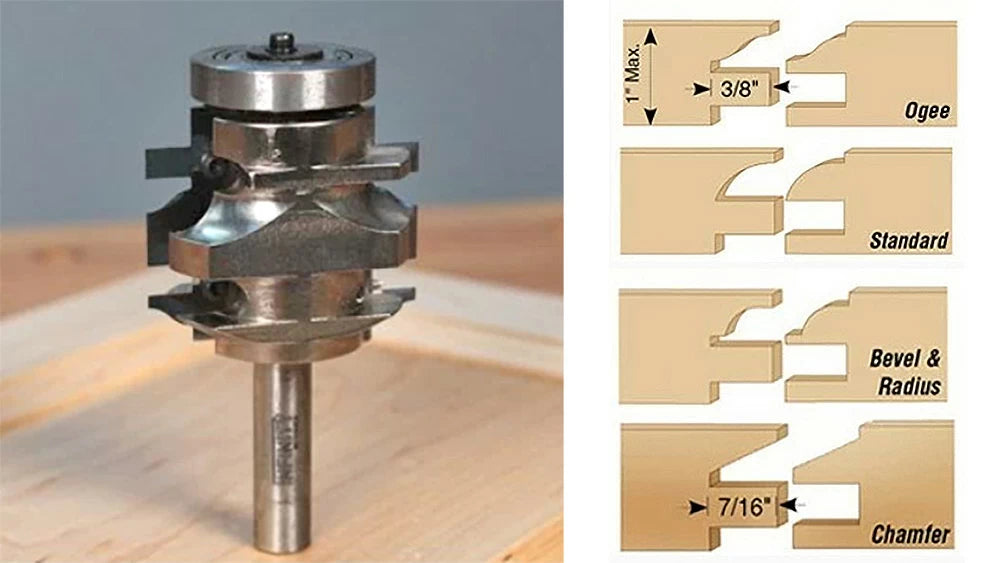


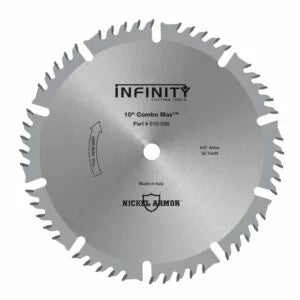
Setting up the Insert-Pro 1-pc. rail and stile router bit is very simple. There are two set screws which act as an alignment system for the knives. By placing the knife into the cutterhead and butting it up to these set screws, you can then install the four Torx-head screws that hold the knives in place. I show you how to do this in the video at the bottom of this post.
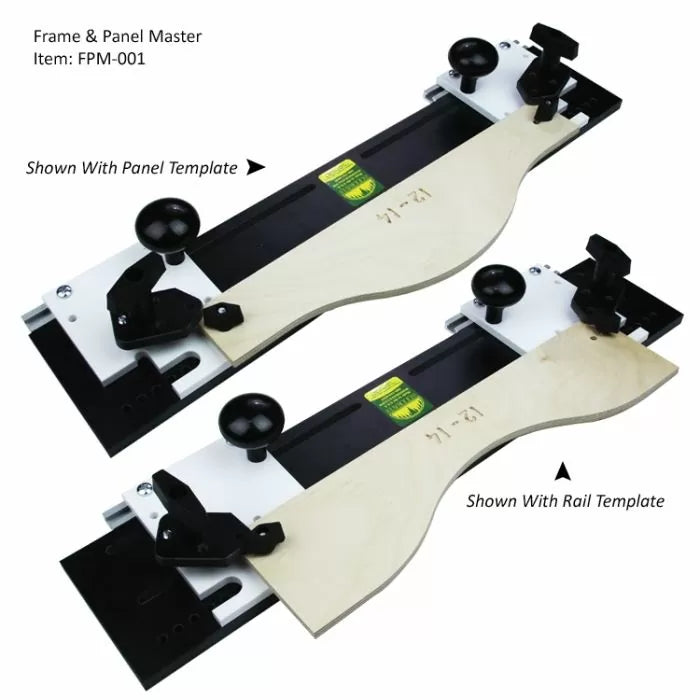
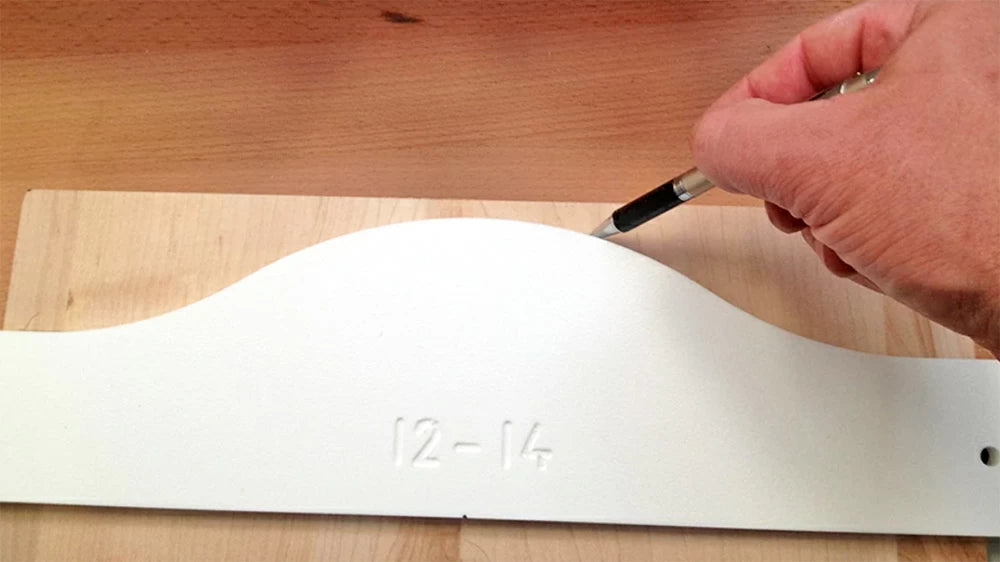
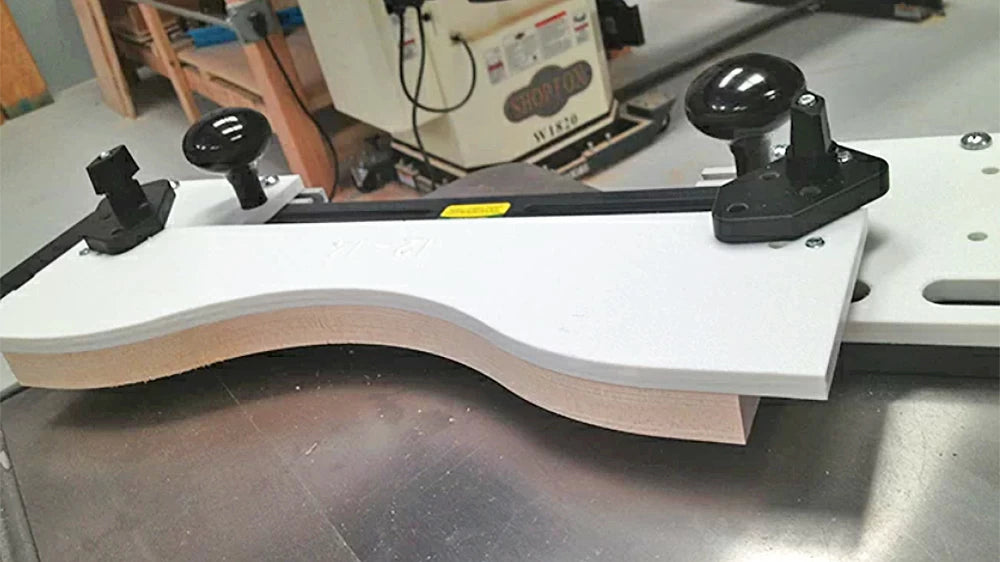
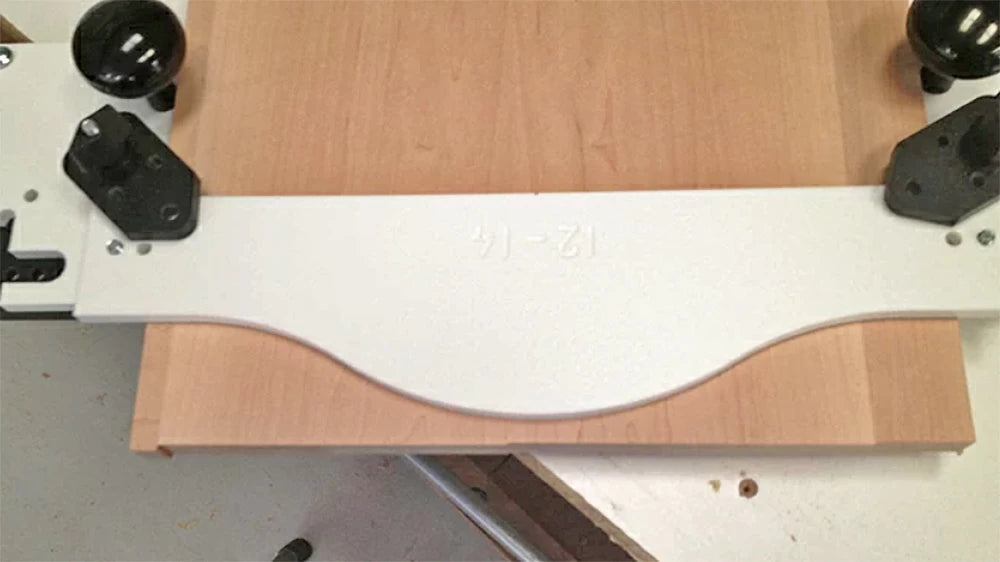
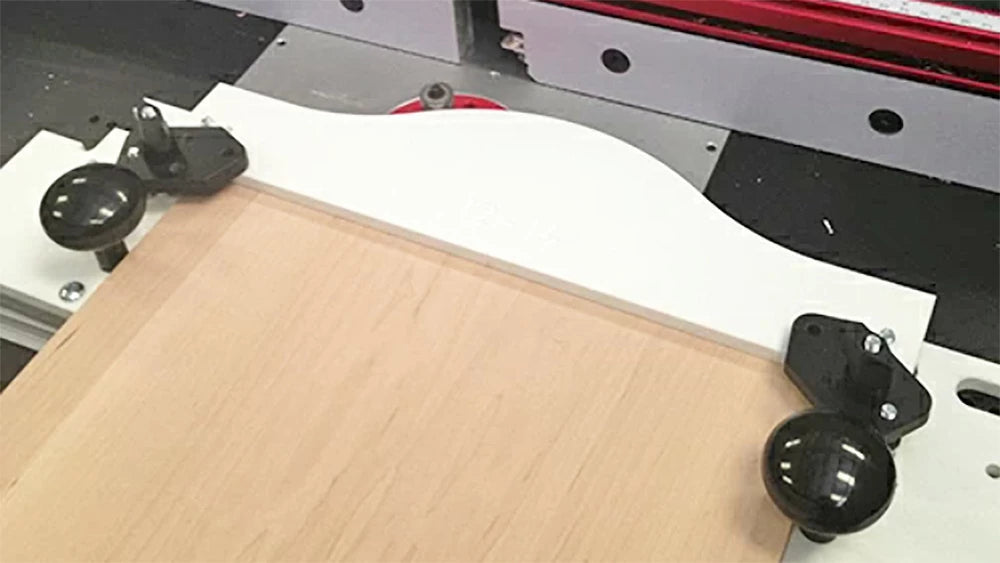
At this stage, I got out the Frame and Panel Master to make the cathedral-shaped panel and matching upper rail of the door frame. The Frame and Panel Master is a well-machined jig that comes with templates for every size cathedral door from 8 3/4" to 21 3/4" wide. The setup of the jig is fairly easy and straightforward if you follow the included instructions. To keep the templates from slipping during use, I recommend applying a strip of self-adhesive sandpaper or double-sided tape, especially when routing the smaller arches on the rails.
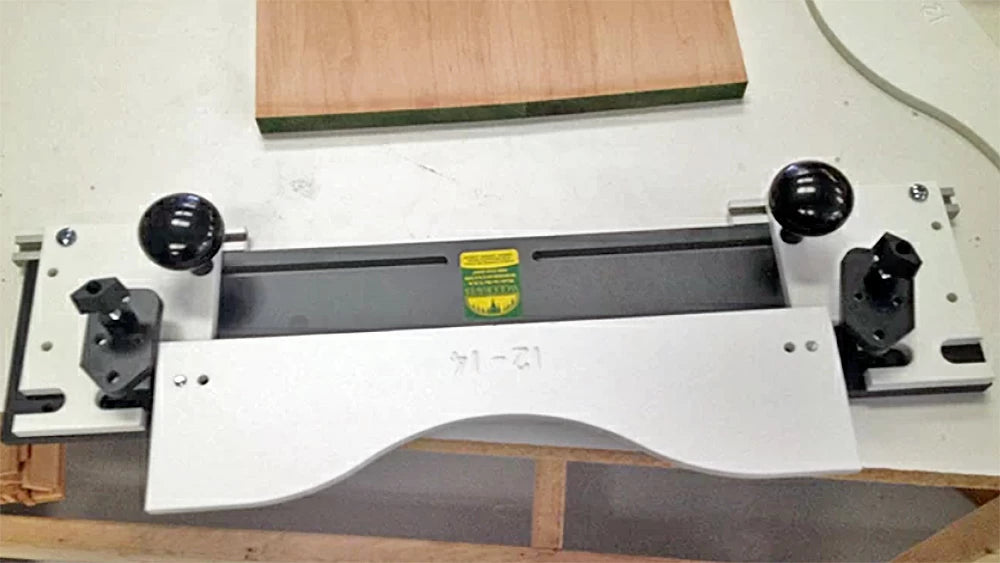

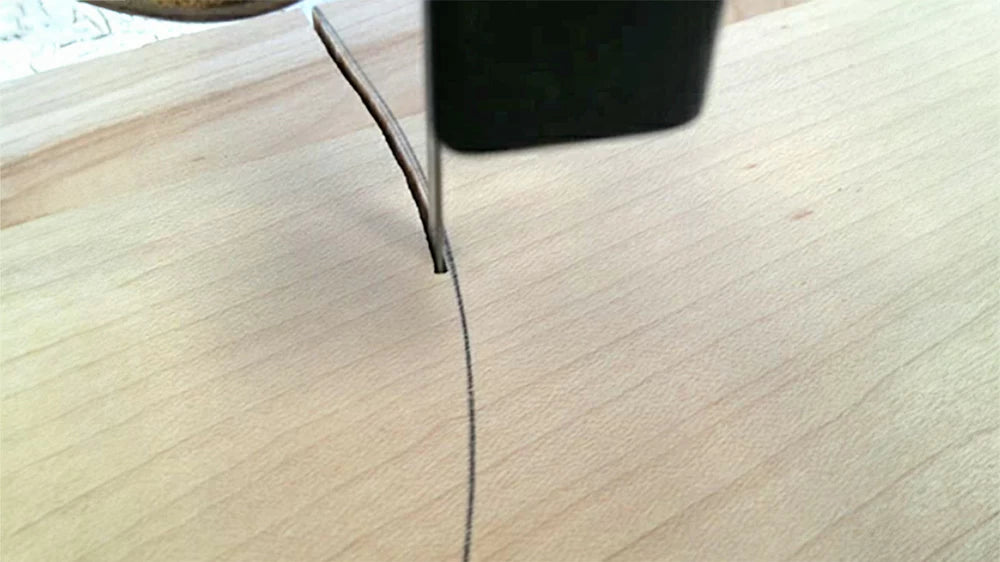
Place your machined rail parts into the jig first. Trace the rail outline onto your piece and then bandsaw off the waste as close to the line as you can be. Put the piece back into the jig and flush trim.
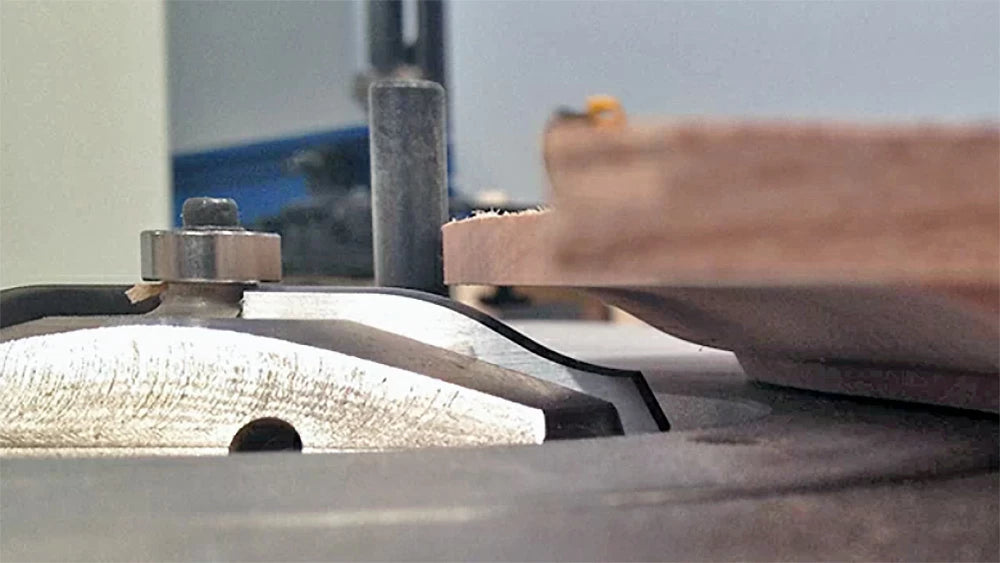
I ran all of my straight sticking next. The sticking profile is on the top half of the bit. Set your fence, figure out your height, and go to town. The carbide on the Insert-Pro ran through the maple great.
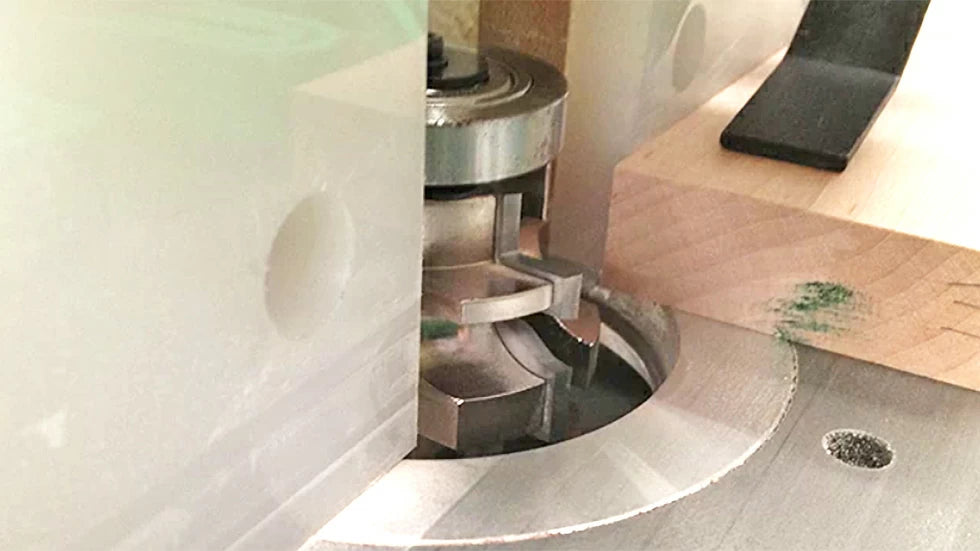
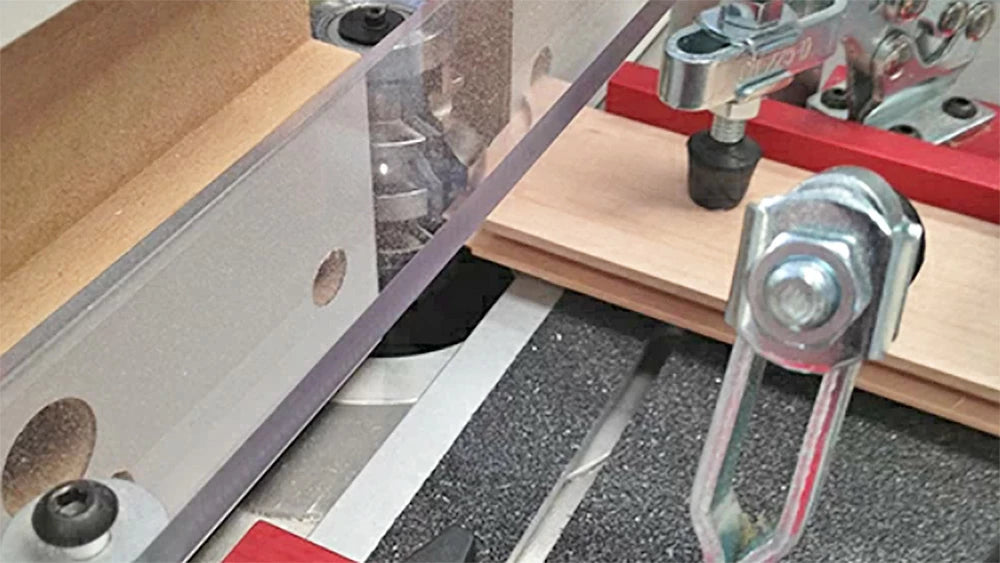
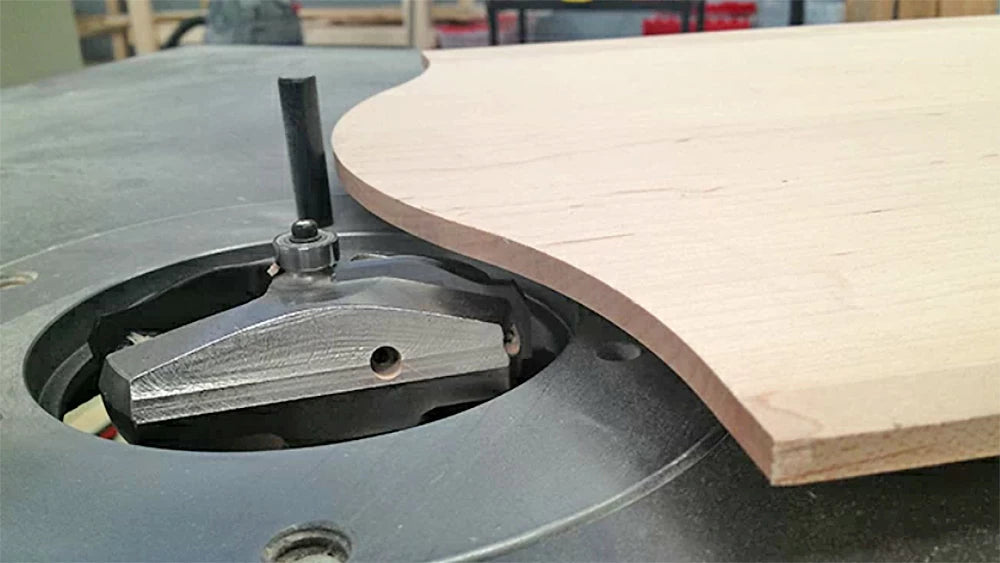
Here is the only hard part of using the Frame and Panel Master jig with these doors. You must use the jig for sticking the rail part. Because the jig base sits 3/8" off the table, you must raise your bit to accommodate this. Also, no fence since you are doing a curved part that will need to be bearing driven against your jig. Take your time and run some scrap to be sure. Use sandpaper or double sided tape on your jig to give extra holding power on shorter pieces. Once this is set up, finish sticking the arch rail.
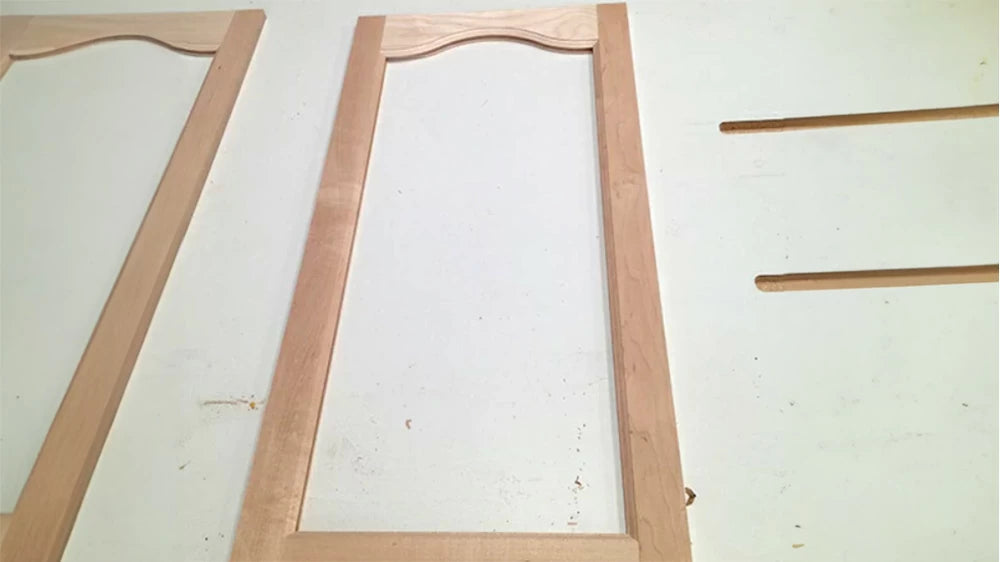
To do the cope, you must reset the fence and raise the bit to height. Check your height the same as you would with any rail and stile bit. I used the Infinity Tools Professional Coping sled to do my copes. Seriously, this sled is awesome. I keep saying it. Check your fit and Boom, Hello Door with pretty cathedral arches.
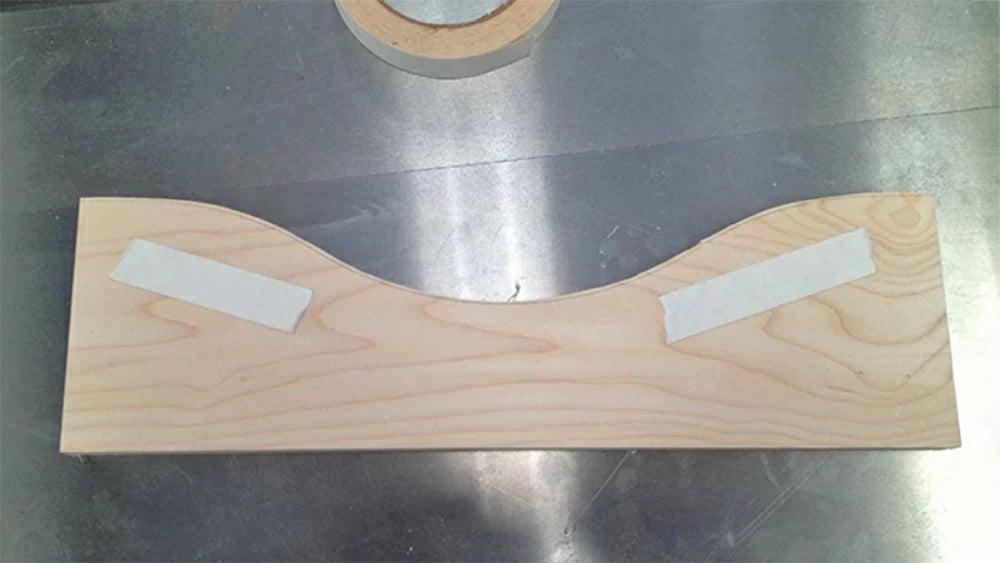
Panel time. Cut your panel to width ( I measure the opening and then add on my two profiles). Change out the Frame and Panel Master Jig to Panel Mode. Insert the panel. Trace the shape. Bandsaw the shape. Insert the panel back into the jig and flush trim the panel.

For the panel profile I used a raised panel router bit. This goes great along with the Insert-Pro Rail and stile router bit system. Same quality carbide and matching profiles. After inserting in the knives, I simply made multiple passes using the bits bearing as a guide and by raising the height just a little bit at a time.

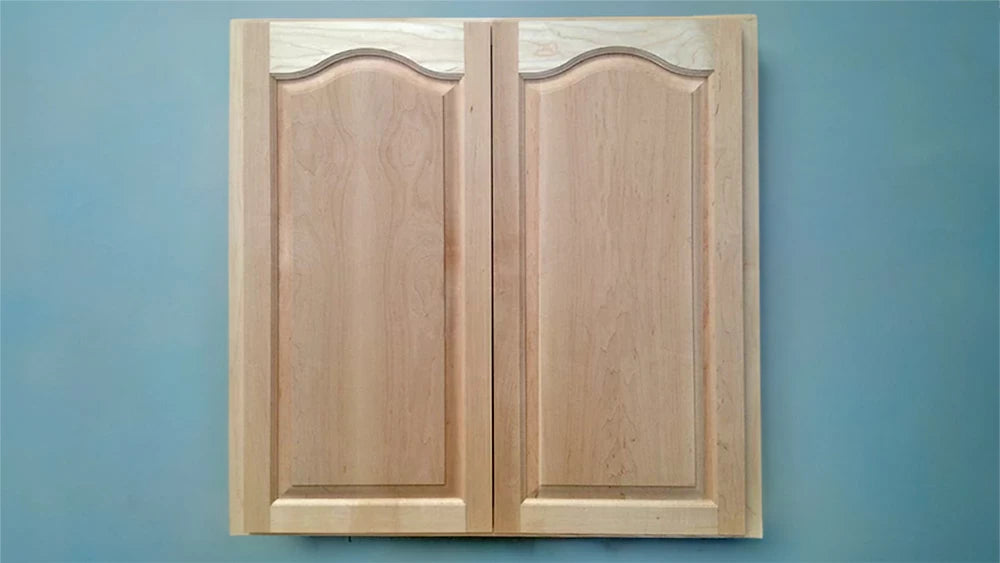
Maybe not quite the Arc de Triomphe, but its still a pretty nice looking door that took less time to make than the rough milling of the parts themselves.