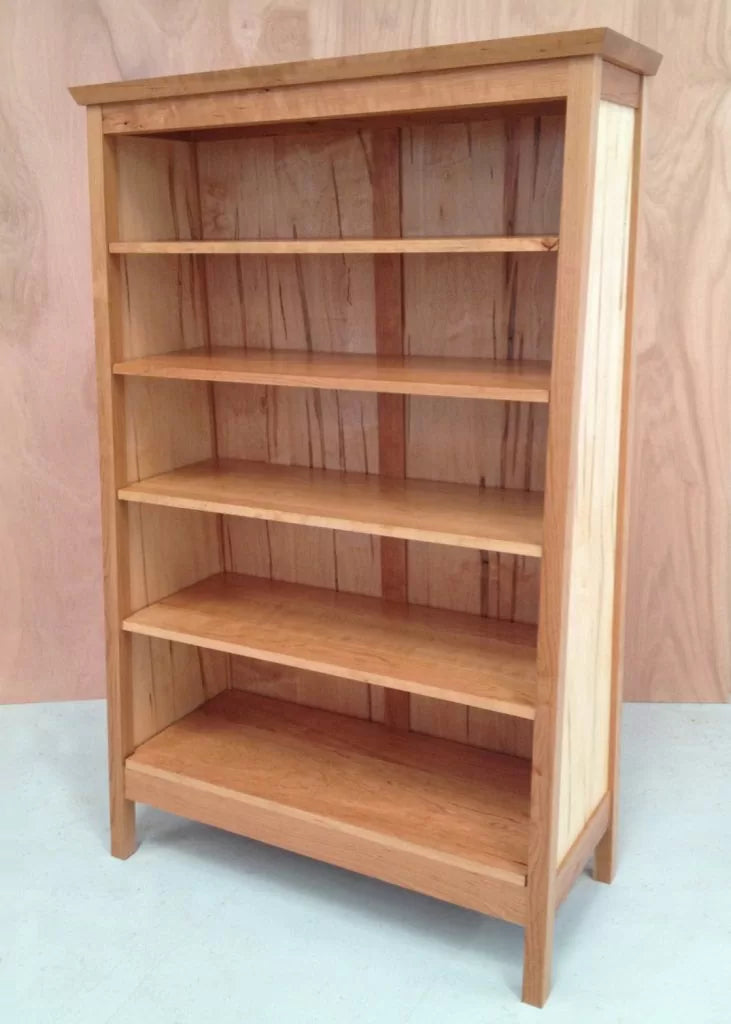
So if you make a bookcase using ambrosia maple, would the ambrosia beetles be bookworms? Bookcases are pretty simple to do and everybody needs one, which means it's always easy to find a buyer for.
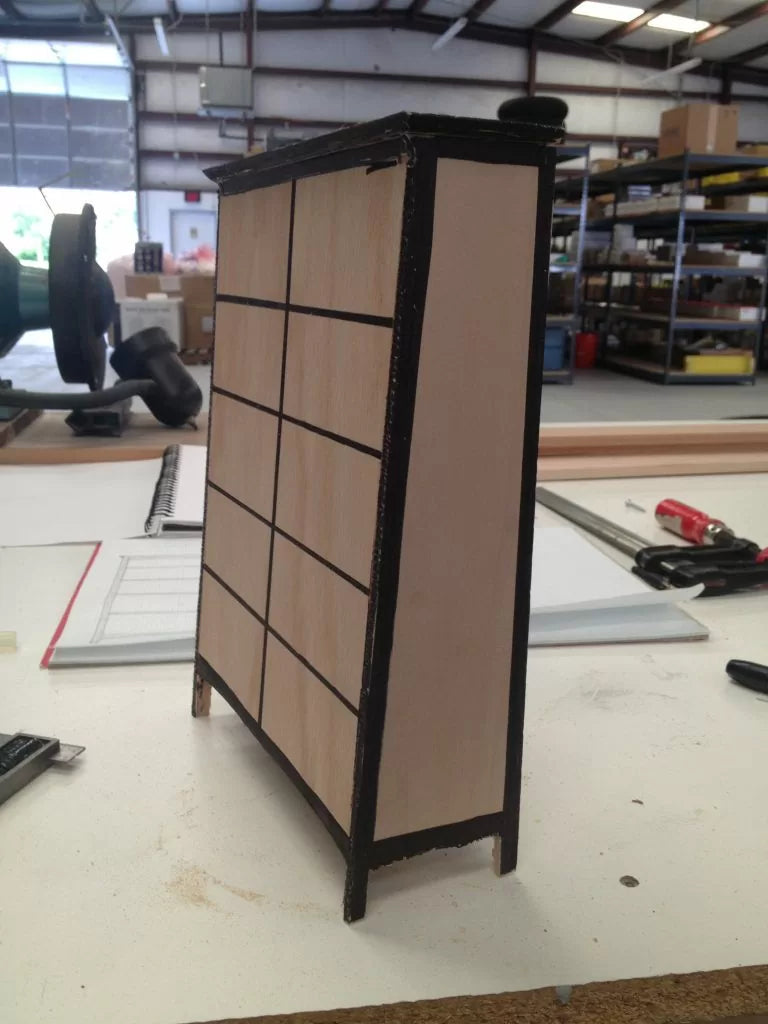
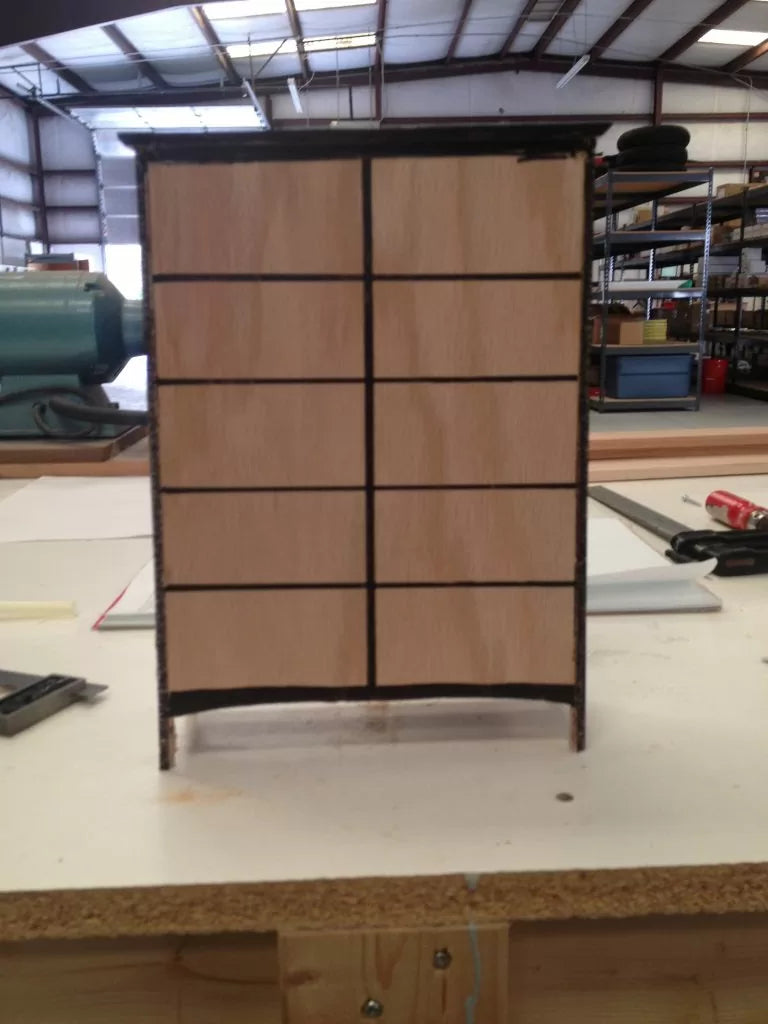
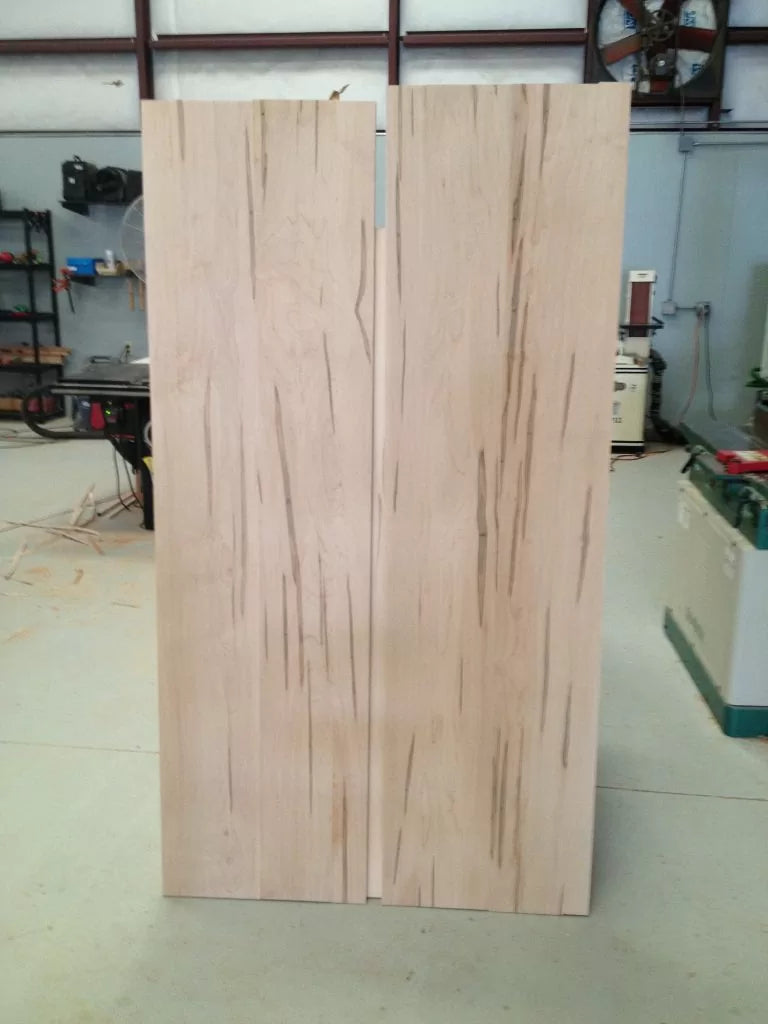
I'd been staring at some wide ambrosia maple in my lumber rack for quite a while now. Every time I saw it, I knew I needed something that had some big panels on it that helped really show off the ambrosia striping. Bookcase meet ambrosia maple. Now I like a maple and cherry combo (who doesn't really) and I thought that the cherry might work well with the ambrosia maple, so why the heck not?
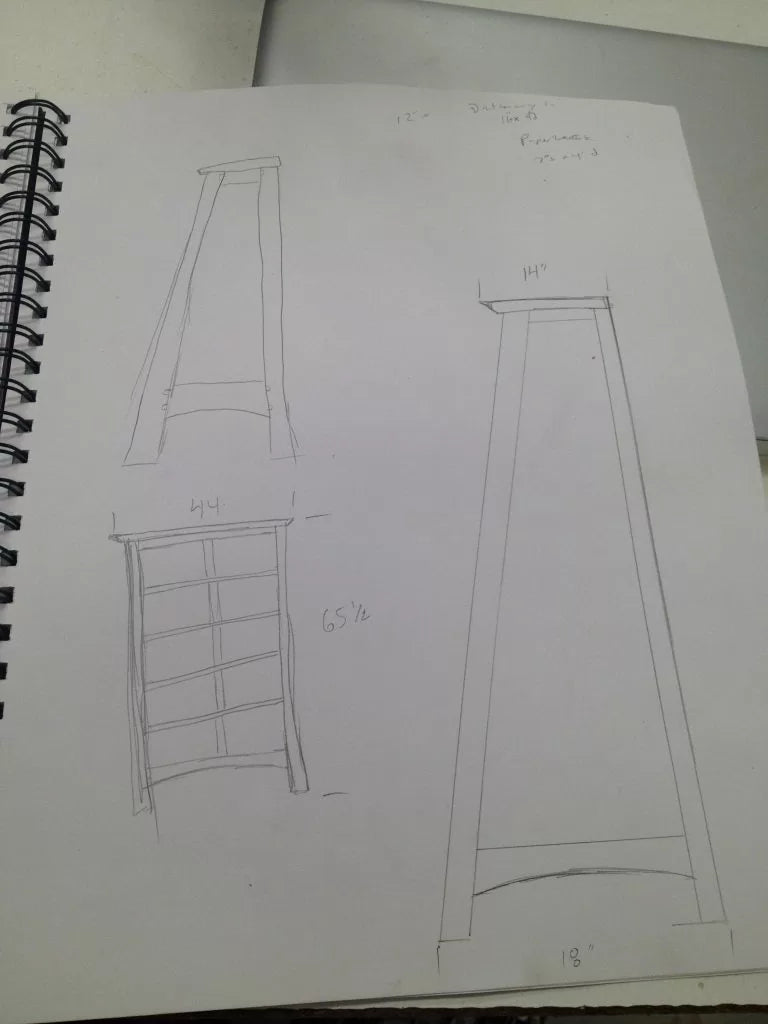
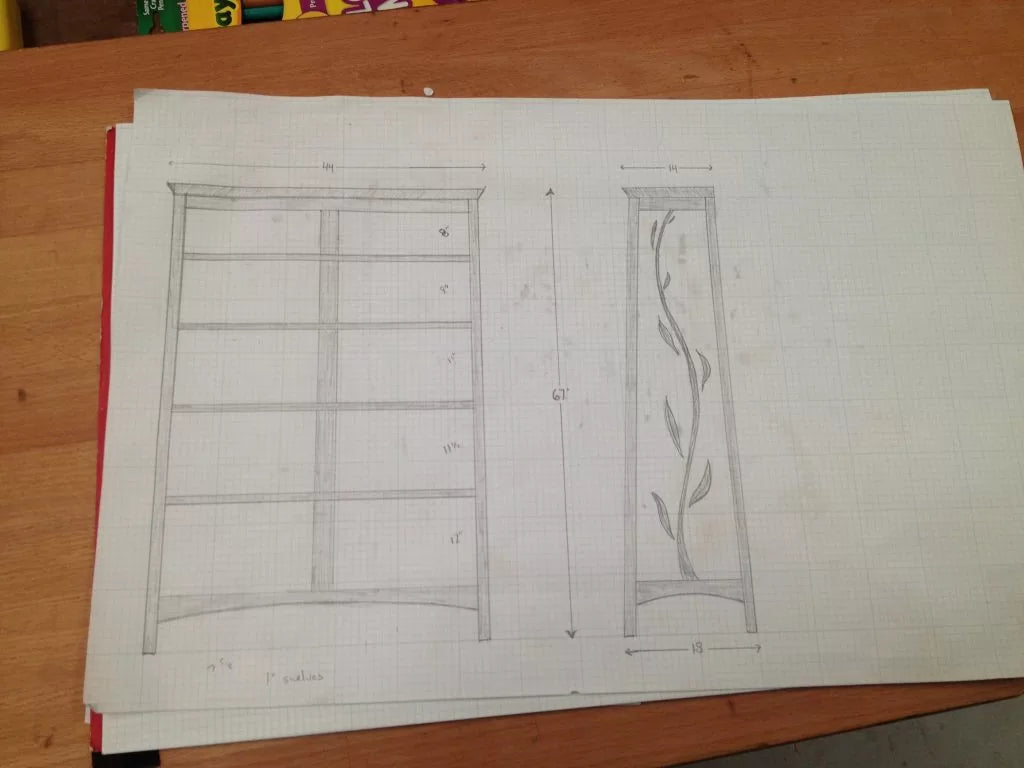
Fun with the design. I was originally just going to go with a simple frame and panel style bookcase with a nice light elevation to the legs. Somehow in my drawings, I kept adding curves and angles to it (because why not). After I finally came up with a drawing I was happy with, I worked on my miniature mock-up/maquette. Always a fun way to figure out shape and proportion. My next step is a technical drawing. I went full size on the drawing so that I could lay out my joinery and cut parts to make sure they all aligned perfectly.
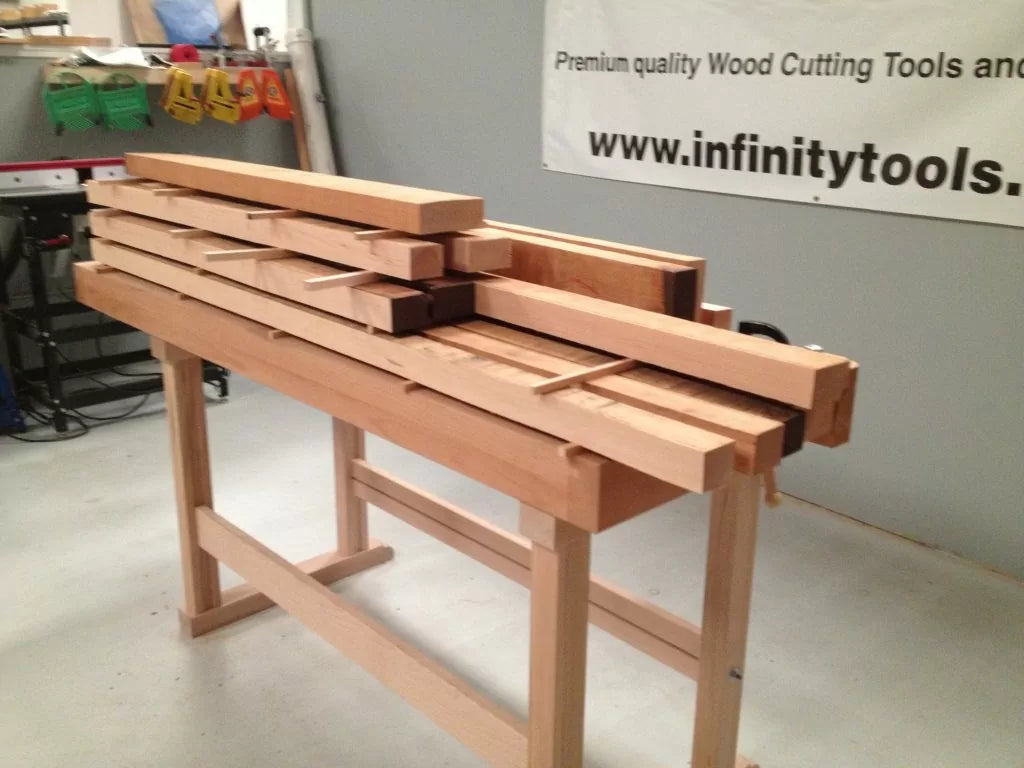
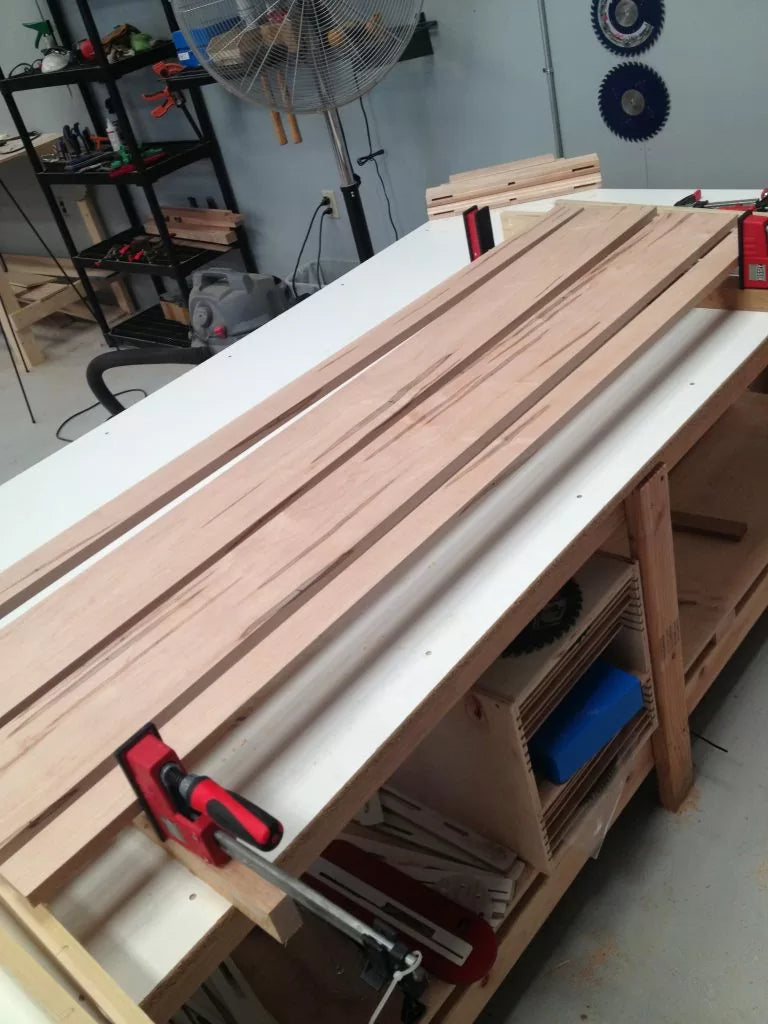
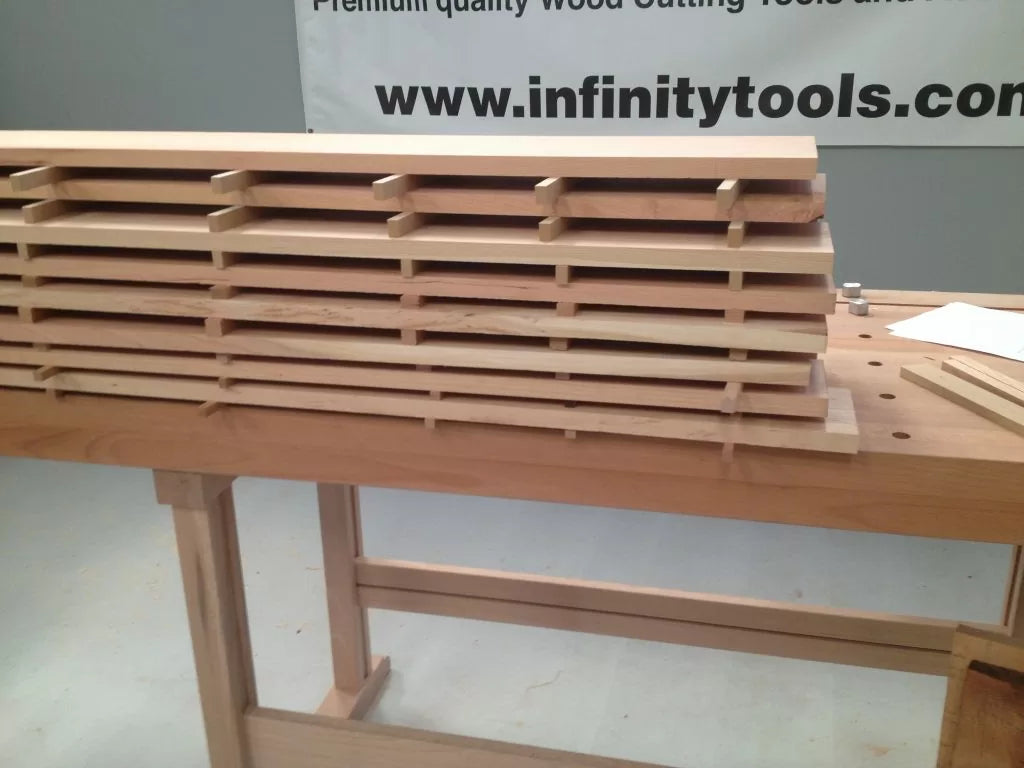
One of the things I always recommend to people is to think about your board selection and to let the wood get accustomed to your shop both before and during milling. For the leg pieces, since they are very long and need to stay very straight and square, I made sure to try and use long straight-grained lumber. For the pieces that had to be glued up, I worked on making sure the colors matched or were from similar boards. Draw and layout everything on the rough lumber. That way you make sure you are figuring out best yields and cuts. I typically rough cut on the band saw and miter saw making sure to leave some extra length in case of snipe.

I try to mill in two parts. The first part is milling to almost finished size leaving around 1/16" over final dimension. I then will let it sit and get accustomed to the shop for a little bit. This lets all of that newly exposed wood get used to the heat, humidity, cold, or whatever that it had never seen before (basically it lets the wood move a final time). Sticker your wood until you are ready to final mill it. Final Mill. AND WE'RE DONE...JK. We are just getting started. And a note for final milling, Make sure your saw blades, jointer blades, and plane blades are nice and sharp. Otherwise, you will spend more time cleaning up at the end.
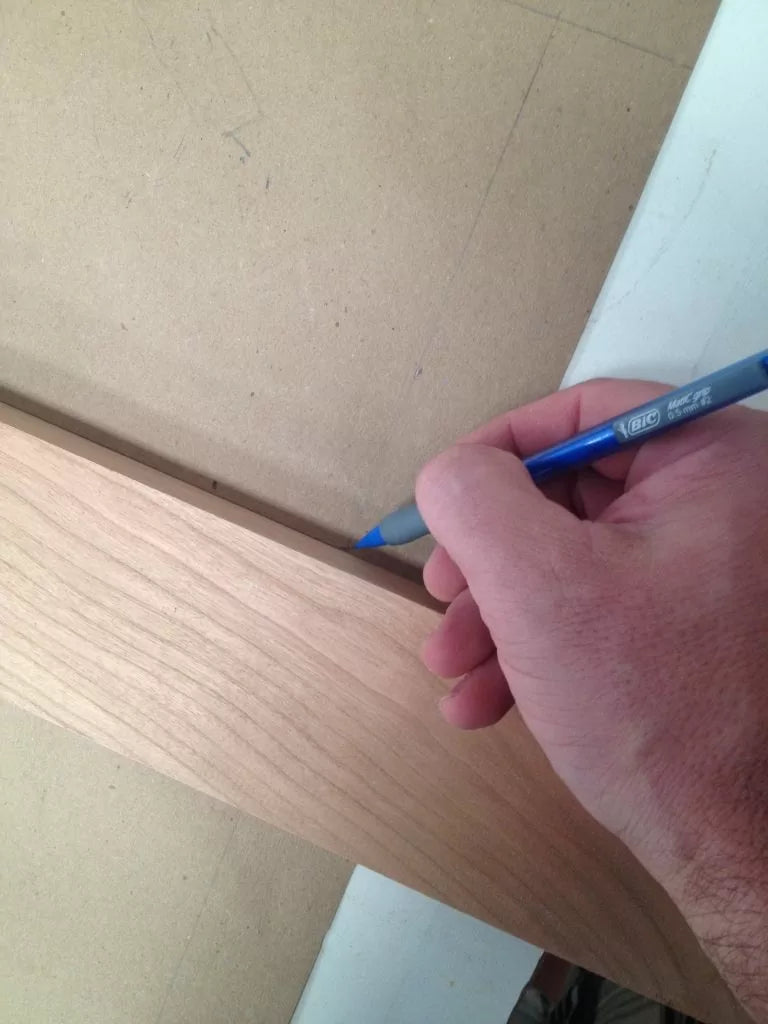
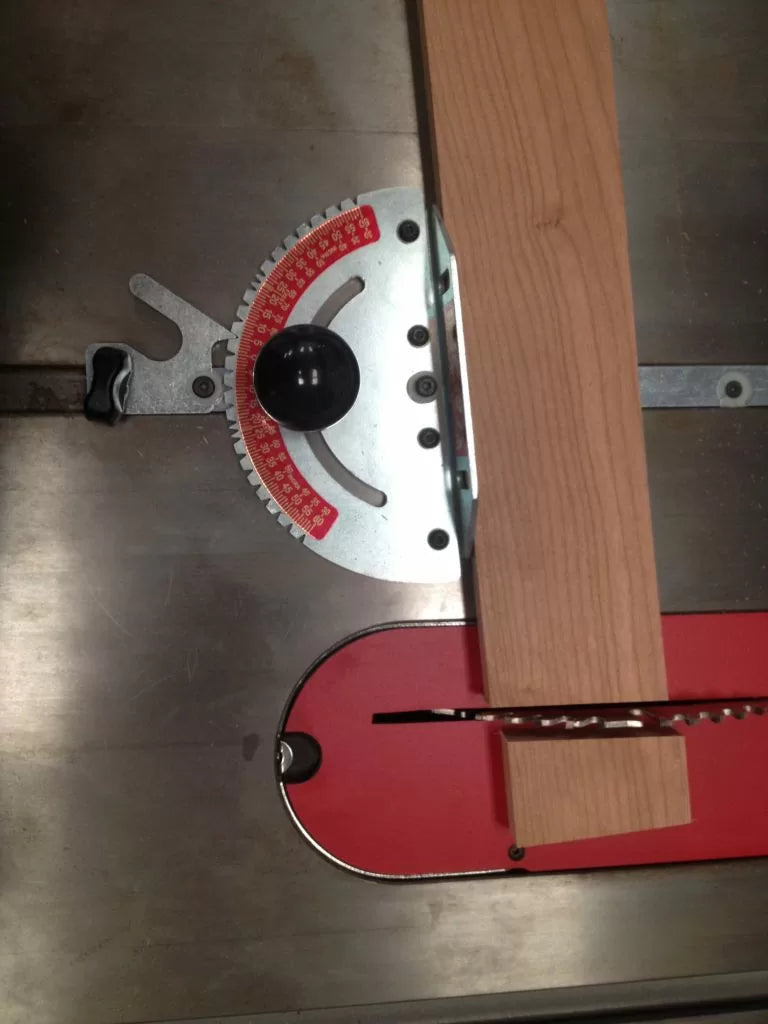
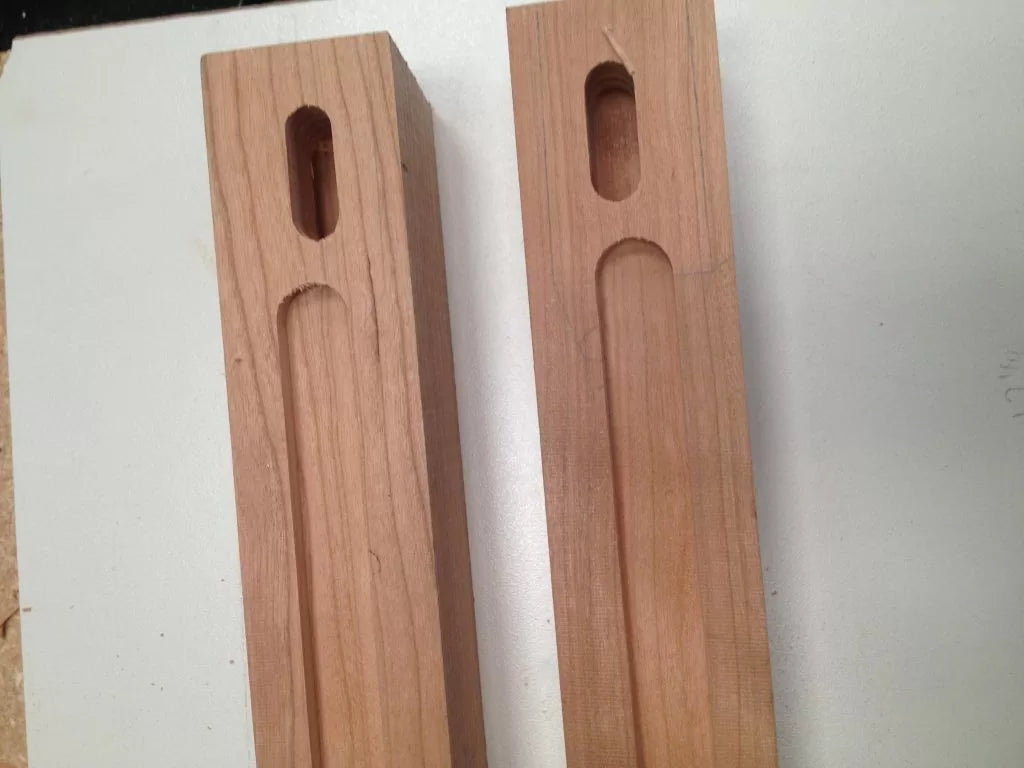
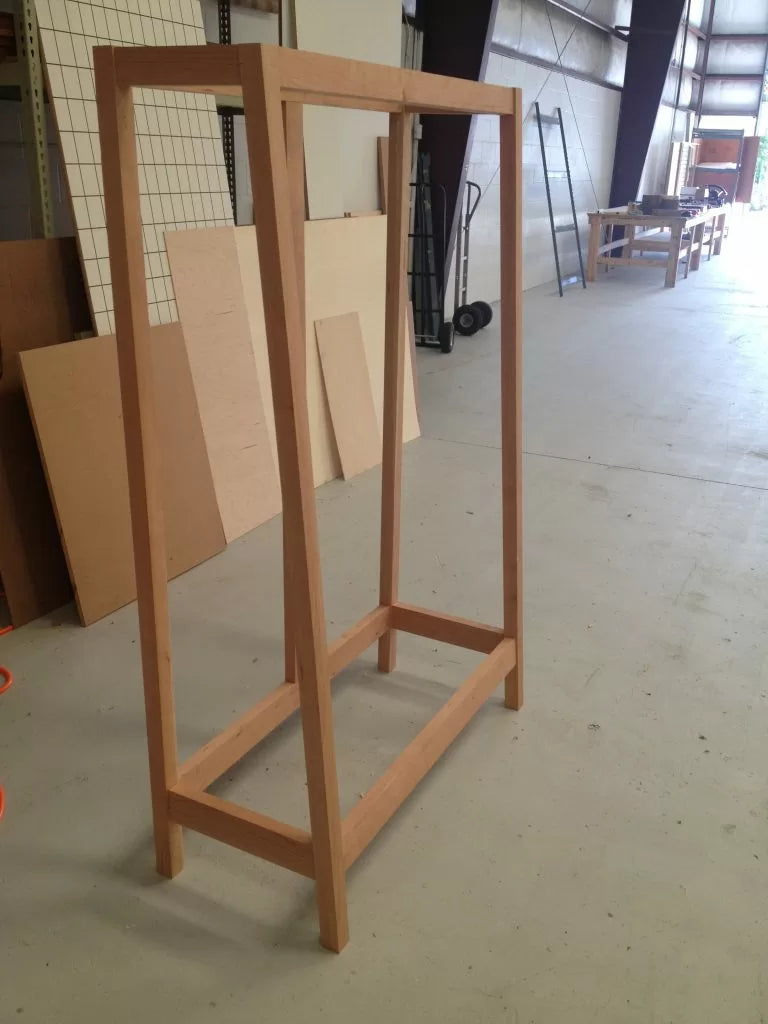
I milled up the legs first ( 1.5" square). The back legs are easy, as they are simply a 4 sided straight run leg. The front legs on the other hand have a 5° angle cut on top and bottom, which helps give us the overall angle of the cabinet. For the side rails (1 1/4" thick x 3" tall), you cut the backs square and the front parts at that 5° angle again. Cut your front rails and back rails(1 1/4" thick x 3" tall) to width as well as a back panel divider(1 1/4" thick x 3" tall) . For the joinery on this, I use the Festool Domino, but most any form of mortise and tenon will work here.

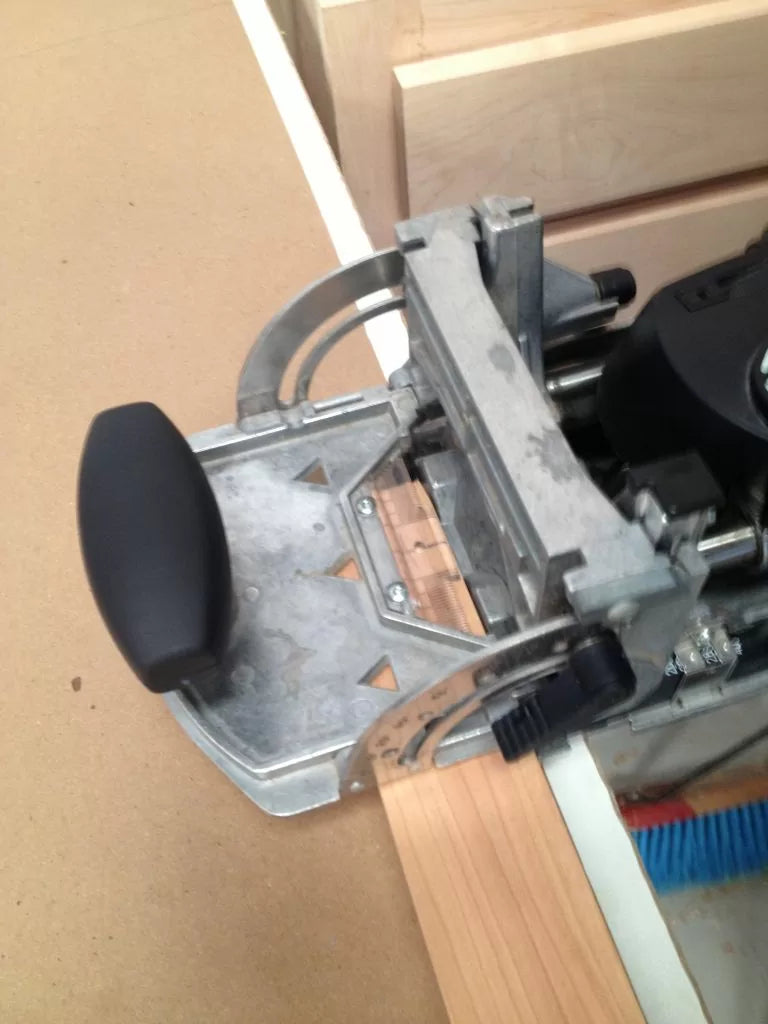
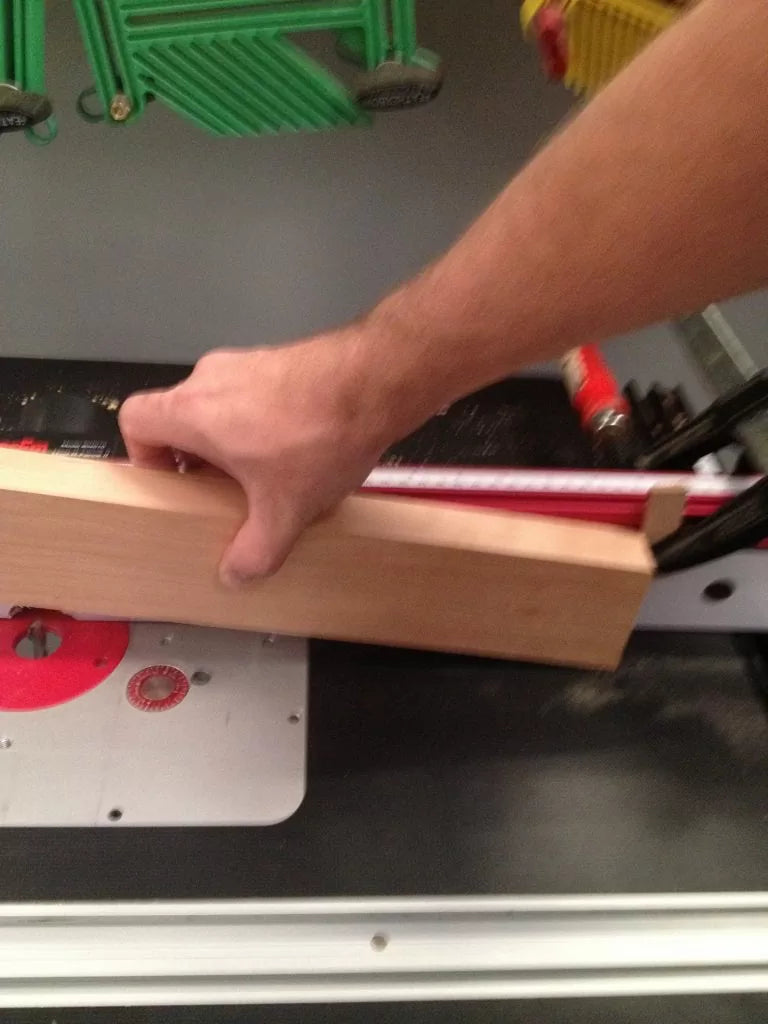
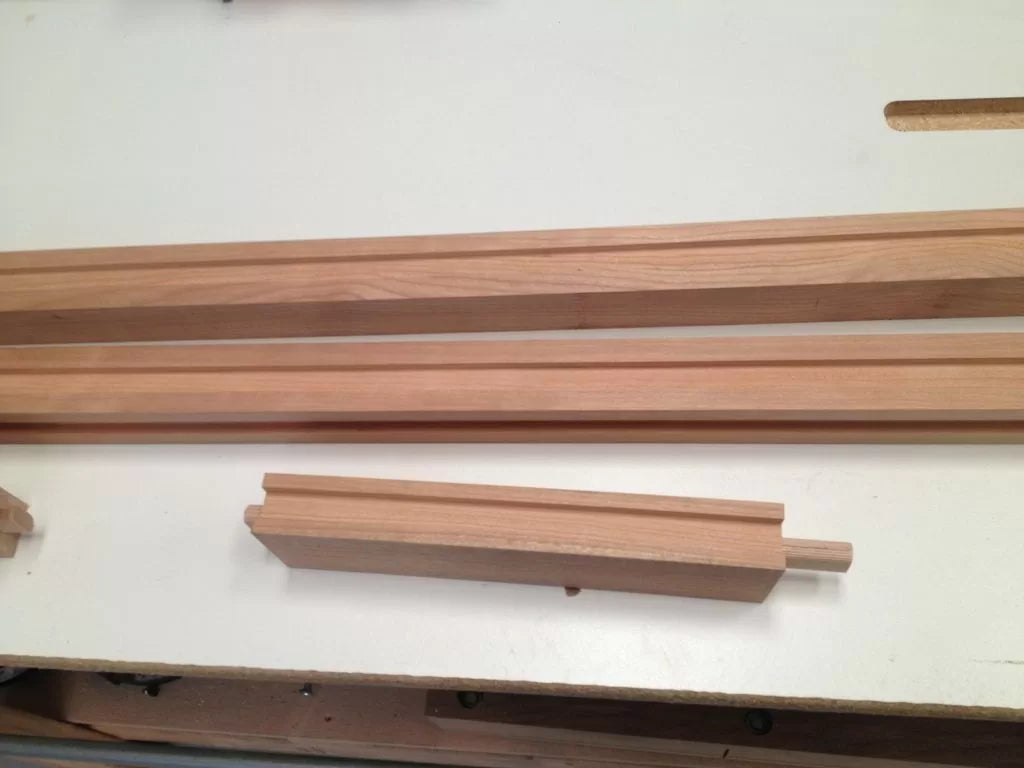
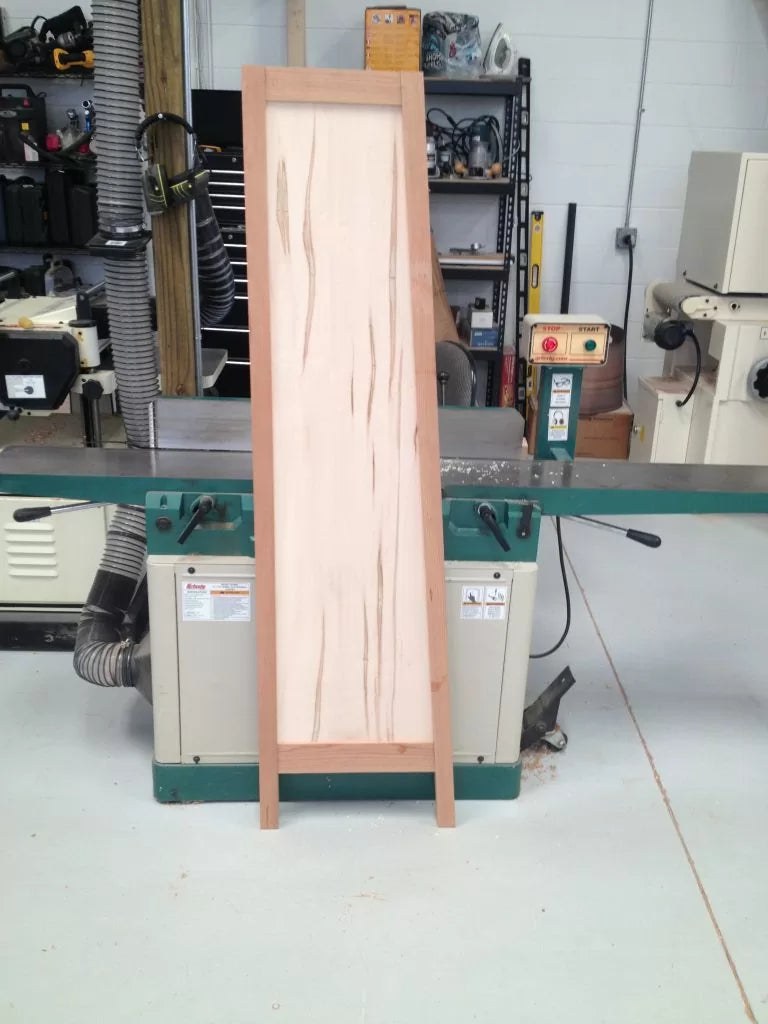
I like to do a dry fit at this stage and make sure everything is aligning and fitting right. Once I know my pieces all fit together, It's time to make the grooves for the panels. I do this on the router table for better control and use a 5/8" upcut spiral router bit. You will need to make start and stop plunges for this. I set up stops on my fences to make this easier and safer. I take light passes to make sure the groove stays clean and I can make my start and stop go safely. You will need to square up with a chisel the routed ends.


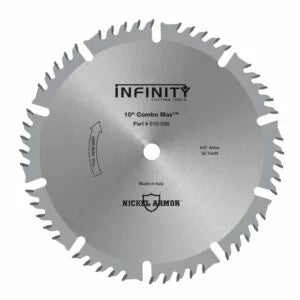
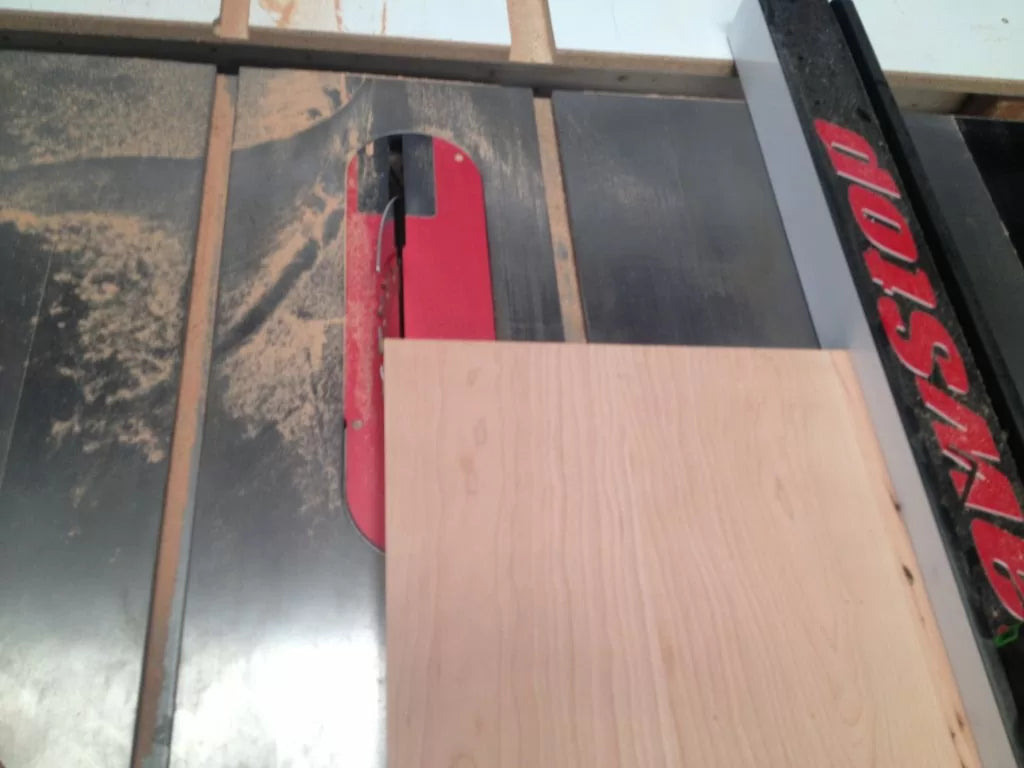
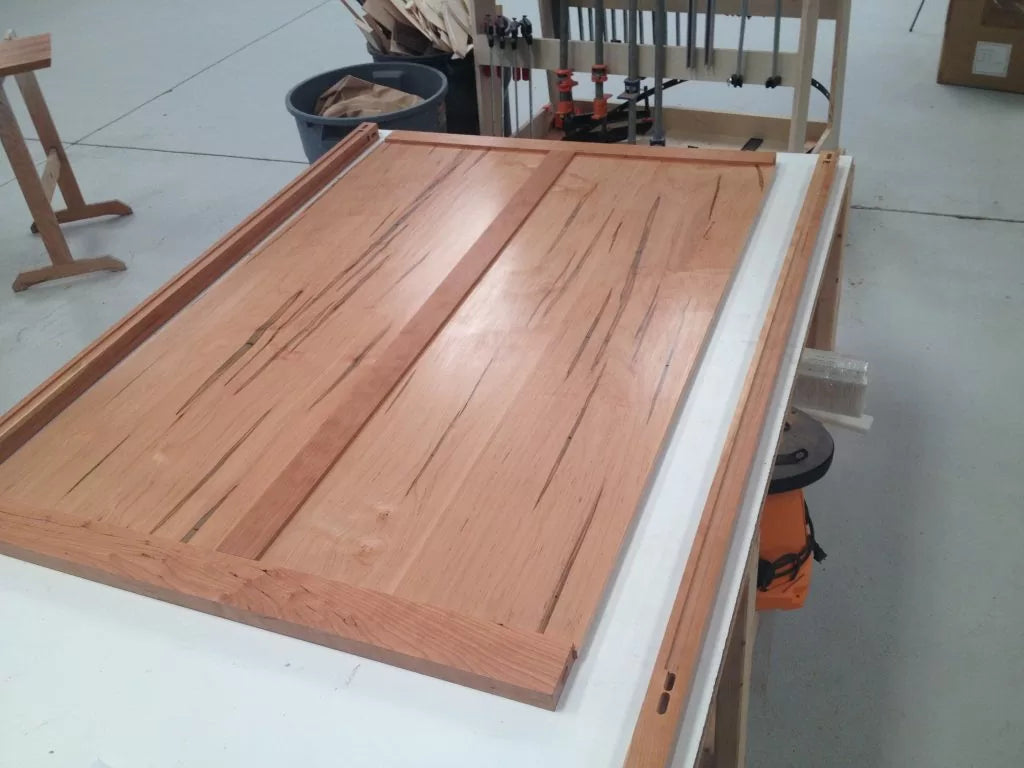
Mill and glue up the top now. I want a nice thick top ( 1 1/4") with a chamfer that will reflect the angle of the bookcase. To do this, I simply put in the 10" Combo-Max saw blade, set the angle at 5°, and run my three sides through. You will want to ease up on the top edge so that you do not lose any of your overall dimensions here.

Once the grooves are cut, I am ready for my panels. Once the panels are milled and glued up, I run them through my wide belt sander to my final thickness. To cut the angled sides, I simply lay out my bookcase sides and draw out my trace line adding the depth of the grooves. Pretty simple. Dry fit and assemble with the panel in.
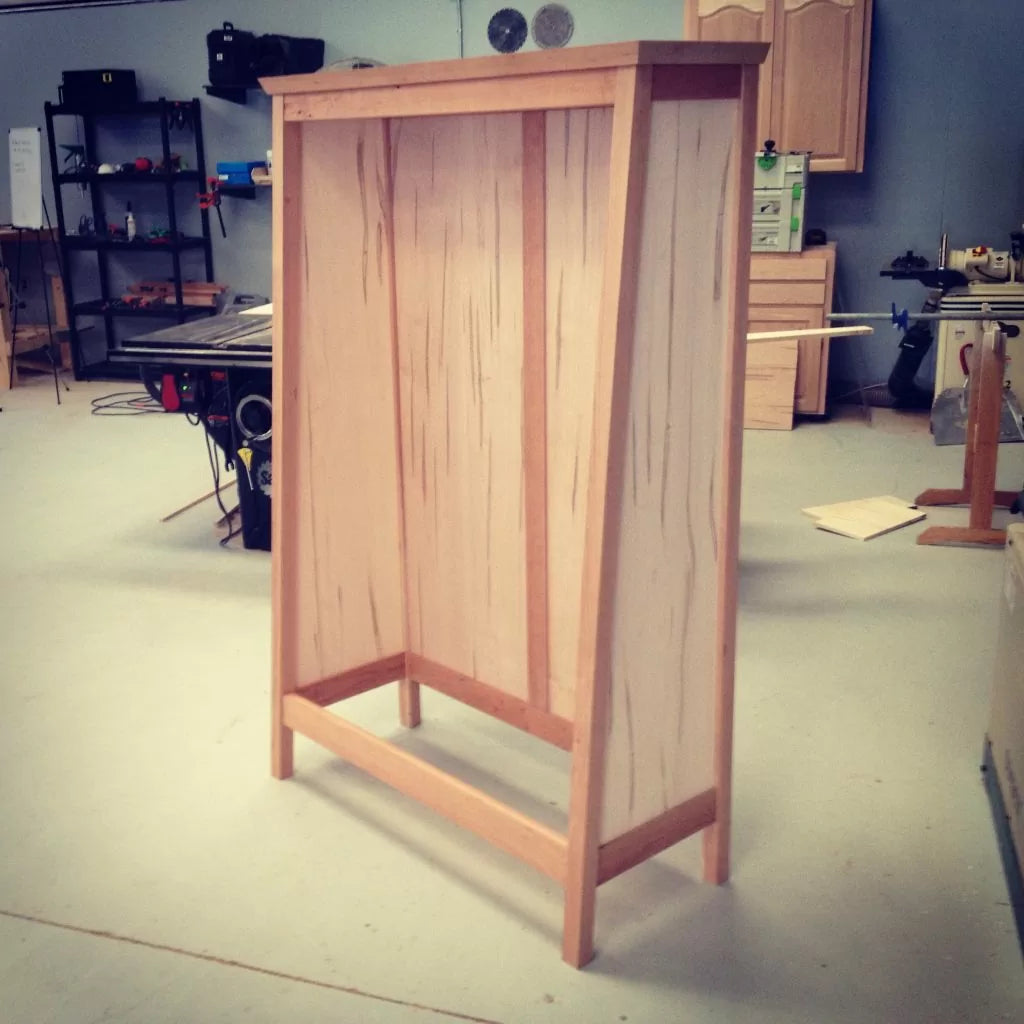
Now you need to confirm your shelf spacing, because this will determine your shelf width. I use a descending spacing of 8.5" , 9" , 10" ,11" ,12.5". Measure out your width at these marks and cut your shelves accordingly. I put a 5° chamfer on the face of these as well for continuity. You will need to put notches in the front and back sides of the shelves to allow them to fit around the legs ( I did these on the bandsaw and cleaned up with a chisel).
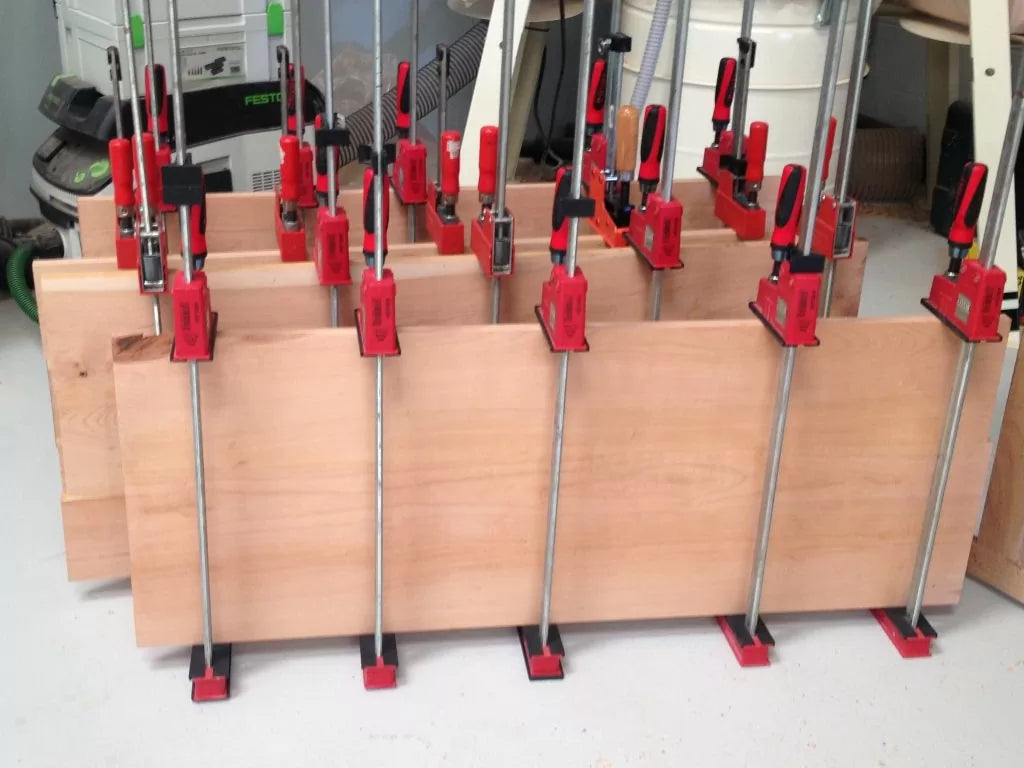
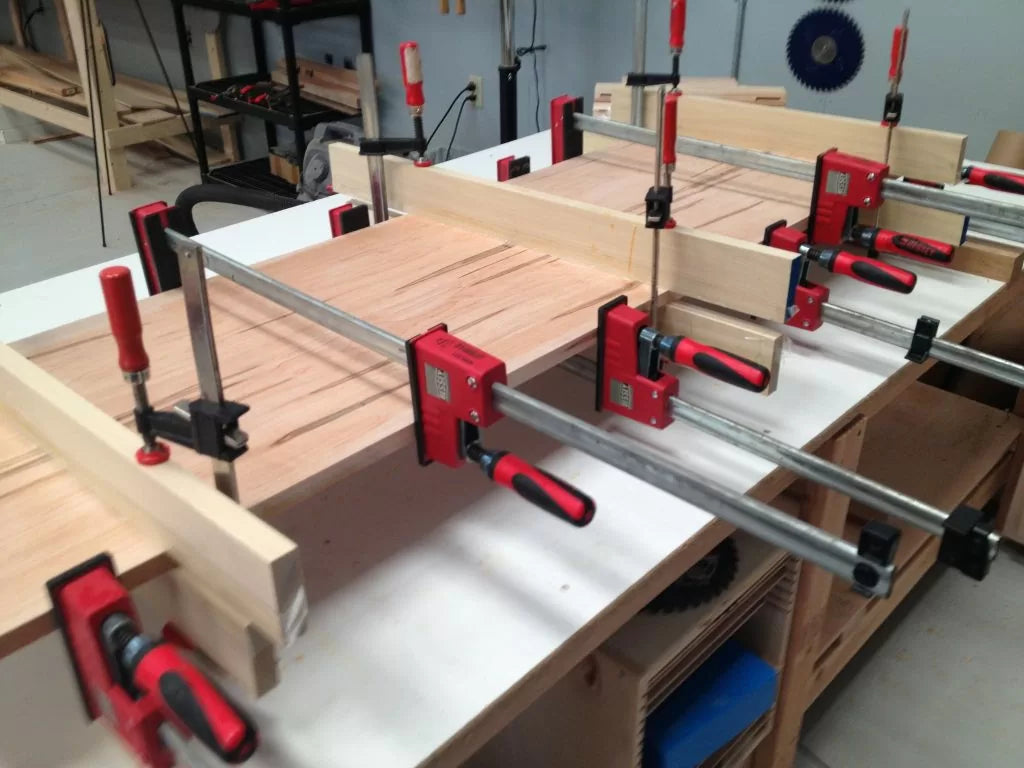
I hand planed, sanded, and pre-finished with Waterlox all of my parts at this time. Now for the dreaded big glue-up. Have an assistant if you can. Make yourself some nice cauls ( I used blocks with cork and tape applied to them) to help with the glue-up as well. The ones for the front of the bookcase need to have a 5° angle cut into them so that you can clamp up squarely. If you are doing this by yourself or have limited clamps, I recommend gluing up in parts. front and backs first, then the sides. Make sure all of your aligning marks are in the correct places.


Please visit the Infinity Tools website for more great products and product information.