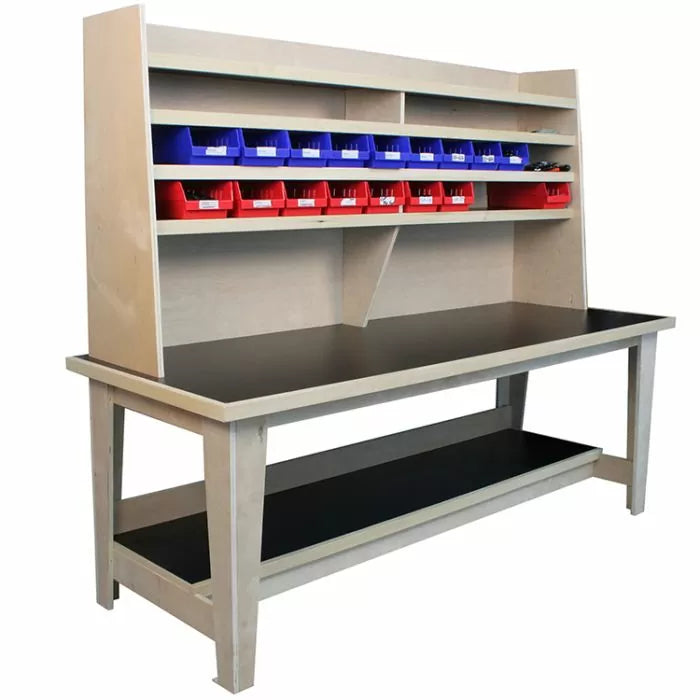
Recently we had a need for a new assembly table in the Infinity Tools warehouse. Rather than buy a table that was not quite right for our needs we decided to design and build our own. We are so happy with the end result and how well it functions that we thought a lot of our customers may enjoy building a similar station for their own shops. The great thing is, this design lends itself just as well for an office desk, craft table, or a host of other uses around the house.
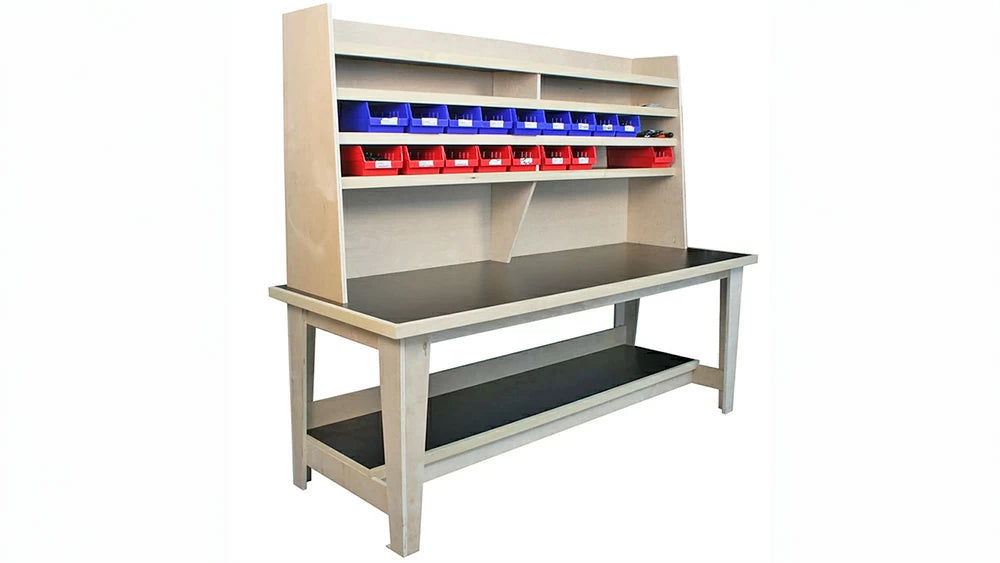
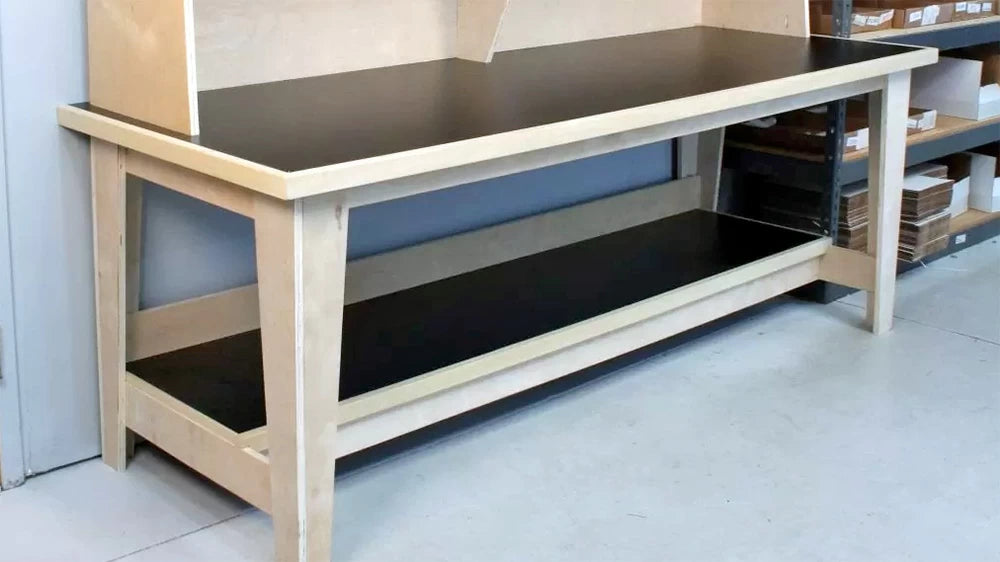
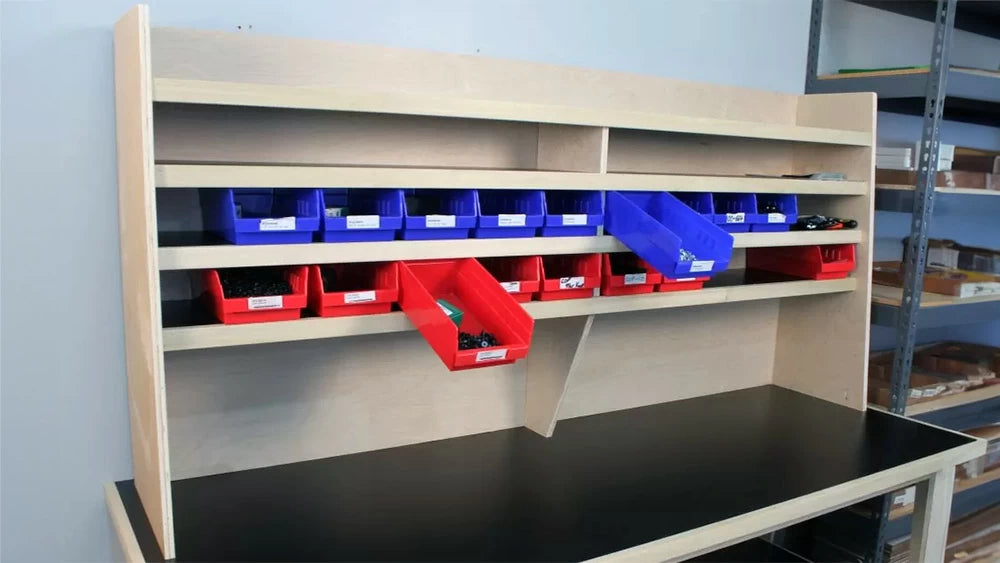
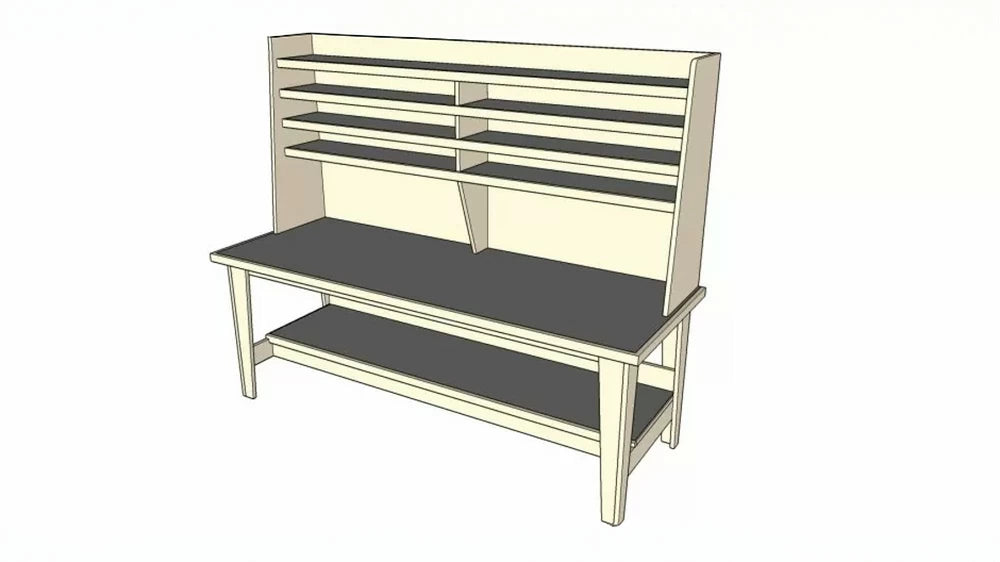
The workstation consists of two parts. The 30"-high table is a comfortable height when sitting. It has a shallow shelf underneath for additional storage. The front edge of the shelf is set back to allow leg room while seated or standing. An upper shelf unit is designed to fit 4"-high plastic shelf bins that we use to store small parts to keep them organized.
For materials, we kept it simple using 3/4" birch plywood and 3/4" melamine, with a little hardwood for edge-banding. We used black melamine from a plywood distributor but you could just as easily use the white melamine available at most home centers.
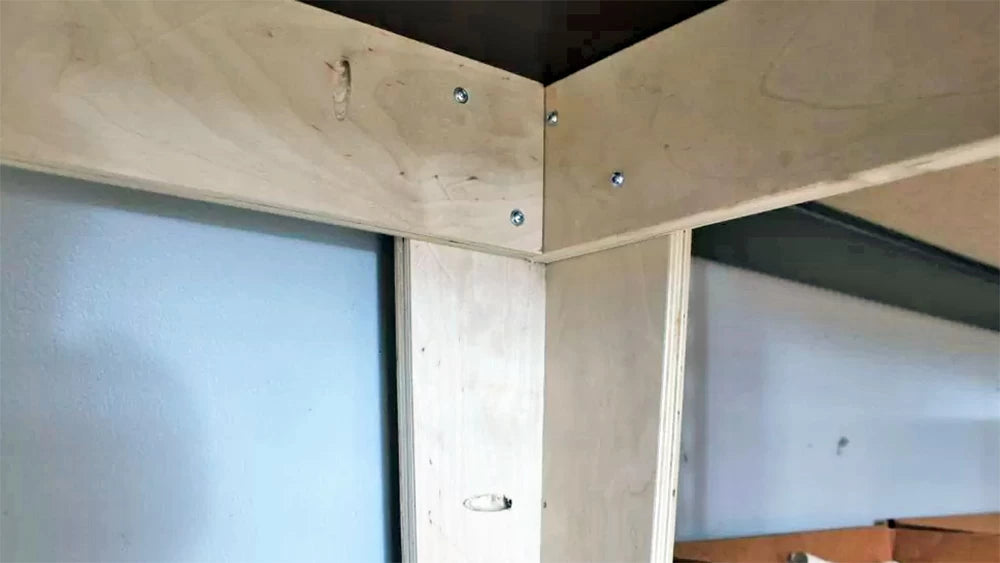
Joinery is equally simple with Kreg pocket screws throughout. I'm a big fan of the Kreg pocket screw jig. The simple construction makes this a quick and easy weekend build.
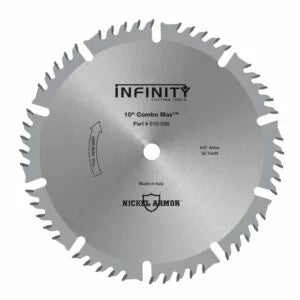
One little detail I added to the project was to use an Infinity 38-190 1/8"-radius roundover router bit to ease the sharp edges of the plywood and edge-banding. This helps keep the exposed plywood from catching and the individual veneers from pulling apart. All my material was cut to size at the table saw using an Infinity 010-080 10" fine crosscut blade. I like this blade for veneered sheet goods as it is a "mid" kerf (.104") and easily cuts the thin veneers of the ply and melamine without splintering.
Our table is built in two stages. First the lower table is built and would make a perfect assembly table by itself because the plywood base is very sturdy. With the design of the plywood legs and stretchers joined with pocket screws I find this type of construction to be more stout and economical than building with construction lumber like 2x4's. I also think it looks better.
The top shelving unit is designed specifically to hold hardware bins and provide a lip so that the bins can be pulled out and tilt forward making for easy access to the parts inside. Our dimensions are specific to these commonly available bins but it is never a bad idea to have the bins you plan to use on hand before determining the final spacing of the shelves. The bins we used are made by Akro-Mils. They're 4"H x 11-5/8"D. They come in various widths. The model numbers you're looking for are 30110, 30120, 30130, 30150, and 30170.

The edge-banding for the shelves acts as the lip that the bins lock into when they are pulled out. You'll notice that the bins have a notch along the back edges that engage the edging on the shelves. In my case, the edge-banding ended up being 3/4" thick and 1-1/2" tall. I made all the edge-banding for the table to this dimension and wrapped any exposed melamine edges to produce a durable edge. I attached the edge-banding with a bead of Titebond II and a brad every 4-6".
The spacing and depth of the shelves was based on the size of the plastic shelf bins we used.
Be sure to check out our Plans and Projects page to find a measured drawing of this project. If you are a SketchUp user we also have the 3D SketchUp model available for download so that you can view and modify the project to perfectly fit your needs.