Vacuum clamping has become quite popular in certain aspects of woodworking over the past several years. Instrument-makers and custom furnituremakers who like to work with veneers and bent lamination find vacuum clamping to be especially helpful. The biggest problem with vacuum clamping has been the cost of getting started. While many woodworkers have an air compressor, few have an expensive, dedicated vacuum pump in their shop.
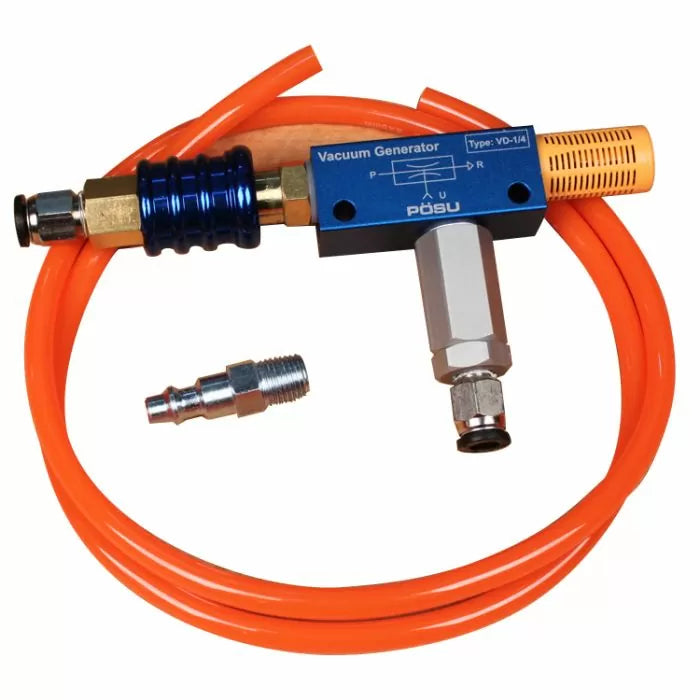
Infinity Cutting Tools offers an affordable Venturi Vacuum Switch that easily converts your air compressor into a vacuum pump. It even includes the correct fitting to connect your air compressor hose directly to the vacuum switch. Let's take a look at how this little switch works and why it is the perfect solution for almost any shop.
A venturi is a pretty simple device. It works on the same concept as an airplane wing. A wing has a rounded surface on top and a flat surface on the bottom. As air moves around the wing, the air that goes over top of the wing must travel further and is moving faster than the air going under the wing. This causes a low-pressure area above the wing creating lift, or suction.
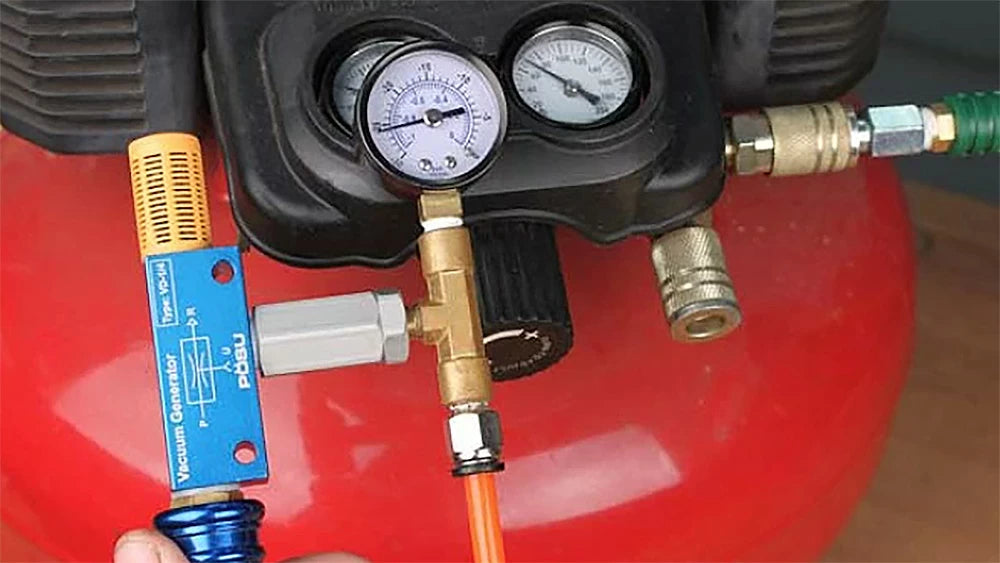
A venturi works using the same principle. Air is forced through a cone causing the air to move faster as the opening of the cone tightens. At the smallest point of the cone, there is a hole where the "vacuum" hose is attached. Because the air at the smallest part of the cone is moving so fast it creates a low-pressure area. This low pressure sucks air in through the vacuum hose. When you attach the other end of the vacuum hose to a sealed apparatus like a vacuum bag, the air inside the bag is sucked out and the air outside the bag (atmospheric pressure) applies pressure to the item inside the bag. There is a drawing of how the venturi works right on the side of the vacuum generator itself. Pressurized air from your compressor enters one side of the venture and is vented out the opposite end. This creates a vacuum at the bottom hose port.

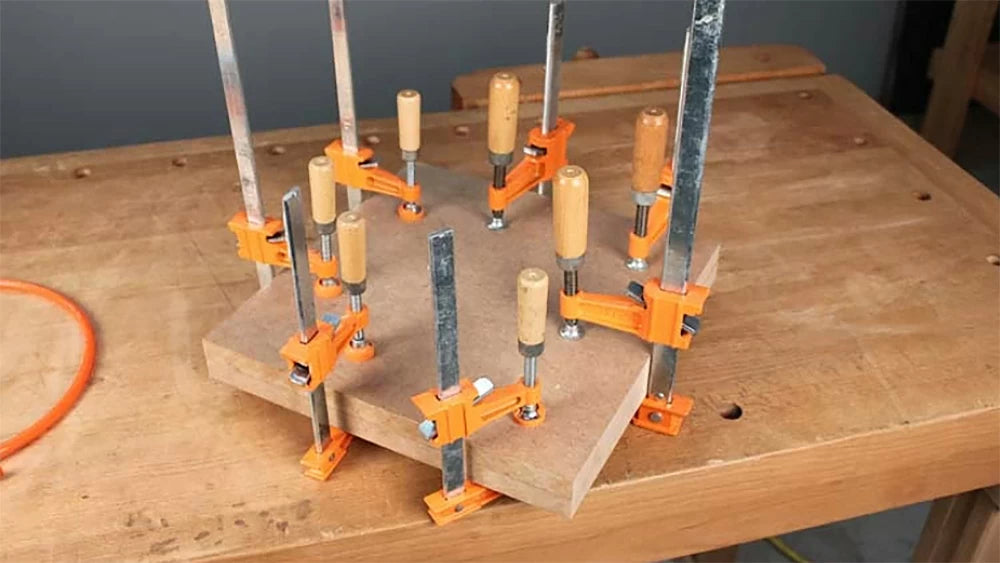
Here's how it works. At sea level, atmospheric pressure pushes down with a force of about 14.7psi. In vacuum clamping, we are using this weight to clamp our project. This may not sound like much but if you have a workpiece 12" square in your vacuum bag, when all the air is sucked out you would have roughly 2116 pounds of pressure on your project. Your average bar clamp can produce 300 pounds of clamping force so you would need 7 clamps on that 12" square to get roughly the same amount of force.
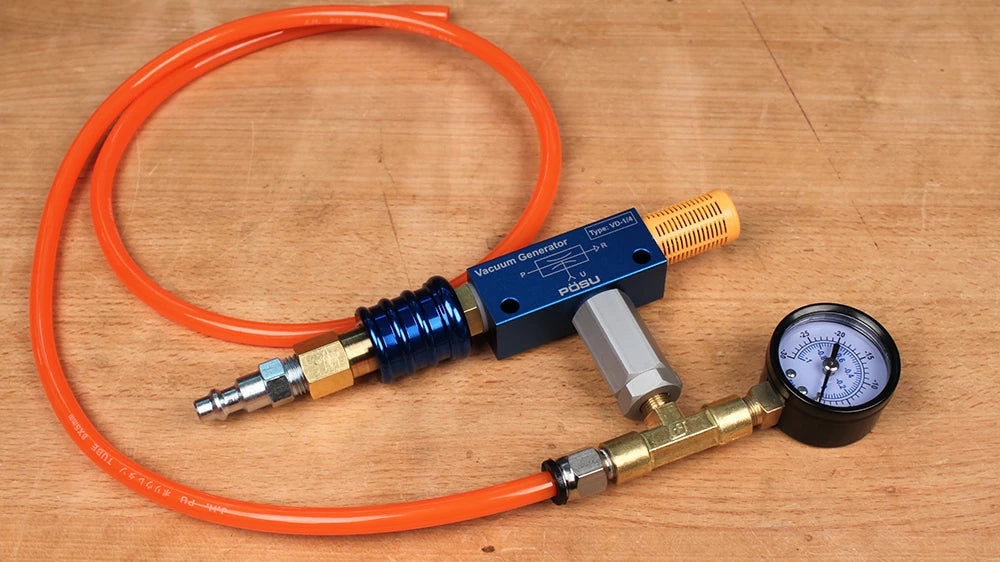
In a real-world situation, a perfect vacuum would be measured on a vacuum gauge as roughly -30 InHg (inches of mercury). Think of a barometer which is measuring the barometric pressure of the air around you. This is the potential amount of pressure you can apply to your project with a vacuum. The venturi is not able to create a perfect vacuum (-30 InHg on a vacuum gauge) but it can get close. Using a portable 6-gal. air compressor rated at 2.6 scfm @ 90psi, we were able to produce a maximum of -26 InHg with 70psi output pressure from the air compressor. The amount of scfm needed is unknown but it was less than the 2.6scfm the compressor was capable of. In other words, the venturi maxed out before the compressor. If you have a larger compressor it would simply cycle on and off fewer times per hour while using the venturi.
The nice thing about the Infinity vacuum switch is that you can adjust how much clamping force is created by adjusting the output pressure of your air compressor. 7 clamps may be a little excessive for your project. To make this adjustment easier Infinity has created a vacuum gauge accessory for the Venturi so you can add the gauge in order to monitor exactly how much vacuum and therefore how much clamping pressure you are applying to your project. At -26 InHg you are producing 12.77 Psi and at -15 InHg you are producing 7.32 Psi, still more that 1000 pounds per square foot. Here is a cool calculator that makes the math easy. As you can see having the gauge is a very useful addition To the Venturi.
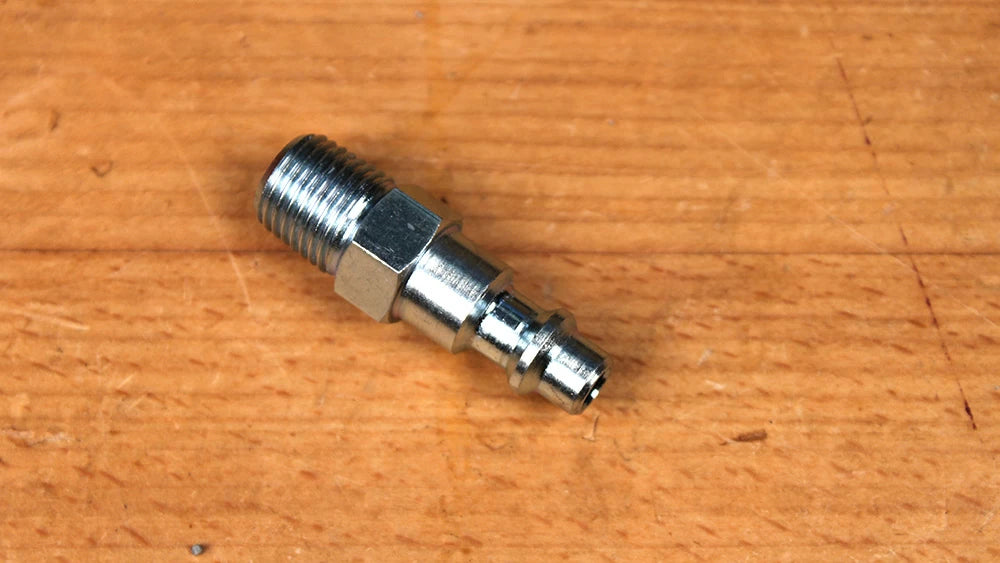
The Infinity Venturi Vacuum Switch includes a custom air compressor quick-connect fitting making it easy to attach your air hose to the Venturi. This special fitting is made for us with the proper threads to fit the Venturi body and eliminates stripped threads or leaky connections, ensuring an air-tight seal.
Andrew uses the Venturi Vacuum Switch with the vacuum gauge kit all the time in the Infinity shop with tools like the Oval and Circle Cutter with Vacuum Base. You can easily make shop-made vacuum clamps, and you can make or purchase vacuum bags to fully take advantage of the Vacuum switch. The uses for the Venturi are only limited by your imagination and the projects you create.