I am a hand tool junkie. I love the whole experience from sharpening a blade to letting the hand plane fly through wood creating super-thin shavings. There is something about the feel of a hand tool and the sound it makes in use versus a big machine. It feels more personal to me.
Now when I first started using hand tools, I gravitated towards big metal hand planes. The shiny steel and bronze were the pinnacles of hand tools (or at least that's what the magazines said). When I was in school, I had a teacher who used wooden planes. I was intrigued by the idea of them because they were so pretty and seemed as if they were what a woodworker really should use. Wood working wood. He agreed to teach me how to make my own wooden hand plane. I made a jack plane that is still my go-to plane. We used a Hock plane iron set and I designed the plane's body to fit my hand. It's a joy to use, much lighter than a metal plane so I don't get fatigued anywhere nearly as easy on big jobs. The Hock blade, made of high-carbon tool steel sharpens very easily to a fine edge and cuts through any grain with ease. I actually prefer this steel over the harder A2 steel since it sharpens so much quicker. I also create a hollow-bevel grind with my bench grinder to make sharpening quicker, but you can sharpen and hone them however works best for you.
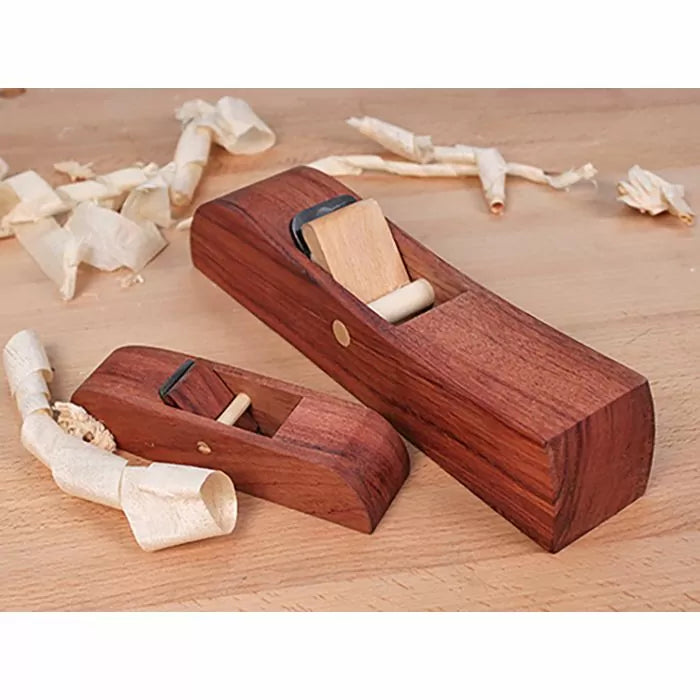
When Infinity Tools decided to start carrying Hock plane blades and the Krenov-Style Plane Kit and Block Plane Kit, I knew I would get to make some new wooden planes for my collection. The Hock plane kits are an easy, affordable way to get into hand planes. These kits are available for less than $100.00 which is cheaper than most any other good plane on the market with the exception of a vintage used plane. They can be customized to your needs which makes them extremely versatile.
Ron Hock and Hock Tools first started making hand planes for James Krenov's students in the woodworking program at The College of the Redwoods in Mendocino County, California (now The Krenov School). His blades have been considered in most of the woodworking magazines as the go to blades for both making your own hand planes and replacing the steel in your older vintage planes. Hock believes in producing quality products over quantity.
The hand plane build-out is relatively easy and can be done in about 3 to 4 hours. That's not too bad for a new tool that you can show off to all of your friends.
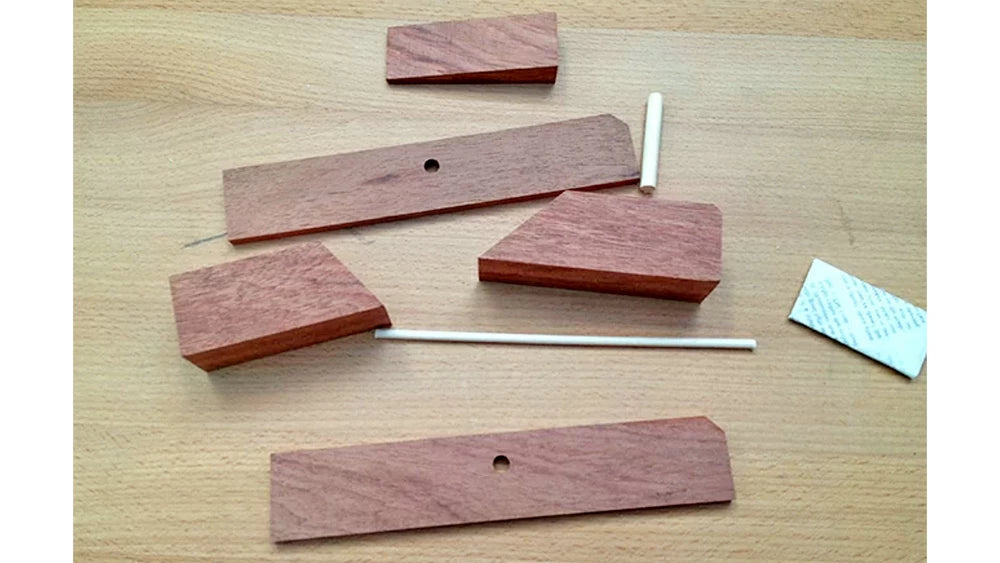
There are not many parts in either package. The bench plane includes 1/4" dowels and a cap iron with the blade while the block plane has one long 1/8" dowel and no cap iron. They are made of bubinga which is a beautiful wood and self-lubricates so you don't need a separate sole on the bottom of your plane.
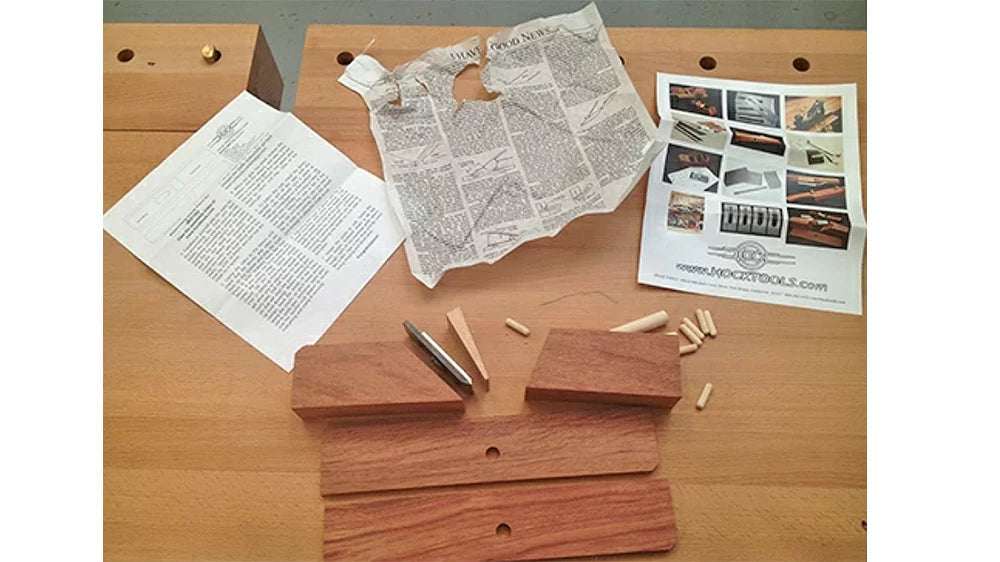
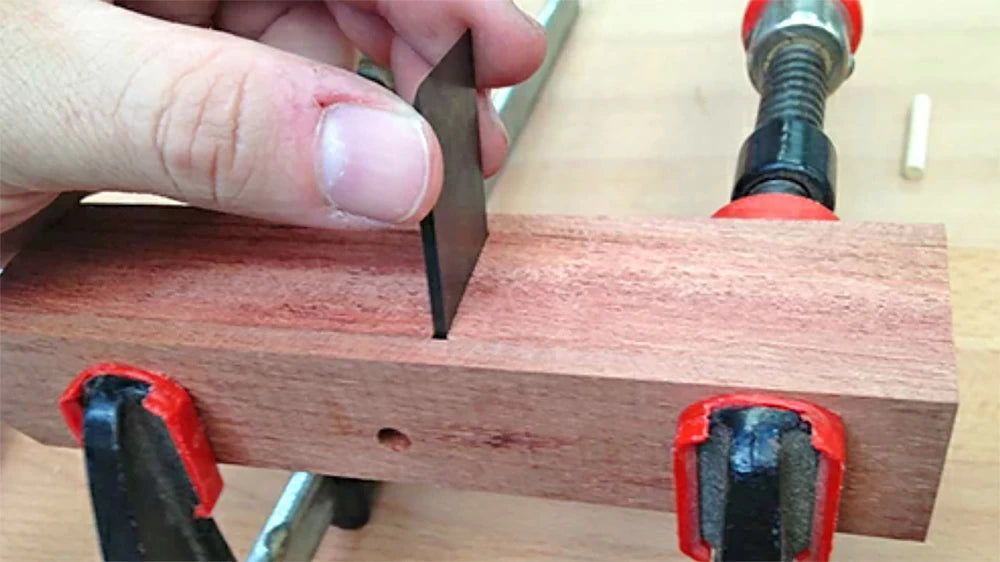
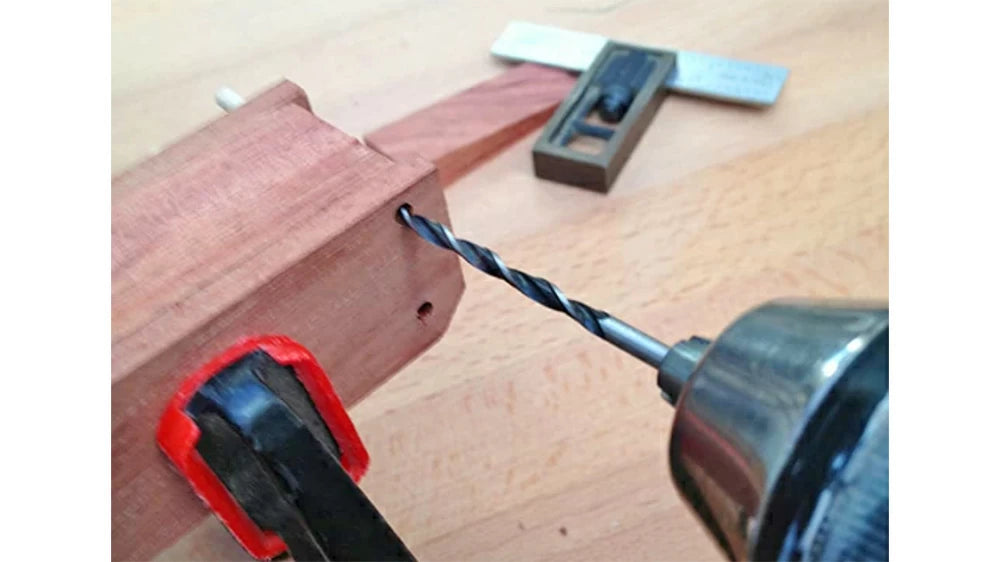
Simply start by dry-fitting the pieces together to get the feel of what they're going to look like assembled. You'll want to make the back and bottom of the plane flush. There's a chamfer on the back of both planes that helps you align the pieces. Clamp up the front and back sides and flip the plane over. Set the plane's mouth opening to a thickness of 3/16" for the bench plane and 3/32" for the block plane. You can use each kit's blade to set these thicknesses. Once the mouth opening is correct and the back and bottoms are flush, drill dowel holes in the corners of the plane. The dowels will be sawed off later in final shaping so we want to put them as near the far edges as we can.
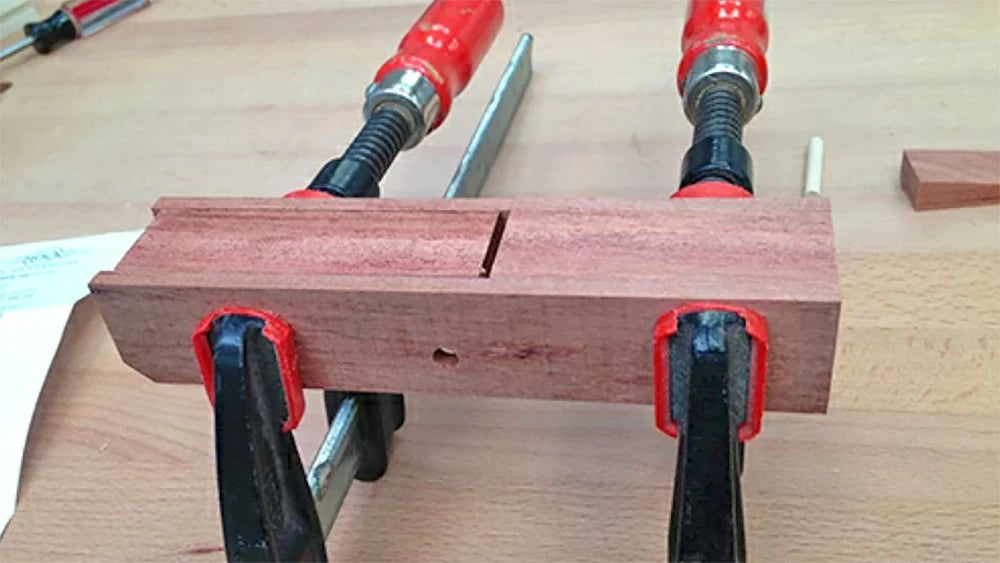
After the dowel holes are drilled and while the plane is still in clamps, we can mark out where we are applying glue. You might want to wax the areas of the plane body that are not getting glue to help make removal easier. The wax will need to be removed later before finishing.
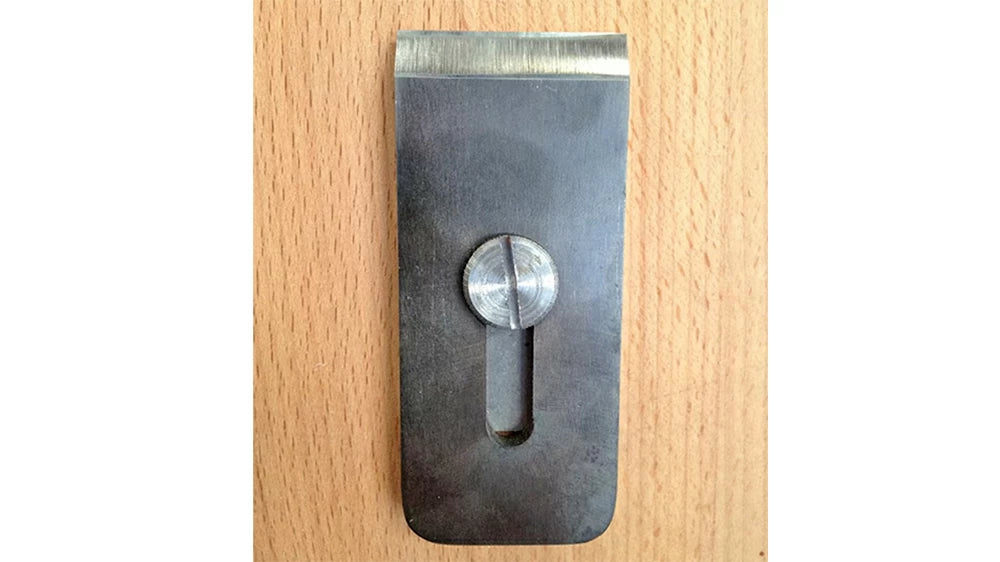
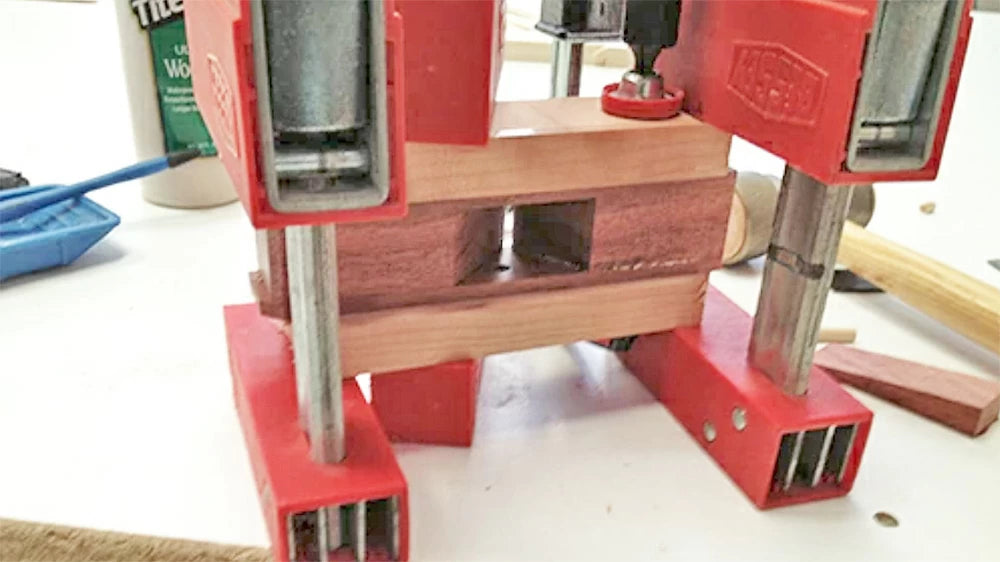
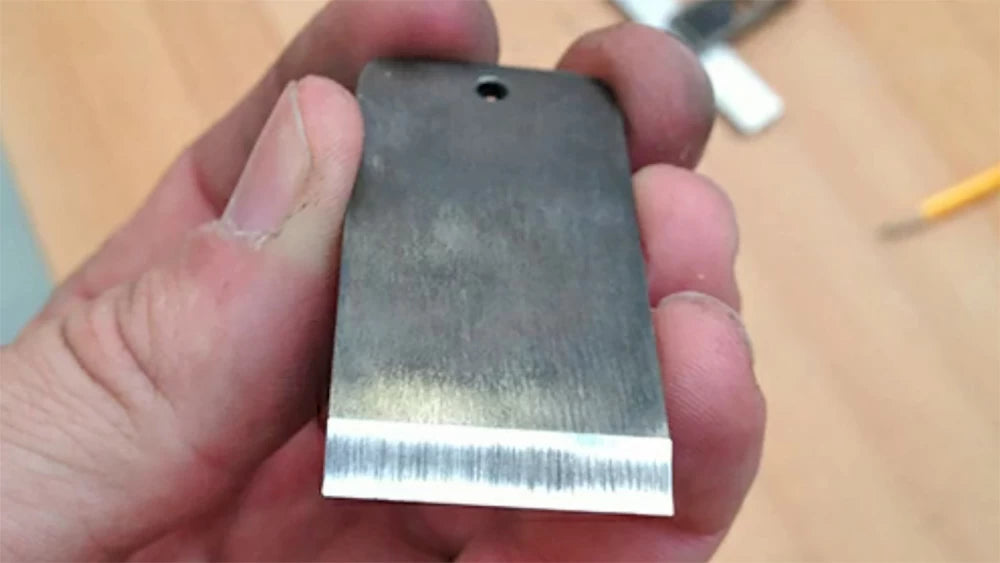
Glue up the body using cauls and clamps to achieve even pressure across the whole body. Now is a great time to sharpen the plane blade.
Remove any glue squeeze-out being careful not to gouge out the throat and mouth opening. Next, glue in the cross pin and clean that up. You may need to soften the leading edge on the cross pin when hammering it into its hole. Now is the fun part (not really): Flattening the sole of the plane body. Insert the blade and wedge into the plane tightly but don't let the blade go all the way to the bottom or you may sand off the sharpened edge of the plane iron.
Flattening the sole does two things. First, it flattens the bottom of your plane and second, it allows the mouth of your plane to open up and let the plane blade come through.
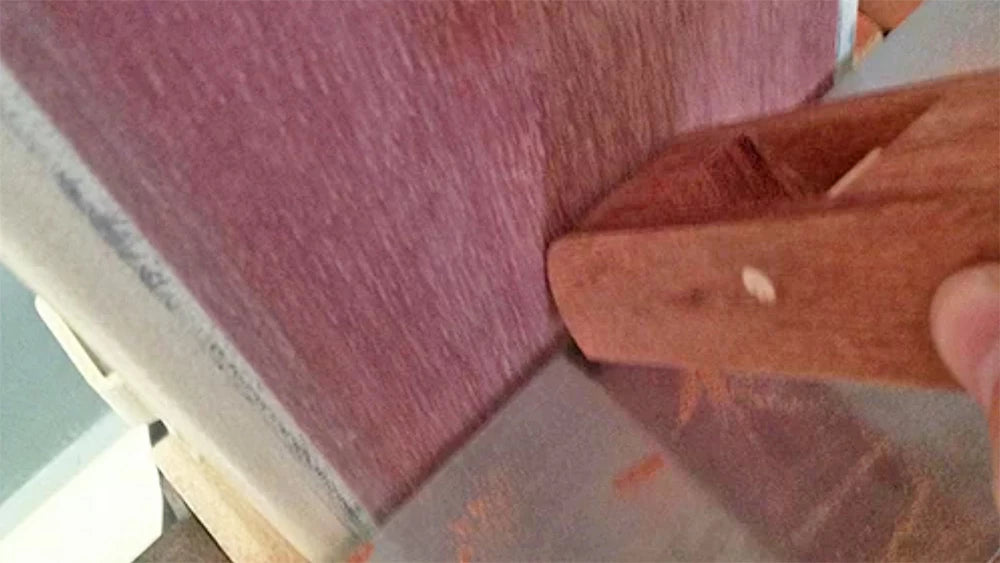
Lay out some sandpaper on a flat surface. I used 100-grit on my jointer bed. Take your time doing this because you don't want the mouth of the plane to be too wide. It needs to be just big enough to allow that blade to come through.

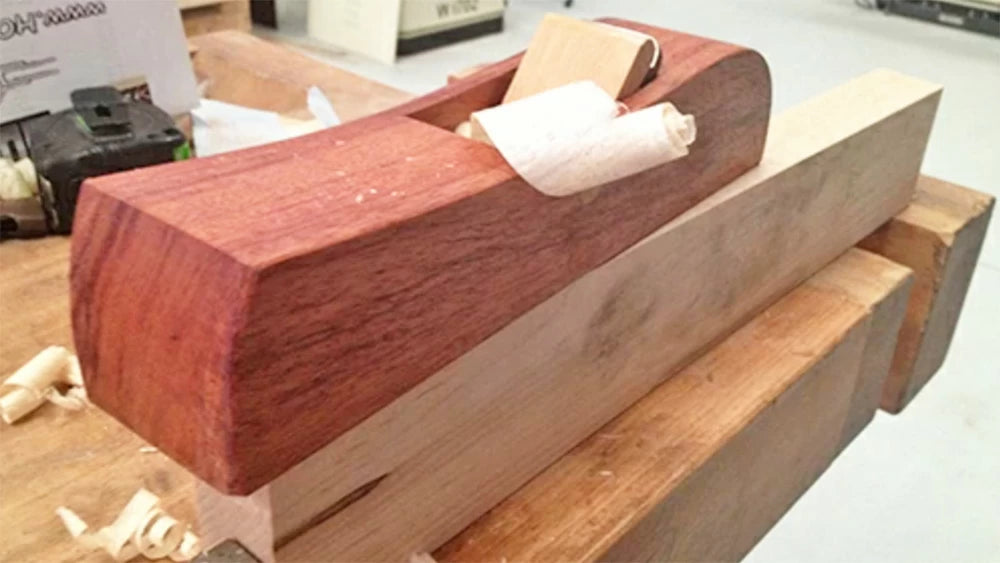
Once the sole is flattened enough and the blade is through, we can make sure that the plane is working. Using a small hammer, tap the blade and wedge into place. This is where the wooden plane really differs from the metal planes. It takes a little bit of time to learn how to set up the blade and how hard to tap it, but once you do, it becomes a very quick process. To increase depth of cut simply tap the blade, to ease depth of cut, tap the rear of the plane body behind the blade. To set left or right, tap the blade on the sides. Setting the blade is pretty easy, but does take a little bit of time to get fast at it.
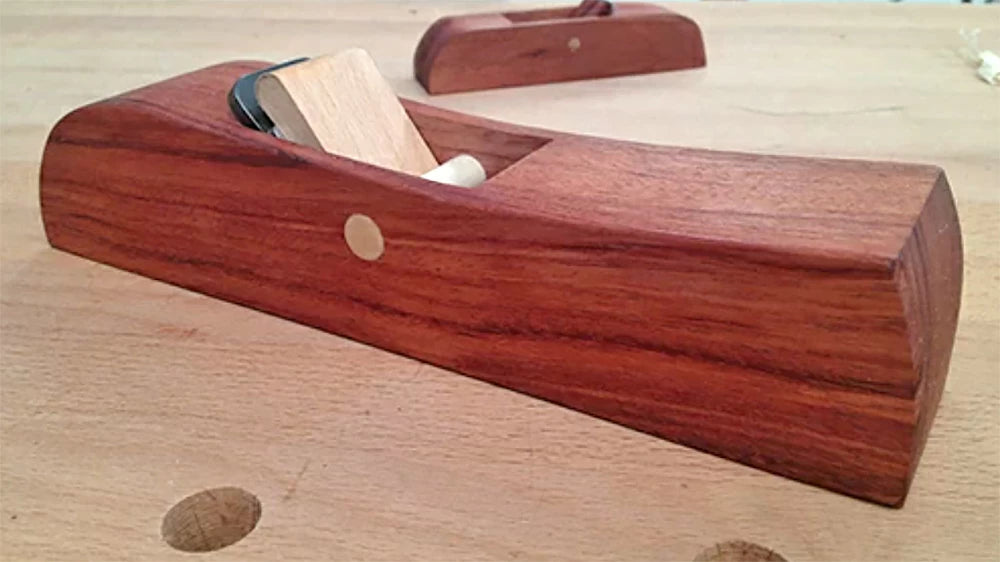
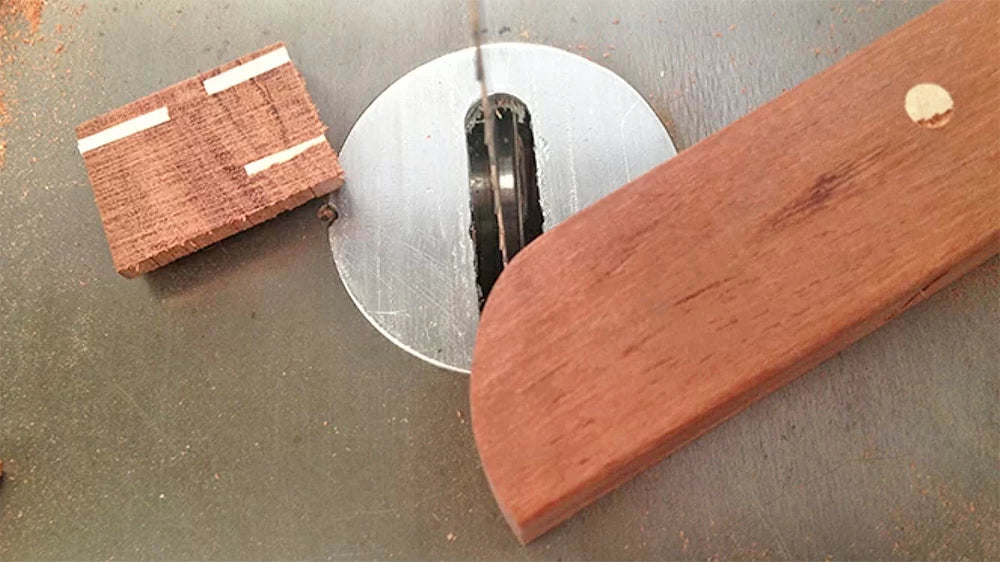
Once you have gotten your blade set to take translucent shavings and know it's working great, yank the blade and wedge out, because now really is the fun part. Start looking at how you want to shape the plane body. You can go as simple as you want to or as shaped as you want. I use a bandsaw, sandpaper, and a sander to get to the final shape. Take your time to ease into a shape that fits your hands perfectly.
Place your blade back into your plane and see what you think. I'm pretty happy with mine. You can very easily have a great hand tool for under a $100.00 in about 4 hours. And you'll love using it because you made it yourself.