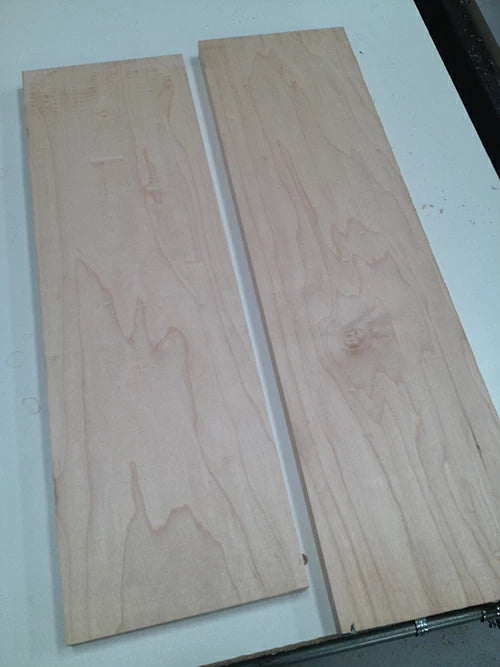
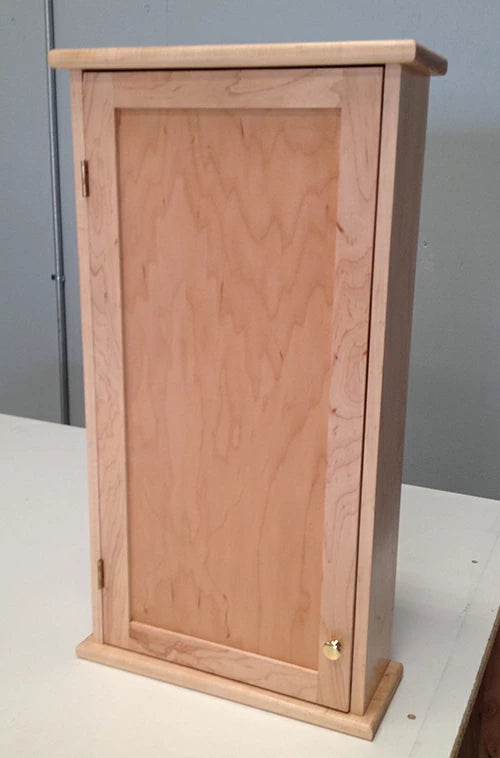
Today was a good day in the Infinity Cutting Tools shop. Tool setup, tune-up, and my favorite part...testing. I got to mill up some maple to test out how our machines were running. I know you think that I do this because I get to play with all of the great tools that Infinity carries, but the reality is that I like to make sawdust. I like to turn rough lumber into beautiful things (like the Shaker cabinet below). To get there, we need to mill our lumber to get all four surfaces flat and square with each piece planed to the proper thickness.
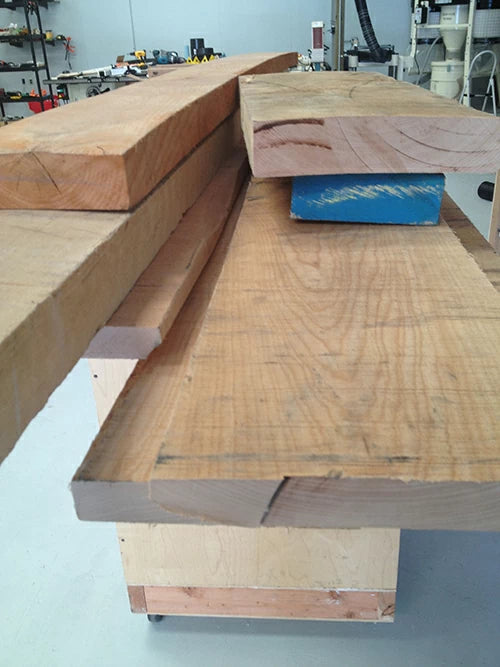
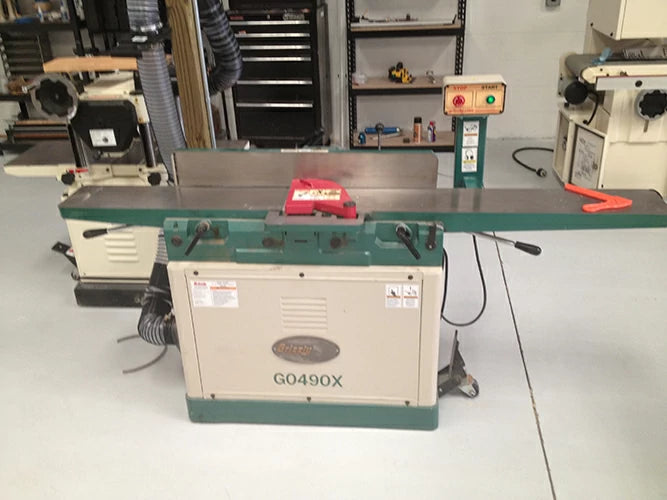
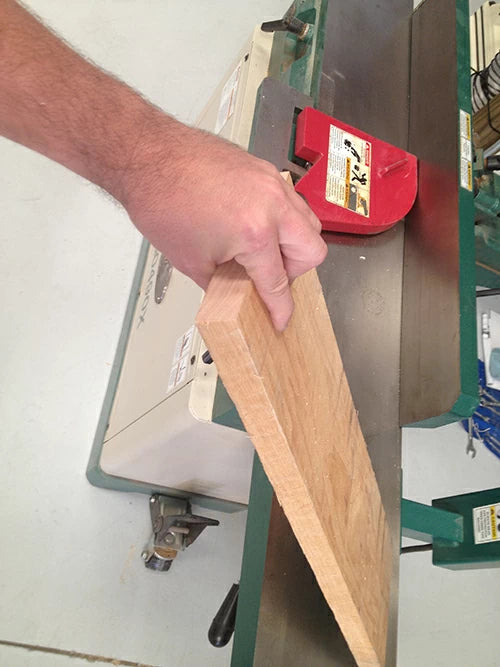
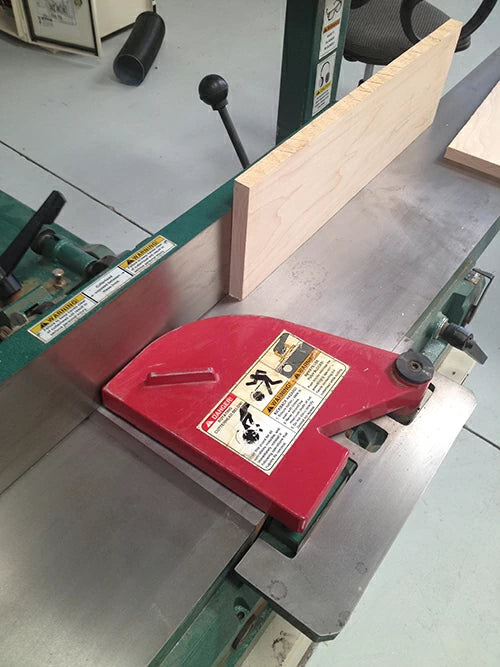
The first stop is the jointer. Here is where we make our wood flat. I pick whichever side is the most flat, check the grain direction, and start pushing the material through.
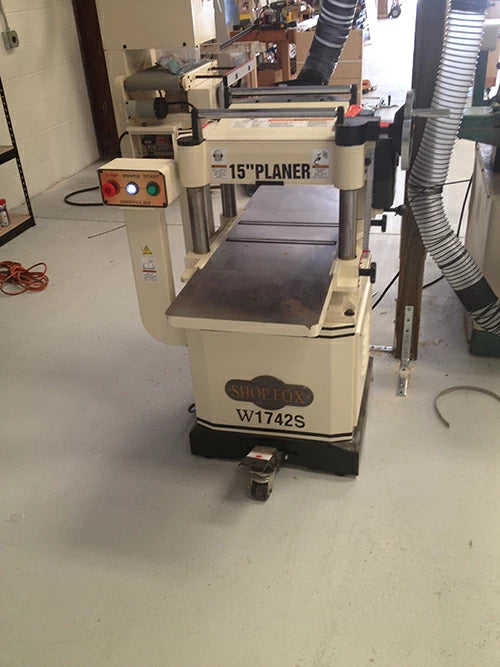
Next, we go to the planer, where we make our wood parallel to the flat face we just jointed and bring it down to thickness.


It's back to the jointer for edge jointing. I always take the jointed face and run it against the fence, regardless of which edge I'm jointing. You don't have to do this, but I feel like all woodworkers should be a little obsessive-compulsive. This step ensures that you're referencing the same face when jointing the edges square.
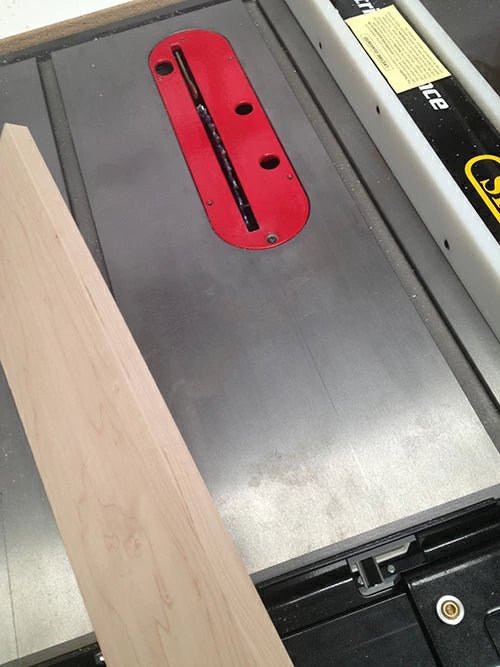
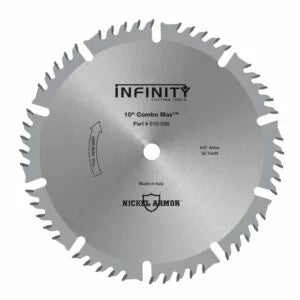
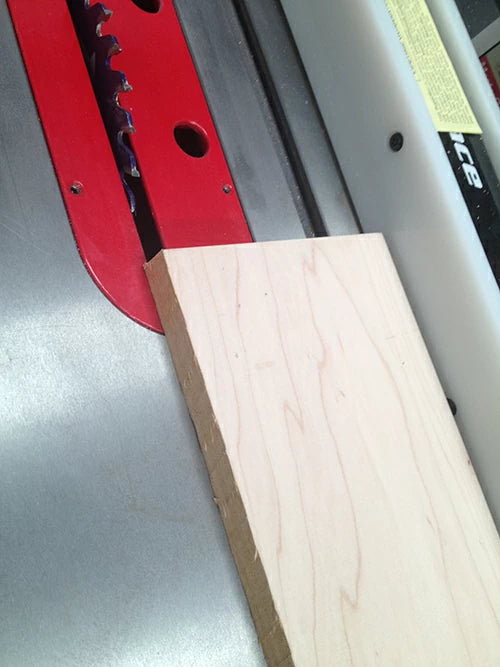
Now we can size the board to its final width on the table saw. I used the Infinity 10" Super General 40T blade and got a great edge. And that's how I surface my lumber on all four sides.
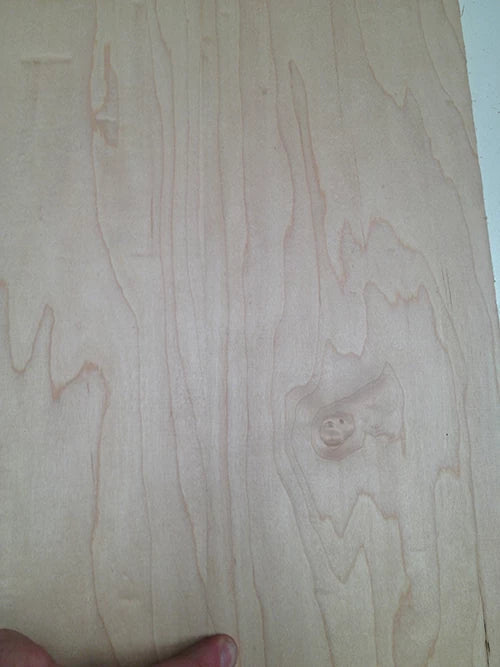
To check if it's flat and the joints are tight, I'll lay them next to each other and try to find the seam line.
