I've said it before and I will say it again, I like sharp pointy things. This does not make me a psycho, it makes me a woodworker. Woodworkers inherently are drawn to sharp things because we know it will make our jobs easier. Try and cut some white oak with a dull blade and see how frustrated you become, but put a sharp blade in and the world is your oyster. This goes doubly for hand tools which are powered by our own body strength.If you have a dull chisel or hand plane, you are going to be pushing twice as hard and getting twice as frustrated. This is why learning to sharpen is so important.
Sharpening can be a frustrating task for a beginning woodworker or even an experienced one who has never used hand tools. It seems mystical and mysterious, a task only to be attempted by masters of their craft. Bull. I said it. Anyone can sharpen. There are a ton of different ways to sharpen, from mechanical grinding wheels (both high and low speed) to freehand sharpening to using a honing guide. The way you decide to sharpen is entirely up to you and how you have been taught. There are probably a thousand different ways to sharpen hand tools and all of them are correct if they give you a sharp tool and are easy for you to do. I am going to walk you through my way, which is a conglomeration of different techniques I have learned over the years. It is what works easily for me and seems to work well for the students I have taught.
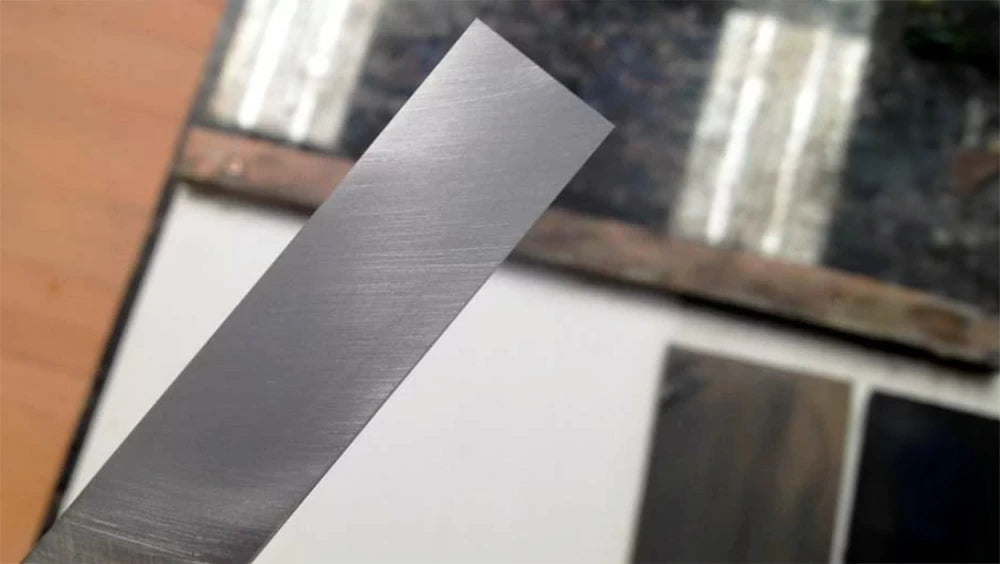
The first thing you need to understand about sharpening is what you are doing and why. You are creating two distinct surfaces, one flat and the other beveled. Getting these two intersecting planes as sharp as possible is the name of the game because where they meet is the edge of your cutting tool. This edge, if sharpened correctly, is then able to cut through wood with relative ease. A very sharp plane blade should leave a surface on your work that you barely need to sand. A sharp chisel should be able to pare the hardest cross grain wood with only minimal grunting effort on your part.
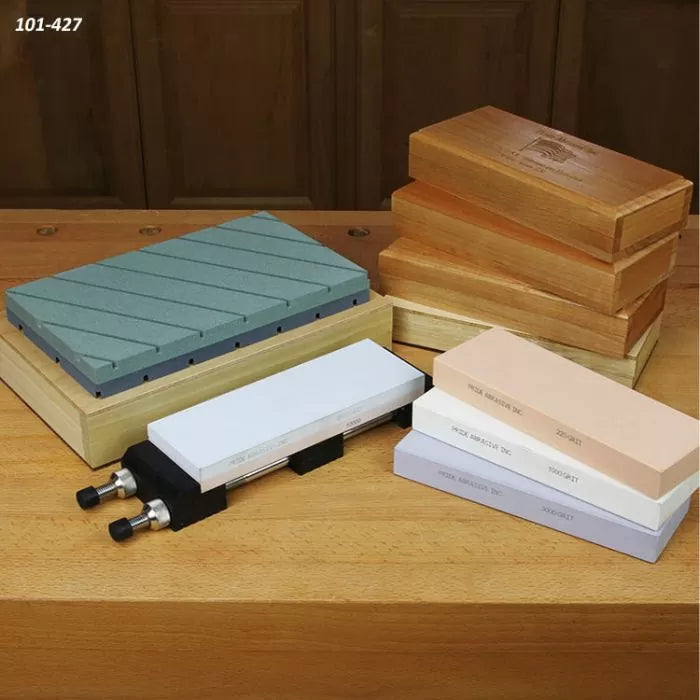
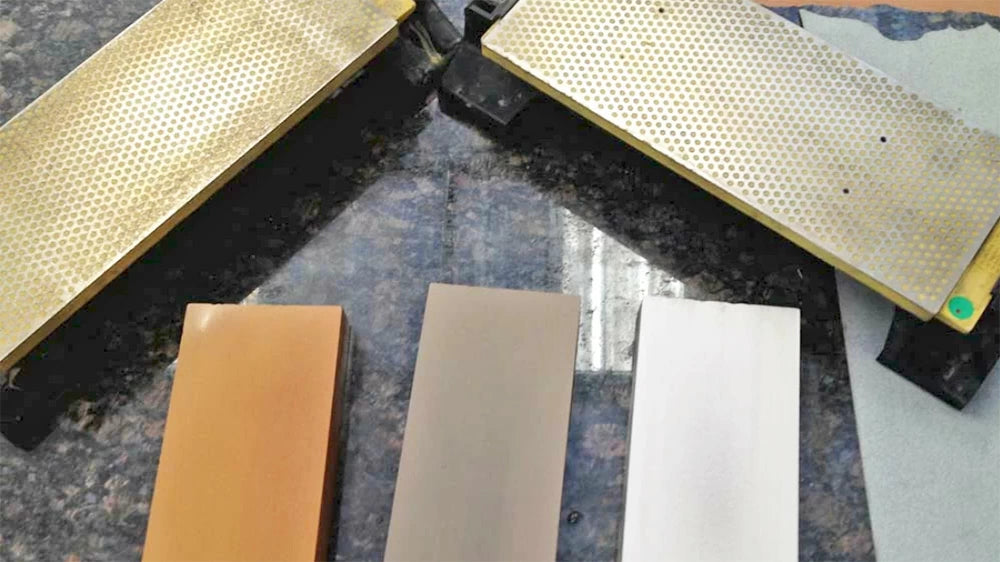
There are multiple sharpening substrates that we can use. There are water stones, oil stones, diamond plates, sandpaper, and assorted grinding machines. All will work effectively to create a sharp edge for you. I personally prefer water stones in the 1000, 4000, and 8000 grits. This is mostly because they were what I was originally taught on and I have stuck with them. They seem to give me a very sharp edge with my method of sharpening and I can re-flatten them very easily. I also like to use the DMT DuoSharp Diamond Stones. The coarse ones work well for me as a lapping plate to flatten my water stones and for when I need to get my chisels and plane blades reground to a new bevel fast.
The honing guide you choose is again a matter of personal preference.

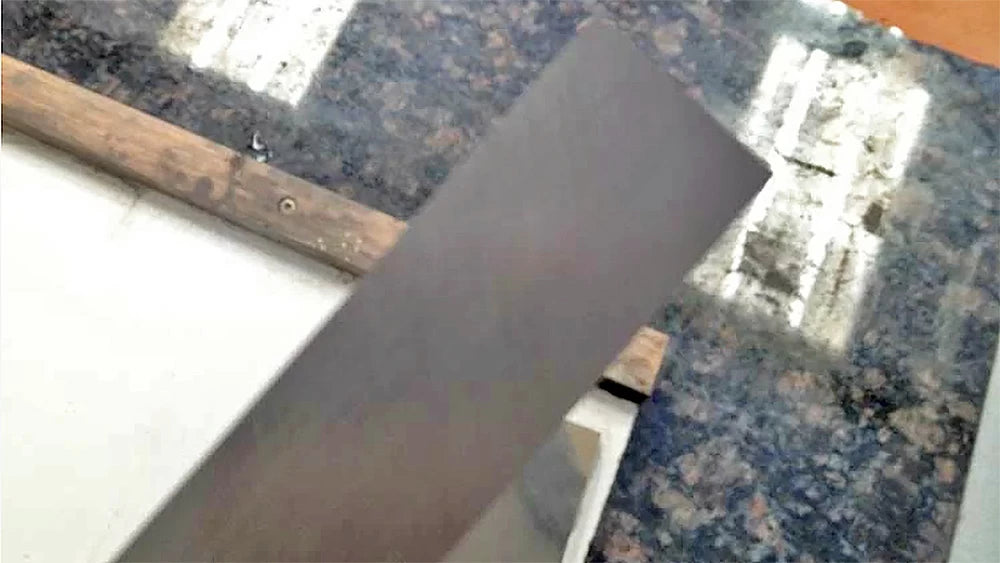

Once you have a nice flat back on your chisel, you are done. With the plane blade, it's a little bit easier. All we are trying to flatten is the front edge of the back. To do this back bevel, you simply lay a ruler on one side of your stone and lay the back part of your blade over basically making your blade lay at an angle. Then with either a side-to-side motion or a small front-to-back motion, flatten that edge using progressively finer grit stones. This should go fairly quickly.
Sharpen The Beveled Edge
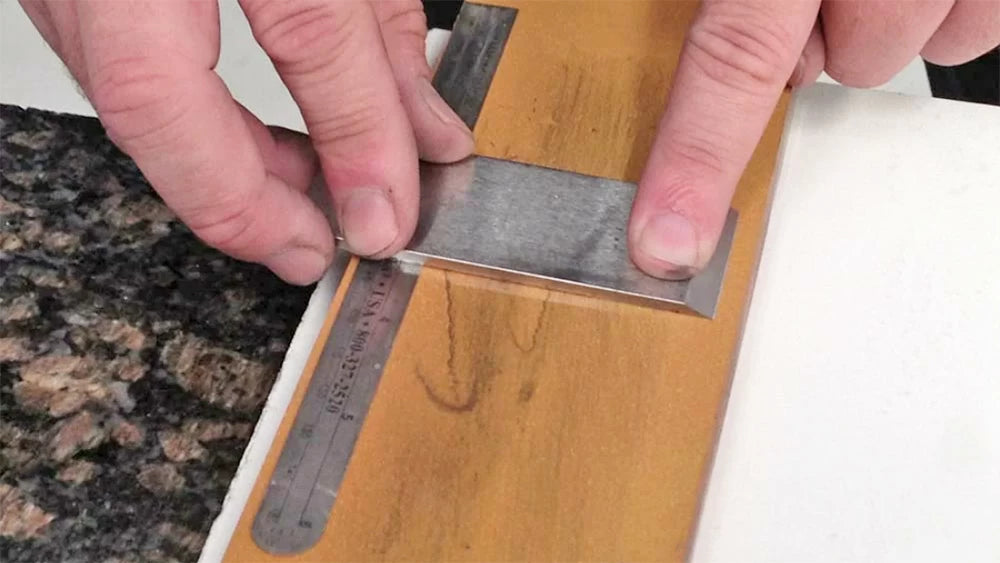
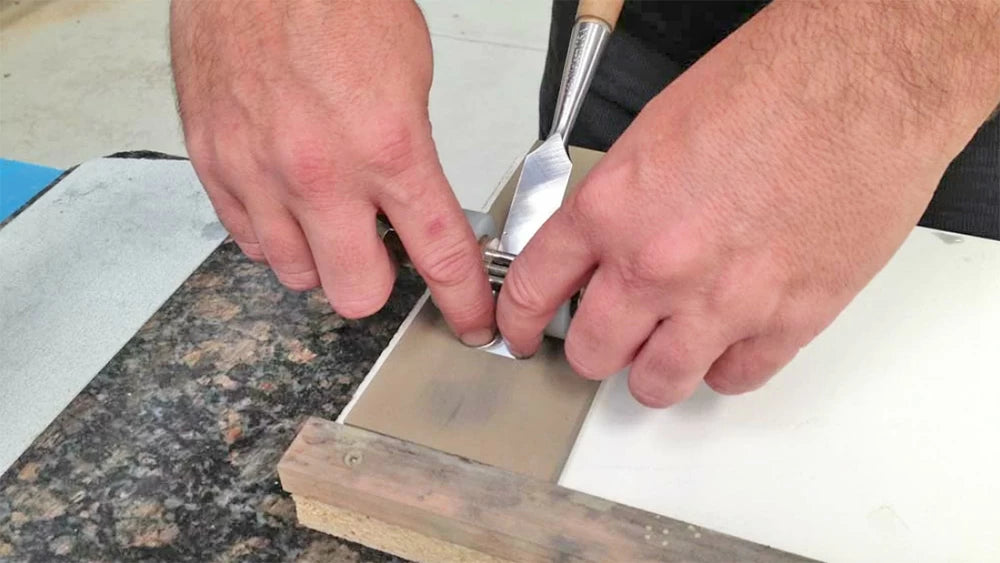
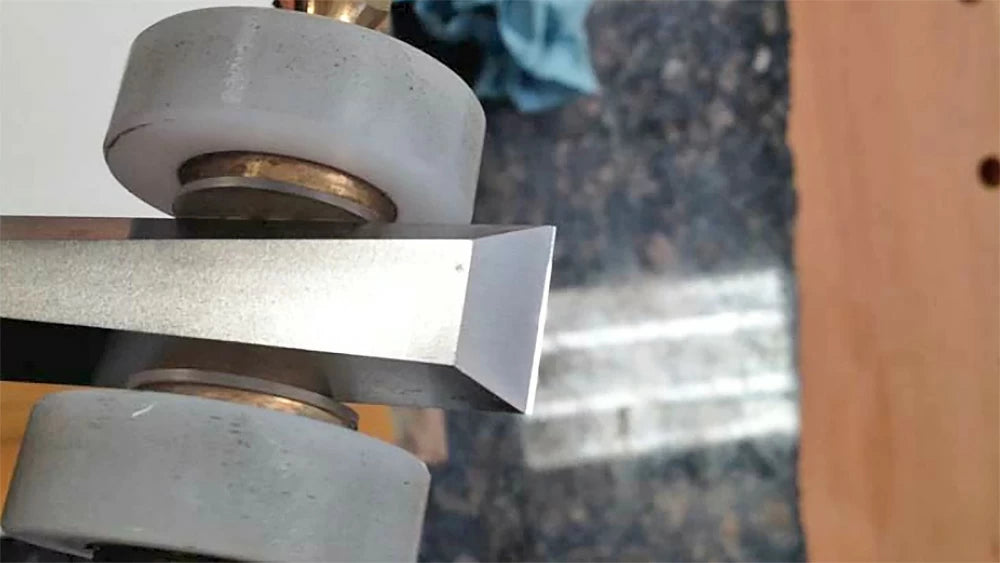
Once our backs are flattened we need to sharpen the bevel edge of the blades. You may also need to re-flatten your stones at this stage if you have done a lot of work on the backs of your blades. This is done the same on both chisels and plane blades. Determine the bevel angle that you want for your chisels or planes (most come from the factory ground to a set degree, feel free to change this to whatever works best for you). You can use a bevel gauge to determine your angle if you don't already know it. We offer a great honing gauge that helps you set the proper sharpening and micro-bevel angle.
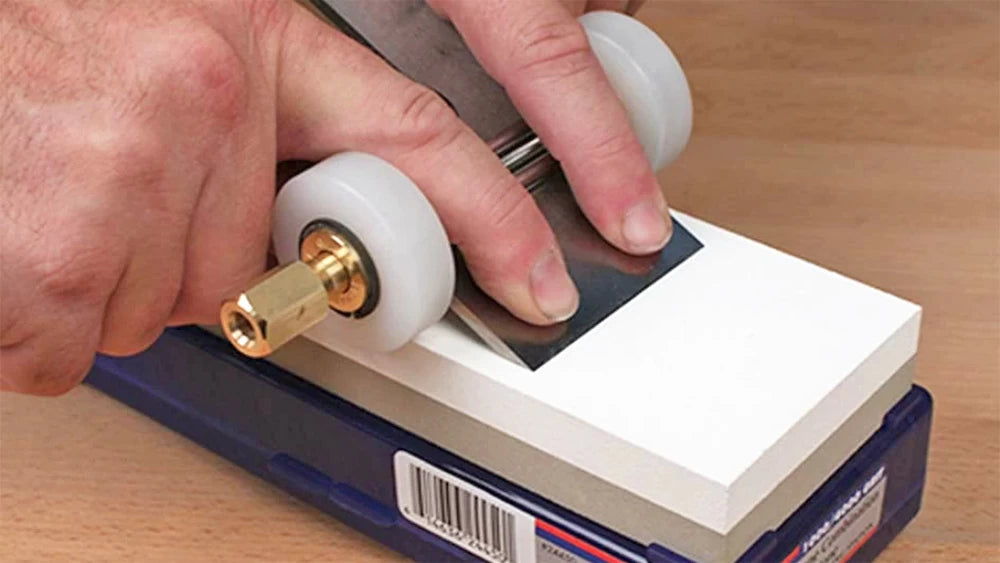
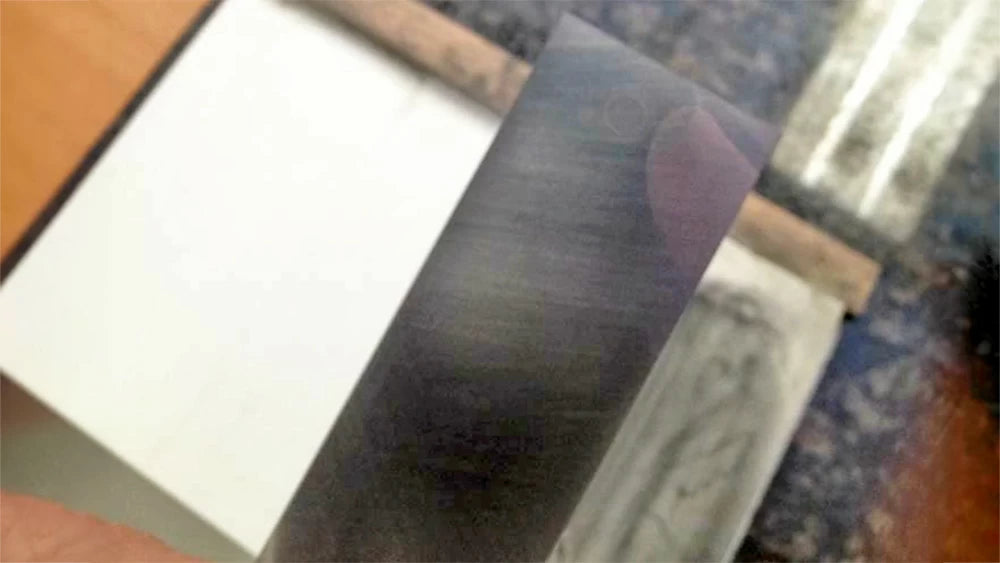
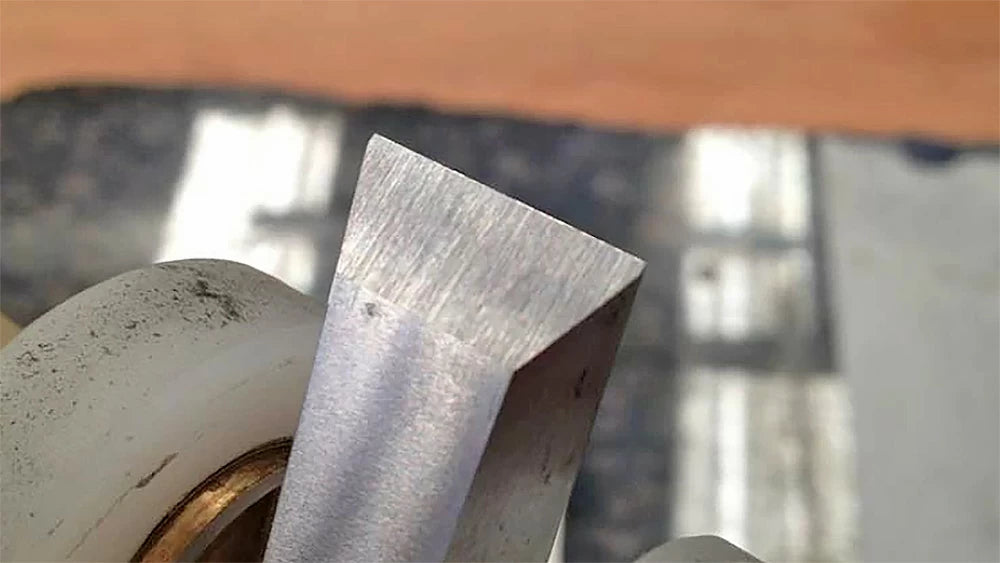
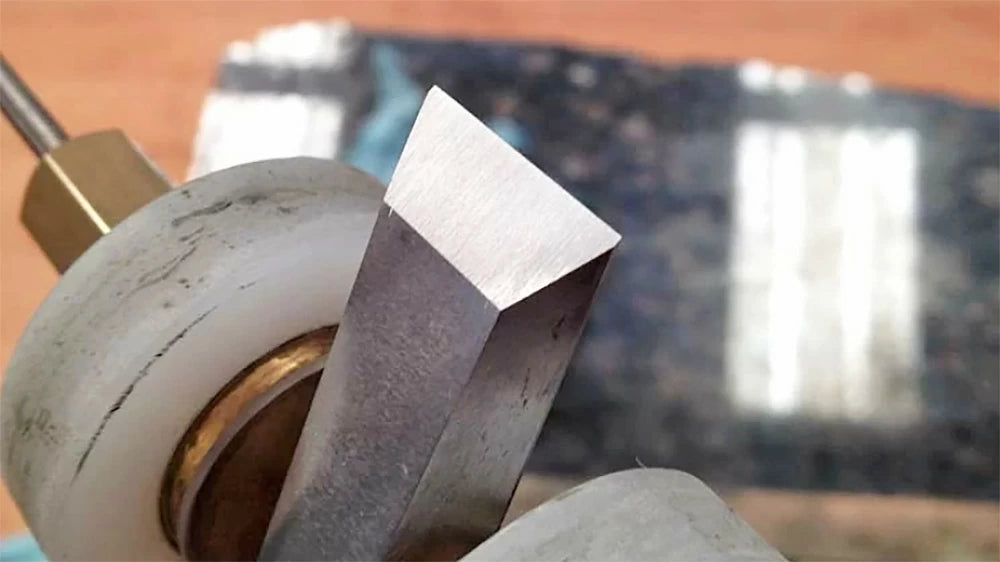
You will go in a back-and-forth motion on the 1000 grit stone until you see an even scratch pattern across the entire face of the bevel. You should also at this stage notice a burr developing on the flattened back of your blade. If you can feel this burr, you know that your front edge has been hit (this is a very good thing). You want to feel that burr across the entire front edge. Once you have achieved that consistent scratch pattern across the entire bevel, you can step up to your next grit. Whenever you move to a finer grit stone, make sure that you are rinsing off the wheels on your honing guide. You want to be careful about bringing grits from one surface to the next. Again, you will go in a back-and-forth motion across the stones, looking at the bevel periodically to see if that consistent scratch pattern has been achieved and all of the previous stones scratch marks are erased. When you come to your final grit stone, you can either continue to sharpen at your current bevel angle, in which case just simply keep going until your scratch pattern has been achieved, or you can switch to a secondary higher bevel. I prefer a secondary bevel angle on my tools because it allows me to resharpen quickly. To set the secondary bevel, simply set your guide up to its next highest angle and proceed to sharpen on your highest grit stone. I do this only on the pull stroke for about 20 pulls. I then look at my front edge to see if there is a consistent fairly even line across the front edge of my chisel. It should look like a nicely polished mirror on your front edge. Let me just say that it is very hard to photograph shiny reflective surfaces.
Remove The Wire Burr
Wait, there's one last step before we are done. I know you have these two beautiful polished edges that you want to cut something with but we still need to remove the burr from the back of the blade. It's OK, this will be quick. Pull the blade or chisel out of your honing guide and simply rub the back across the stone 4-6 times to remove the burr (with the plane blade lay out the ruler again). This next step is critical, slide the back off the edge so that the front edge of the blade tilts up away from the stone. We don't want to gouge the stone and ruin our blade's edge at this point.
Now, let's check sharpness. There are many ways to do this, the safest being to slice a piece of paper. I typically shave the back of my hand, resulting in woodworker's pattern baldness (thanks Tom).
Having a secondary bevel comes in handy when it comes time to resharpen your chisel or plane blades. You can simply set your guide to its higher bevel angle and resharpen, making your secondary bevel line a little wider. You can do this all the way up until you need to resharpen your bevel. Its a great time saver.
Also, please make sure to keep your stones flattened using a lapping plate, flattening stone, or coarse grit diamond stone. If your stone is not flat, your blades will not be either.